
Stop settling for the desiccated, crumb-heavy disappointment of standard sandwich loaves. You are here because you demand structural integrity paired with a cloud-like interior. We are talking about the gold standard of carbohydrate engineering: Potato Bread Softness. This is not merely a recipe; it is a full-scale technical audit of starch interference and hydration management. When you introduce boiled, mashed tubers or potato flour into a dough matrix, you are not just adding flavor. You are deploying a secret weapon of moisture retention. The potato starches absorb more water than wheat flour alone; they physically interfere with the gluten network to ensure the crumb remains tender rather than chewy. Imagine a loaf that yields to the slightest pressure but springs back with resilient defiance. The aroma is yeasty and earthy, while the crust carries a delicate, golden sheen that hints at the buttery richness within. We are bypassing the amateur mistakes of dry, dense browning. We are optimizing for a crumb so supple it feels like a culinary velvet. Prepare for a total overhaul of your baking protocol.
THE DATA MATRIX
| Metric | Specification |
|---|---|
| Prep Time | 45 Minutes |
| Execution Time | 3 Hours 15 Minutes |
| Yield | 2 Large Loaves |
| Complexity | 6 / 10 |
| Estimated Cost per Serving | $0.45 |
THE GATHERS
Ingredient Protocol:
- 500g / 4 cups All-Purpose Flour (High protein preferred)
- 200g / 1 cup Mashed Potatoes (Russet, peeled and boiled)
- 125ml / 0.5 cup Potato Cooking Water (Reserved and cooled to 105F)
- 60ml / 0.25 cup Whole Milk
- 50g / 3.5 tbsp Unsalted Butter (Softened)
- 10g / 2 tsp Instant Yeast
- 12g / 2 tsp Fine Sea Salt
- 25g / 2 tbsp Granulated Sugar
- 1 Large Egg (Room temperature)
Section A: Ingredient Quality Audit:
If your potatoes are waxy (like Red Bliss), your dough will become gummy rather than fluffy. Starch density is king here. Use Russets for their high amylopectin content. If your yeast fails to bloom, check the temperature of your potato water with a digital thermometer; anything over 115F will terminate your microbial workforce. If the flour feels gritty, it likely has a low protein count. You need a minimum of 11% protein to support the heavy lifting of the potato solids. If the dough is too viscous and refuses to hold its shape, your mash was likely too watery. Fix this by adding flour one tablespoon at a time until the dough clears the sides of the mixing bowl.
THE MASTERCLASS
1. The Tuber Reduction
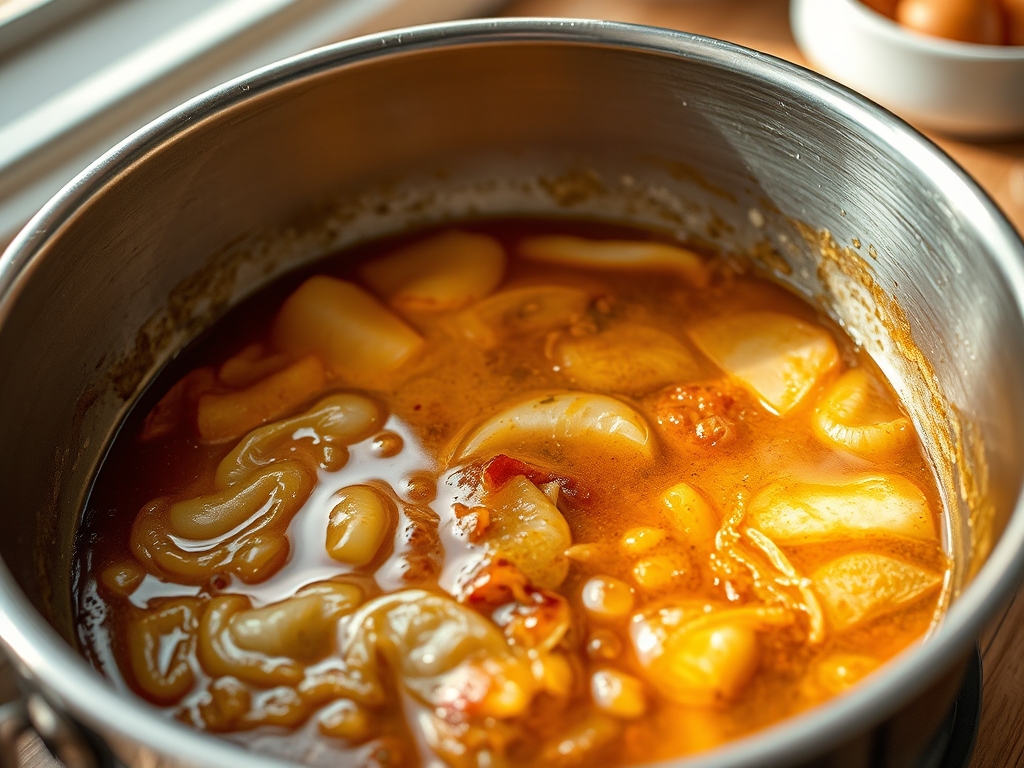
Boil your peeled Russets until they are completely tender. Drain them but reserve the starchy water. Use a ricer or a fine-mesh sieve to process the potatoes into a cloud-like consistency. Do not use a food processor; the high-speed blades will shear the starch granules and turn your mash into glue.
Pro Tip: Using a ricer ensures the potatoes are perfectly aerated, which prevents dense pockets in the final crumb. Professional bakers use this to maximize the surface area for yeast interaction.
2. The Hydration Phase
In the bowl of a stand mixer, combine the warm potato water, milk, sugar, and yeast. Let it sit for five minutes until a foamy head develops. Add the mashed potatoes, egg, and half of the flour. Mix on low speed until a shaggy mass forms.
Pro Tip: Use a digital scale for these measurements. Volume is the enemy of consistency in baking. Precision ensures the specific gravity of the dough remains within the optimal range for rise.
3. Developing the Matrix
Add the remaining flour and salt. Knead on medium-low speed for 8 minutes. Slowly incorporate the softened butter, one tablespoon at a time, until the dough is smooth, elastic, and slightly tacky.
Pro Tip: This is the "Enrichment Phase." The butter coats the gluten strands, which further enhances the Potato Bread Softness by preventing the proteins from bonding too tightly. Use a bench scraper to manage the dough if it sticks to your workspace.
4. The Primary Fermentation
Place the dough in a lightly oiled bowl. Cover with a damp cloth and let it rise in a warm, draft-free environment until doubled in size, usually about 60 to 90 minutes.
Pro Tip: Temperature control is vital. If your kitchen is cold, place the bowl inside a turned-off oven with the light on. This creates a makeshift proofing box that maintains a steady 75-80F.
5. Shaping and Final Proof
Punch the dough down to release excess gas. Divide into two equal portions. Shape into tight cylinders and place into greased loaf pans. Let them rise again until the dough has climbed about an inch above the rim of the pan.
Pro Tip: Use a bench scraper to create tension on the surface of the loaf. This tension allows the bread to expand upward rather than outward, resulting in a professional, high-domed silhouette.
6. The Thermal Transformation
Bake at 375F (190C) for 30 to 35 minutes. The internal temperature should register 190F on an instant-read thermometer. The crust should be a deep mahogany gold.
Pro Tip: For an extra soft crust, brush the tops with melted butter immediately after removing them from the oven. This traps steam within the crust, ensuring it stays supple as it cools.
Section B: Prep & Timing Fault-Lines:
The most common failure is rushing the second proof. If you bake too early, the bread will rupture at the sides (oven spring blowout). If you over-proof, the structure will collapse like a failed souffle. Watch the dough, not the clock. Another fault-line is the temperature of the mash. If you add hot potatoes to the yeast mixture, you will kill the culture. Always ensure the tubers have cooled to at least room temperature before integration.
THE VISUAL SPECTRUM
Section C: Thermal & Visual Troubleshooting:
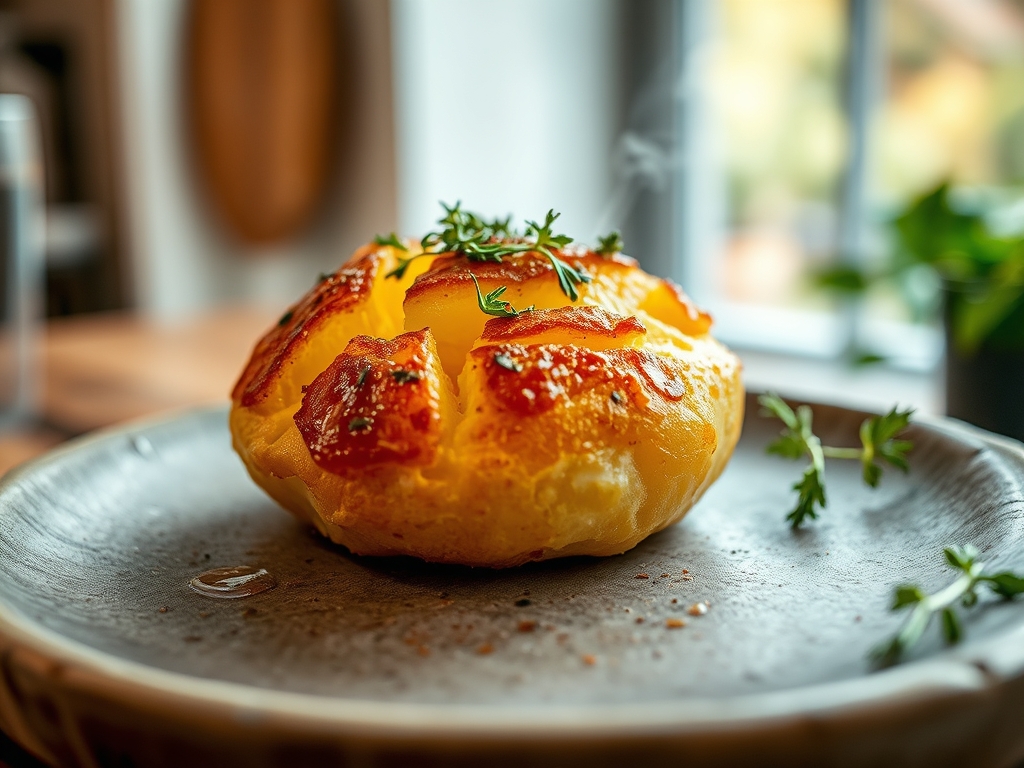
Referencing the Masterclass photo, your loaf should exhibit a uniform, tight crumb without large air pockets. If you see "tunnels," you over-handled the dough during shaping. If the color is pale, you likely forgot the sugar, which is essential for the Maillard reaction. A dull, matte finish suggests the oven was too dry; a small pan of water placed on the bottom rack during the first 10 minutes of baking will provide the steam necessary for a vibrant, professional sheen. If the bottom is burnt while the top is perfect, move your rack to a higher position or use a double-layered baking sheet to insulate the base.
THE DEEP DIVE
Macro Nutrition Profile:
Each slice (approx. 50g) contains roughly 140 calories, 4g protein, 24g carbohydrates, and 3g fat. The addition of potato increases the potassium and Vitamin C content compared to standard white bread.
Dietary Swaps:
- Vegan: Swap the butter for a high-quality vegan block and use almond milk or extra potato water in place of cow's milk. Replace the egg with 1 tablespoon of ground flaxseed mixed with 3 tablespoons of water.
- Keto/GF: This specific starch-interference method is not compatible with Keto. For Gluten-Free, use a high-quality 1-to-1 GF flour blend containing Xanthan gum, though the texture will be significantly denser.
Meal Prep & Reheating Science:
Potato bread stays fresh longer than standard bread due to the hygroscopic nature of potato starch. To reheat, avoid the microwave as it can make the starch "retrograde" and become rubbery. Use a toaster or a low-heat oven to infuse the bread with warmth without stripping the internal moisture. For long-term storage, slice the loaf and freeze it in an airtight bag for up to three months.
THE KITCHEN TABLE
Why is my potato bread so heavy?
You likely used too much potato or didn't knead long enough. The potato adds weight; you need a strong gluten network to lift that extra mass. Ensure you knead until the dough passes the windowpane test.
Can I use leftover mashed potatoes?
Yes, provided they aren't heavily seasoned with garlic or herbs. If they contain heavy cream or extra butter, reduce the added fats in the recipe slightly to maintain the correct hydration balance.
Does potato flour work the same as real potatoes?
Potato flour is concentrated. If substituting, use 50g of potato flour for every 200g of fresh mashed potatoes and increase the liquid in the recipe by 100ml to compensate for the dehydration.
How do I get that perfect golden crust?
The sugar and the natural starches in the potato facilitate browning. For an even deeper color, an egg wash (one egg beaten with a teaspoon of water) applied just before baking creates a high-gloss finish.

