
Forget the romanticized image of a flour-dusted grandmother humming in a sunlit kitchen; we are here to conduct a high-stakes Multigrain Bread Audit. When you are dealing with inclusion-heavy doughs, you aren't just baking; you are managing a complex architectural project where the structural integrity of the crumb is under constant siege by jagged seeds and thirsty grains. Every sunflower seed is a structural disruptor, and every flake of rye is a moisture thief. If your ratio of "stuff" to "flour" is off by even a fraction, your loaf will collapse into a dense, leaden brick that could double as a doorstop. We are looking for that elusive equilibrium where the gluten network is strong enough to suspend a literal garden of textures without losing its ability to aerate. This is the technical infrastructure of flavor. We want a crust that shatters like glass and an interior that remains supple, hydrated, and resilient. Put down the measuring cups and grab your digital scale; it is time to audit your gluten.
THE DATA MATRIX
| Metric | Specification |
|---|---|
| Prep Time | 45 Minutes (Active) |
| Execution Time | 18 – 22 Hours (Fermentation Included) |
| Yield | 2 Large Boules (Approx. 900g each) |
| Complexity (1-10) | 8 |
| Estimated Cost per Serving | $0.85 USD |
THE GATHERS
Ingredient Protocol:
- 500g / 4 cups Bread Flour (12.7% Protein minimum)
- 100g / 0.75 cup Whole Wheat Flour
- 450ml / 1.9 cups Filtered Water (Room Temperature)
- 12g / 2 tsp Fine Sea Salt
- 100g / 0.5 cup Active Sourdough Starter or 5g Instant Yeast
- 150g / 1 cup Multigrain Soaker (Equal parts oats, flax, sunflower seeds, and cracked wheat)
- 50ml / 3.5 tbsp Boiling Water (For the soaker)
- 20g / 1 tbsp Honey or Malt Syrup
Section A: Ingredient Quality Audit:
The primary failure point in a Multigrain Bread Audit is often the "thirst" of the inclusions. If you add dry seeds directly to your dough, they will leach moisture from the flour, preventing proper gluten development and leaving you with a crumb that feels like sawdust. Technical Fix: Always perform a hot-water scald on your grains at least four hours before mixing. This ensures the seeds are fully hydrated and won't compete with the protein chains for water. Secondly, if your bread flour lacks sufficient protein, the weight of the seeds will physically tear the gluten strands. If your flour feels "weak," supplement with 10g of Vital Wheat Gluten to reinforce the infrastructure.
THE MASTERCLASS
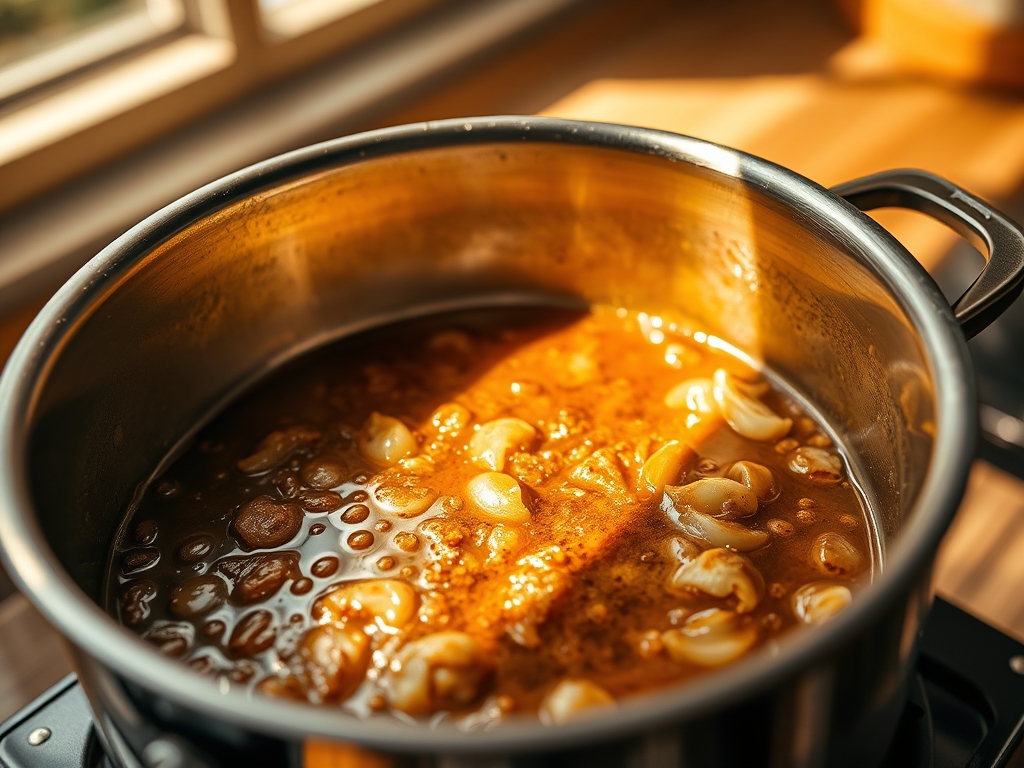
1. The Pre-Inclusion Hydration (The Soaker)
Combine your seed mix with boiling water and honey in a small bowl. Cover tightly. You are looking to infuse the grains with moisture while softening the outer husks.
Pro Tip: Use a digital scale for this. Volumetric measurements are the enemy of consistency. By hydrating the seeds separately, you control the final hydration percentage of the dough without guesswork.
2. The Autolyse Phase
Mix your flours and the 450ml of water in a large basin until no dry spots remain. Let this sit for 60 minutes. This allows the enzymes to begin breaking down starches into sugars before the yeast even enters the fray.
Pro Tip: This stage allows the flour to aerate and hydrate naturally; reducing the amount of physical kneading required later, which protects the delicate gluten from being shredded by the sharp edges of the grains.
3. Incorporating the Infrastructure
Add your starter (or yeast), salt, and the cooled grain soaker to the autolyzed dough. Use a bench scraper to fold the dough over itself, trapping the inclusions within the matrix.
Pro Tip: Do not over-mix. At this stage, you are looking to distribute the seeds evenly without degassing the dough. Use the "Rubaud Method" to scoop and flip the dough, ensuring a homogeneous distribution of the viscous honey and seeds.
4. Bulk Fermentation and Structural Folds
Perform four sets of "stretch and folds" every 30 minutes. Reach under the dough, pull it upward until you feel resistance, and fold it over.
Pro Tip: Each fold increases the tension of the gluten. Because the seeds act as "knives" that can cut through gluten, these gentle folds are superior to traditional kneading for maintaining a high-volume rise.
5. The Cold Proof
Shape the dough into boules and place them in floured bannetons. Refrigerate for 12 to 15 hours. This cold environment slows yeast activity while allowing lactic acid bacteria to flourish.
Pro Tip: The cold proof firms up the dough, making it easier to score. A cold dough also produces a better Maillard reaction in the oven, leading to a deeper, more complex crust color.
Section B: Prep & Timing Fault-Lines:
The most common human error is rushing the fermentation when the ambient temperature is too low. If your kitchen is below 70 degrees Fahrenheit, your bulk fermentation might take six hours instead of four. Technical Fix: Use a probe thermometer to check the internal temperature of the dough. You are aiming for a consistent 76 degrees. If the dough is too cold, place it in a turned-off oven with a bowl of steaming water to create a makeshift proofing box.
THE VISUAL SPECTRUM
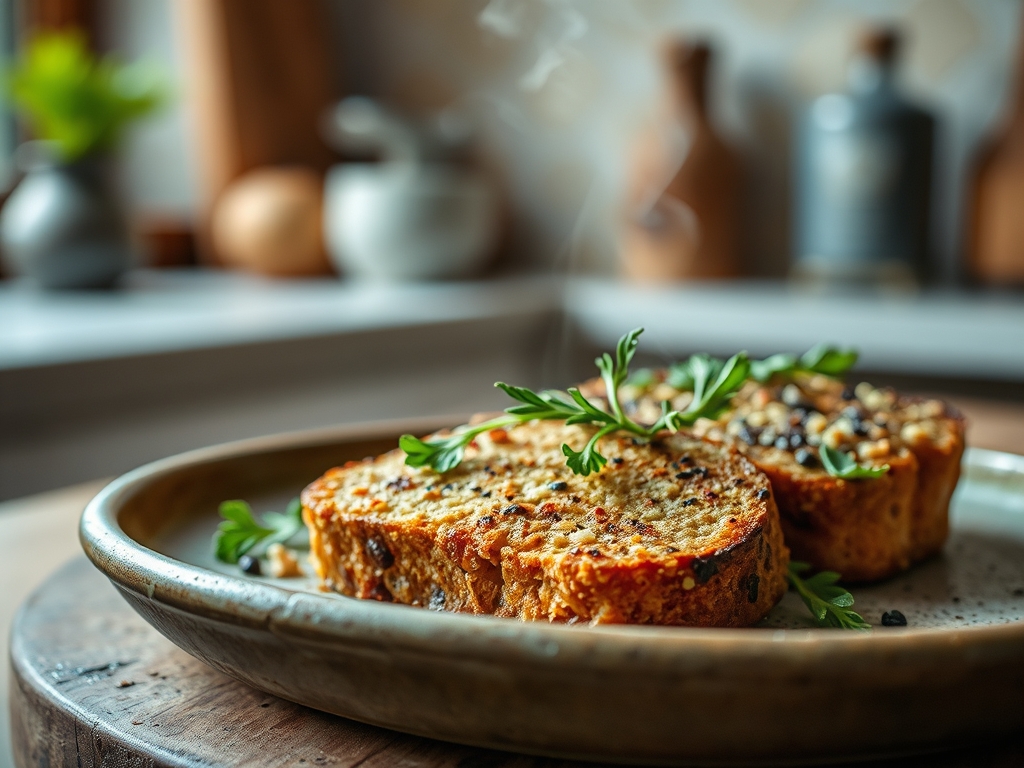
Section C: Thermal & Visual Troubleshooting:
Referencing the Masterclass photo, notice the "ear" or the raised crust where the score was made. If your loaf is flat with no distinct expansion, your oven was likely not hot enough or you lacked steam. Technical Fix: Use a heavy Dutch oven to trap the steam released by the dough. This keeps the surface supple, allowing for maximum expansion before the crust sets. If the seeds on the exterior are burnt while the interior is doughy, your sugar content (honey) may be too high, causing premature browning. Lower the oven temperature by 25 degrees after the first 20 minutes of baking to ensure the core reaches 205 degrees Fahrenheit without carbonizing the crust.
THE DEEP DIVE
Macro Nutrition Profile:
This loaf is a powerhouse of slow-release carbohydrates and fiber. A standard 50g slice provides approximately 140 calories, 5g of protein, and 3g of dietary fiber. The inclusion of flax and sunflower seeds introduces essential Omega-3 fatty acids and Vitamin E, making this a nutritionally dense alternative to white sourdough.
Dietary Swaps:
For a Vegan version, ensure your malt syrup is bee-free. For a Gluten-Free (GF) iteration, the "infrastructure" changes entirely; you must rely on psyllium husk and xanthan gum to mimic the gluten. The seed-to-flour ratio remains similar, but the hydration must increase by 20% to account for the highly absorbent nature of GF flours.
Meal Prep & Reheating Science:
To maintain the molecular structure, never refrigerate finished bread; this accelerates starch retrogradation (staling). Freeze sliced loaves in airtight bags. To reheat, toast directly from frozen to render the fats in the seeds and re-gelatinize the starches, returning the crumb to its original suppleness.
THE KITCHEN TABLE
Why is my multigrain bread so heavy?
Usually, this is due to "under-proofing" or a weak gluten structure. The heavy inclusions require a very strong, well-developed gluten network to lift them. Ensure you are using high-protein bread flour and performing enough structural folds.
Can I use any seeds in the soaker?
Almost any dry grain or seed works, but avoid large, hard beans unless they are pre-cooked. Stick to oats, millet, flax, and sesame for the best texture-to-weight ratio in your Multigrain Bread Audit.
Why did my seeds fall out of the bread?
This happens when the seeds are too dry or added too late. The soaker method ensures the seeds are tacky and integrated into the dough matrix, preventing them from shedding when the bread is sliced.
How do I get a shinier crust?
Steam is the secret. The moisture on the surface of the dough gelatinizes the starches, creating a thin, glossy film. Use a Dutch oven or a lava rock steam tray to achieve that professional sheen.

