Listen to the sound of a kitchen operating at peak efficiency. It is the rhythmic slap of hydrated dough against a stainless steel workbench; it is the hiss of yeast metabolizing sugars into carbon dioxide; it is the olfactory punch of cinnamon and cloves colliding with molten butter. We are not merely baking; we are conducting a structural audit of the quintessential spiced pastry. Hot Cross Buns represent a volatile intersection of heavy spice oils and delicate yeast architecture. If your spice ratios are off, the essential oils will inhibit yeast activity, leaving you with a dense, leaden puck instead of an airy crumb. We demand a crumb that is soft, pillowy, and structurally sound enough to support a heavy payload of dried fruit. This is a high-stakes engineering project disguised as a seasonal treat. Forget the dry, supermarket replicas that crumble into dust upon contact. We are aiming for a professional-grade specimen that boasts a glossy sheen and a complex, aromatic profile. Strap in; we are about to optimize your fermentation protocols.
THE DATA MATRIX
| Metric | Specification |
|---|---|
| Prep Time | 45 Minutes |
| Execution Time | 3 Hours 30 Minutes |
| Yield | 12 Large Buns |
| Complexity (1-10) | 7 |
| Estimated Cost per Serving | $0.85 |
THE GATHERS
Ingredient Protocol:
- 500g / 4 cups Strong Bread Flour (12.5% protein minimum)
- 75g / 1/3 cup Caster Sugar
- 10g / 2 tsp Fine Sea Salt
- 10g / 1 tbsp Instant Yeast
- 40g / 3 tbsp Unsalted Butter (Room Temperature)
- 1 Large Egg (Room Temperature)
- 300ml / 1.25 cups Full Cream Milk
- 150g / 1 cup Sultanas or Raisins
- 50g / 1/4 cup Mixed Peel
- 2 tsp Ground Cinnamon
- 1 tsp Ground Allspice
- 1/2 tsp Ground Nutmeg
- 75g / 0.5 cup Plain Flour (for the crosses)
- 100ml / 0.4 cup Water (for the crosses)
- 50g / 2 tbsp Apricot Jam (for the glaze)
Section A: Ingredient Quality Audit:
The primary failure point in Hot Cross Buns is often the yeast-to-spice ratio. Spices like cinnamon contain antimicrobial properties that can sluggishly retard yeast fermentation if they come into direct contact with the cells too early. To fix this, ensure your yeast is fresh and active. If your dough fails to rise, your spices may be too old and have clumped, or your milk was too hot, effectively killing the yeast culture. Another common issue is dry fruit robbing the dough of its hydration. If your raisins are shriveled and hard, they will act like sponges, sucking moisture out of the crumb and leaving the bun dry. The technical fix is to macerate your fruit in warm water or tea for 20 minutes before draining and incorporating. This ensures the fruit is viscous and plump, contributing to the overall moisture of the final product rather than detracting from it.
THE MASTERCLASS
Step-by-Step Execution:
1. The Liquid Infusion
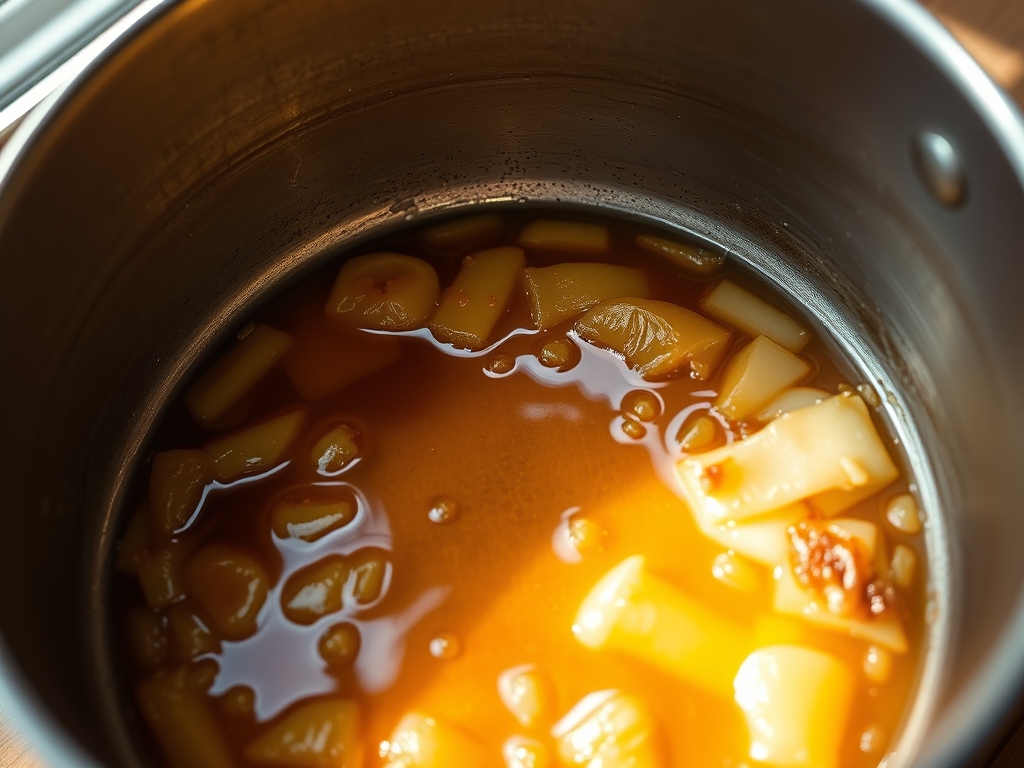
In a small saucier, gently heat the milk and half of the spices to 38C (100F). Do not exceed this temperature. Whisk in the sugar until dissolved. This process allows the spice oils to infuse into the fat molecules of the milk, ensuring an even distribution of flavor throughout the dough matrix.
Pro Tip: Using a digital thermometer is non-negotiable here. A few degrees too high will denature the yeast proteins, while too low will fail to activate them, leading to a structural collapse during the proofing stage.
2. The Primary Hydration
Combine the bread flour, yeast, and salt in a large bowl. Create a well and pour in the warm milk mixture and the beaten egg. Use a bench scraper to bring the ingredients together into a shaggy mass. Once the flour is fully hydrated, add the softened butter.
Pro Tip: The autolyse phase (resting the shaggy dough for 10 minutes) allows the flour to fully absorb the liquid, making the subsequent kneading process much more efficient and less sticky.
3. Mechanical Development
Transfer the dough to a clean surface. Knead for 10 to 12 minutes until the dough is smooth, elastic, and passes the windowpane test. This is where you develop the gluten network required to trap carbon dioxide. Once developed, gently fold in the macerated fruit and mixed peel.
Pro Tip: Avoid using excessive "bench flour" during this stage. Use your bench scraper to manage the dough. Adding too much flour at this point will skew your hydration baker's percentages and result in a heavy, dry bun.
4. Controlled Fermentation
Place the dough in a lightly oiled bowl and cover with a damp cloth. Let it rise in a warm, draft-free environment until doubled in size. This usually takes 60 to 90 minutes.
Pro Tip: Fermentation is a chemical reaction governed by temperature. If your kitchen is cold, use your oven with only the light turned on to create a DIY proofing box. This provides a consistent 25C to 27C environment for optimal yeast activity.
5. Precision Shaping and Proofing
Divide the dough into 12 equal portions (approximately 100g each) using a digital scale. Roll each portion into a tight ball by tensioning the dough against the work surface. Place them on a lined baking sheet, spaced 2cm apart. Cover and let proof for another 45 minutes.
Pro Tip: Tension is the key to a professional "loft." By pulling the dough towards you on the counter, you create a taut "skin" that forces the bun to expand upward rather than outward during the bake.
6. The Architectural Cross
Whisk the plain flour and water together to create a thick, pipeable paste. Transfer to a piping bag with a small round nozzle. Pipe a continuous line across each row of buns, then repeat in the opposite direction to create the crosses.
Pro Tip: The paste should be the consistency of heavy toothpaste. If it is too viscous, it won't flow; if it is too thin, it will run down the sides of the buns and ruin the aesthetic geometry.
7. Thermal Execution and Glazing
Bake at 190C (375F) for 18 to 20 minutes until deep golden brown. While the buns are hot, melt the apricot jam in a saucier with a splash of water and brush generously over the surface.
Pro Tip: The Maillard reaction provides the color and flavor, but the glaze provides the moisture seal. Brushing the glaze on while the buns are over 90C ensures the sugar sets into a tacky, professional sheen rather than soaking into the bread.
Section B: Prep & Timing Fault-Lines:
Human error usually manifests in the timing of the second proof. If you under-proof, the buns will "blow out" at the base because the internal gases expand too rapidly for the crust to contain. If you over-proof, the gluten structure will weaken and the buns will deflate like a punctured tire the moment they hit the oven's heat. Use the "finger dent" test; if you poke the dough and it springs back slowly but leaves a slight indentation, it is ready. Additionally, ensure your oven is fully preheated for at least 30 minutes. A cold start will result in poor "oven spring" and a dull, greyish crust.
THE VISUAL SPECTRUM
Section C: Thermal & Visual Troubleshooting:
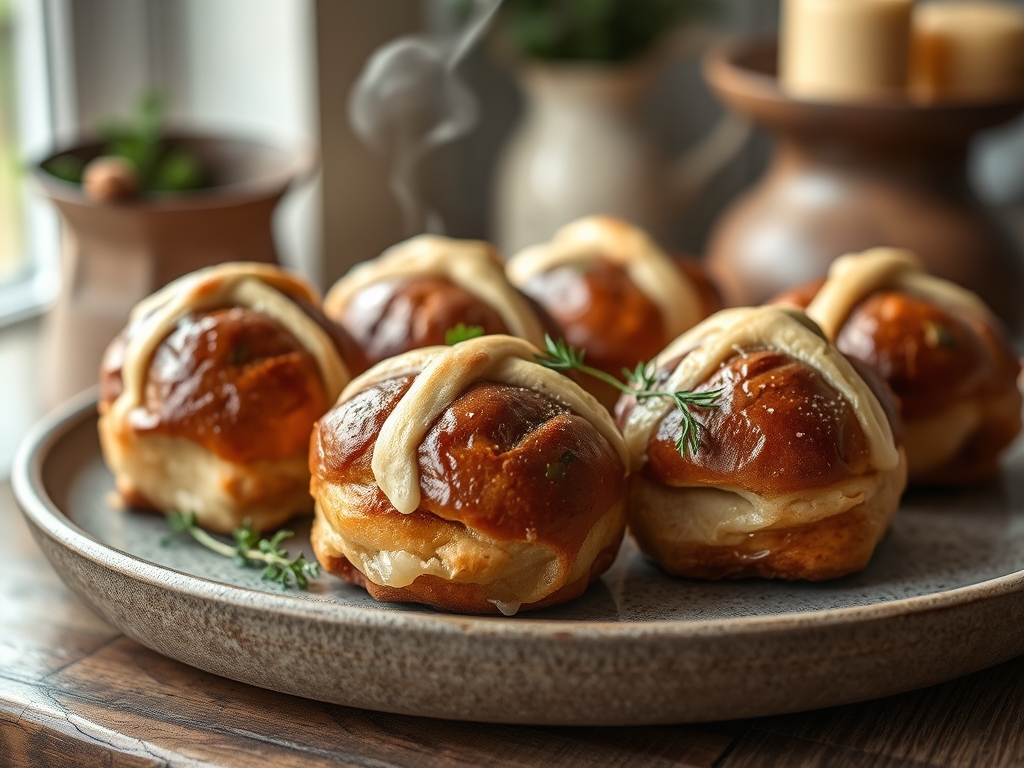
Referencing our Masterclass photo, notice the deep, mahogany hue of the crust contrasted against the stark white of the cross. If your buns look pale, you likely lacked enough sugar in the dough to facilitate the Maillard reaction, or your oven temperature was too low. If the crosses are cracked or peeling, your flour-water paste was too dry. The fruit should be visible but tucked slightly under the surface; fruit that sits directly on top will burn and become piquant and bitter. If your buns have merged into one giant mass, your spacing was too tight. While some "touching" is traditional for pull-apart buns, they should still maintain their individual spherical integrity.
THE DEEP DIVE
Macro Nutrition Profile:
A single 100g bun typically contains 280 calories, 5g of fat, 52g of carbohydrates, and 7g of protein. The high carbohydrate count comes from both the starch in the flour and the concentrated sugars in the dried fruit.
Dietary Swaps:
- Vegan: Replace the butter with a high-quality plant-based block (ensure it has a high fat content) and use soy or oat milk. Swap the egg for 50g of unsweetened applesauce.
- Keto: This is a high-carb architecture; a true keto version requires vital wheat gluten and almond flour, though the texture will significantly deviate from the original.
- GF: Use a high-quality 1-to-1 gluten-free bread flour blend. Increase hydration by 10% as GF flours are highly absorbent.
Meal Prep & Reheating Science:
To maintain the molecular structure, store buns in an airtight container at room temperature for up to 2 days. For longer storage, freeze them immediately after cooling. To reheat, avoid the microwave as it causes the starch molecules to undergo retrogradation, resulting in a rubbery texture. Instead, use a toaster oven at 150C for 5 minutes to re-gelatinize the starches and crisp the crust.
THE KITCHEN TABLE
Why are my buns heavy and dense?
You likely under-developed the gluten or your yeast was expired. Without a strong protein network to trap gas, the dough cannot aerate. Ensure you knead until the dough is translucent when stretched.
Can I use fresh fruit instead of dried?
Fresh fruit releases too much moisture during the bake, which will collapse the internal crumb structure. Stick to dried fruits or highly stable preserves to maintain the structural integrity of the yeast bread.
My crosses disappeared during the bake!
This happens when the paste is too thin or the buns are over-proofed. The paste must be thick enough to sit on top of the dough. Ensure you pipe them immediately before the tray enters the oven.
How do I get that ultra-shiny finish?
The secret is a high-sugar glaze applied to a piping hot surface. The heat evaporates the water in the jam, leaving behind a concentrated sugar film that creates a reflective, professional-grade shimmer.