Stop settling for bread that collapses under the weight of a medium-rare patty. We are here to talk about structural integrity; specifically, the architectural marvel known as Enriched Burger Buns. Most commercial buns are nothing more than aerated disappointment. They disintegrate the moment a drop of fat touches the crumb. A true brioche bun must act as a high-performance shock absorber. It requires a specific ratio of lipids to proteins to create a crumb that is both pillowy and resilient. We are engineering a vessel that can withstand the hydrostatic pressure of beef tallow and secret sauce without losing its tensile strength. This is not just baking; it is a thermal audit of hydration and fat saturation. We want a golden, lacquered exterior that shatters slightly before yielding to a buttery, cloud-like interior. If your current bun game feels like wet tissue paper, it is time to recalibrate your kitchen protocol. We are moving beyond basic dough into the realm of professional-grade enrichment.
THE DATA MATRIX
| Metric | Specification |
|---|---|
| Prep Time | 45 Minutes (Active) |
| Execution Time | 4 Hours (Including Proofing) |
| Yield | 8 Large Buns |
| Complexity | 7/10 |
| Estimated Cost per Serving | $0.45 |
THE GATHERS
Ingredient Protocol:
- 500g / 4 cups All-Purpose Flour (High protein preferred)
- 250ml / 1 cup Whole Milk (Lukewarm)
- 50g / 1/4 cup Granulated Sugar
- 10g / 2 tsp Instant Yeast
- 10g / 2 tsp Fine Sea Salt
- 1 egg / 1 large Egg (Room temperature)
- 80g / 5.5 tbsp Unsalted Butter (Softened)
- 1 egg + 15ml water / 1 tbsp Water (For the egg wash)
- 20g / 2 tbsp Sesame Seeds (Optional)
Section A: Ingredient Quality Audit:
The primary failure point in Enriched Burger Buns is often the butter temperature. If the butter is too cold, it will not emulsify into the gluten network; it will simply sit in greasy pockets. If it is too hot, it will render and destroy the yeast. Use a digital thermometer to ensure your milk is between 100 and 110 degrees Fahrenheit. If your flour has a low protein content, the buns will lack the "spring" needed to hold a heavy burger. You can fix this by adding 15g of vital wheat gluten to your dry mix to aerate and strengthen the structure. Finally, ensure your yeast is reactive. If the milk and sugar mixture does not foam within five minutes, discard it. Dead yeast results in a dense, leaden puck rather than a lofty bun.
THE MASTERCLASS
1. The Hydration Phase
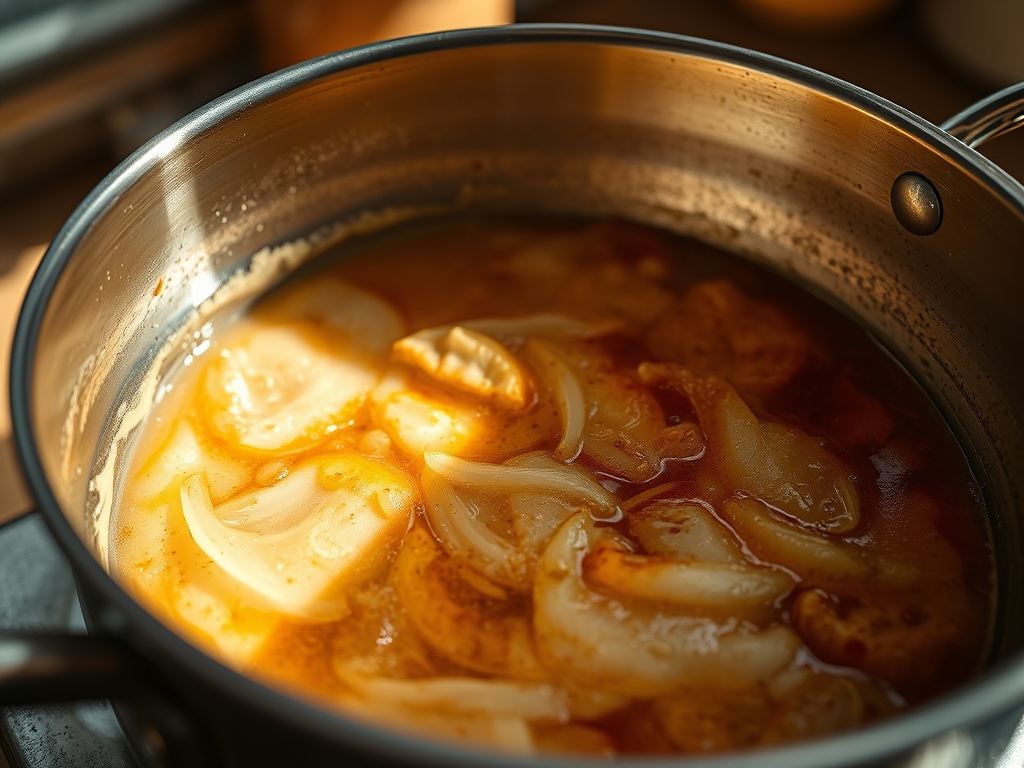
Combine the lukewarm milk, sugar, and yeast in the bowl of a stand mixer. Let it sit until a foamy head develops. Add the egg and whisk lightly to incorporate. This initial step ensures the yeast is active and the liquids are properly blended before the flour introduces resistance.
Pro Tip: Use a digital scale for all measurements. Volume-based measuring is the enemy of consistency in enriched doughs where the fat-to-flour ratio is precise.
2. The Gluten Development
Add the flour and salt to the liquid. Using the dough hook attachment, mix on low speed until a shaggy mass forms. Increase the speed to medium and knead for 5 to 7 minutes. The dough should start to pull away from the sides of the bowl, indicating the protein chains are beginning to link.
Pro Tip: Use a bench scraper to clear the sides of the bowl. This ensures every gram of flour is integrated into the primary mass for a uniform crumb.
3. The Lipid Emulsification
With the mixer running, add the softened butter one tablespoon at a time. Do not rush this process. Wait for each piece to disappear before adding the next. The dough will look like it is falling apart initially; stay the course. Continue kneading until the dough is smooth, elastic, and passes the "windowpane test."
Pro Tip: This is where the viscous nature of the butter creates the brioche texture. The fat coats the gluten strands, ensuring a tender bite that still maintains its shape.
4. The Primary Proof
Transfer the dough to a lightly oiled bowl. Cover with a damp cloth and place in a warm, draft-free environment. Allow it to double in size, which typically takes 60 to 90 minutes. This period allows the yeast to produce carbon dioxide, stretching the gluten network we just built.
Pro Tip: A professional proofing box or an oven with a "proof" setting provides the stable thermal environment needed for consistent fermentation.
5. Precision Shaping
Punch down the dough to release excess gas. Divide into 8 equal portions (roughly 100g each). Roll each portion into a tight ball by cupping your hand over the dough and moving in a circular motion against the counter. This creates surface tension, ensuring the bun rises upward rather than spreading outward.
Pro Tip: Use your bench scraper to divide the dough cleanly. Tearing the dough damages the gluten structure and leads to uneven proofing.
6. The Final Rise and Glaze
Place the rounds on a parchment-lined baking sheet. Cover lightly and let rise for another 45 to 60 minutes. They should look puffy and "marshmallowy." Brush the tops gently with your egg wash and sprinkle with sesame seeds. Bake at 375 degrees Fahrenheit for 15 to 18 minutes.
Pro Tip: Brushing with a silicone pastry brush prevents deflating the delicate air pockets. The egg wash facilitates the Maillard reaction for that iconic mahogany sheen.
Section B: Prep & Timing Fault-Lines:
Timing is the most common human error. If you over-proof the buns, they will collapse in the oven because the gluten has been stretched to its breaking point. If you under-proof, they will be dense and crack along the sides. Watch the dough, not the clock. The dough should "bounce back" slowly when poked. If the indentation stays, it is ready. If it snaps back instantly, it needs more time. Also, ensure your oven is fully preheated. Putting dough into a cold oven ruins the "oven spring" required for a tall, majestic bun.
THE VISUAL SPECTRUM
Section C: Thermal & Visual Troubleshooting:
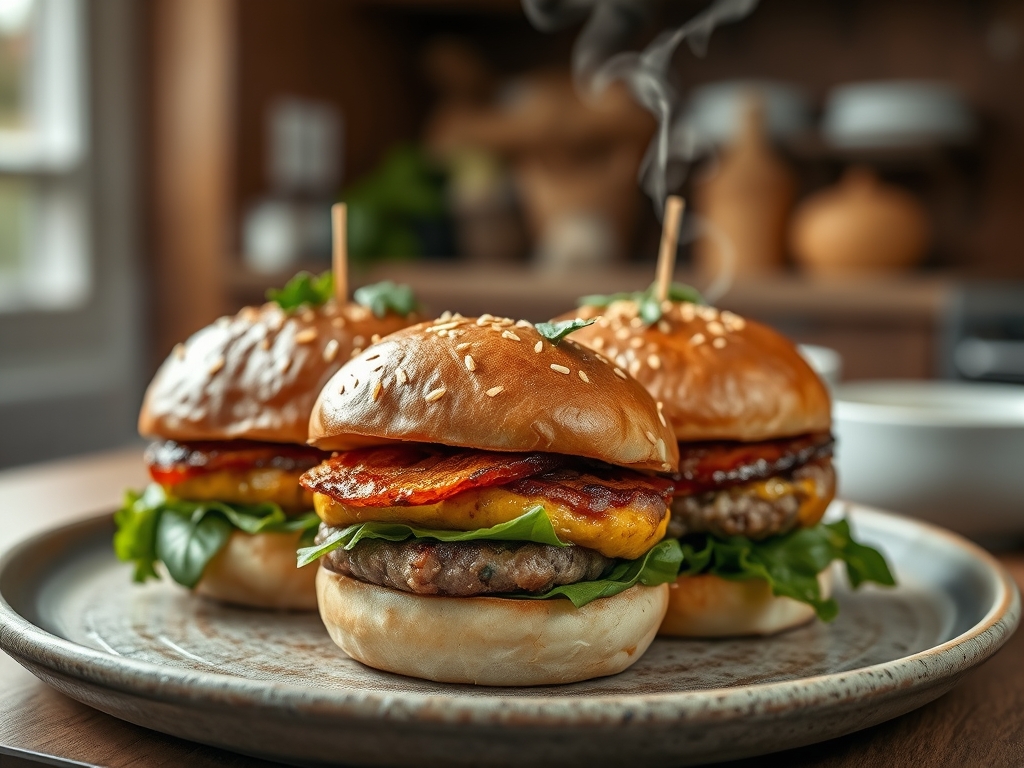
Look at the reference photo. Notice the deep, even mahogany color and the way the sesame seeds are perfectly adhered. If your buns are pale, your oven temperature is too low or you skipped the egg wash. If the tops are dark but the sides are white, your rack is too high in the oven. For a dull finish, try adding a pinch of salt and a splash of heavy cream to your egg wash; this increases the protein and fat content on the surface for a higher gloss. If the texture is "shreddy" rather than smooth, you likely over-kneaded the dough, causing the gluten to become too tough.
THE DEEP DIVE
Macro Nutrition Profile:
Each bun contains approximately 280 calories, 9g of fat, 42g of carbohydrates, and 7g of protein. The enrichment from the egg and butter provides a significant boost in flavor and satiety compared to standard white bread.
Dietary Swaps:
For a vegan version, substitute the milk with oat milk, the butter with a high-quality plant-based block butter, and the egg with an aquafaba wash. For a gluten-free version, use a 1-to-1 GF flour blend with added xanthan gum, though the rise will be significantly less dramatic. Keto versions require almond flour and vital wheat gluten, which changes the crumb density entirely.
Meal Prep & Reheating Science:
These buns freeze exceptionally well. Once cooled, wrap them individually in plastic wrap. To reheat, do not microwave; the moisture will turn the starch into a gummy mess. Instead, slice and toast the interior on a dry saucier or griddle. This creates a caramelized barrier that prevents the burger juices from soaking into the crumb.
THE KITCHEN TABLE
Why are my buns dense?
You likely didn't knead long enough or your yeast was expired. The dough must pass the windowpane test to ensure the gluten can hold the air bubbles produced during the proofing stages.
Can I make the dough ahead of time?
Yes. Perform the primary proof in the refrigerator overnight. The cold fermentation develops a more complex, piquant flavor profile and makes the high-fat dough much easier to handle and shape the next morning.
Why did my buns deflate?
Over-proofing is the culprit. If the gas bubbles become too large, the gluten structure fails. If they look like they are starting to wrinkle, get them into the oven immediately to save the batch.
How do I get that soft crust?
Brush the buns with melted butter immediately after removing them from the oven. This softens the protein "skin" created by the egg wash, resulting in a tender, luxurious exterior that is easy to bite through.