
Listen up, kitchen operatives. We are moving beyond the realm of the floppy, store-bought disk that tastes like preservative-laden cardboard. We are here to discuss Flour Tortilla Integrity. This is not a casual weekend hobby; this is a high-stakes audit of gluten development and lipid distribution. When you bite into a superior tortilla, you should experience a microscopic shattering of surface tension followed by a supple, chewy interior that defies the laws of simple bread. We are engineering a structural masterpiece that must hold the weight of piquant salsas and heavy proteins without catastrophic structural failure. We are looking for that perfect translucent sheen, the leopard-spotting of the Maillard reaction, and a flexibility that suggests the dough has been whispered to by a master. If your current wraps crumble like ancient parchment or feel like chewing on a radiator hose, your protocol is compromised. It is time to recalibrate your kitchen infrastructure and demand more from your flour and fat.
THE DATA MATRIX
| Metric | Specification |
|---|---|
| Prep Time | 20 Minutes |
| Execution Time | 15 Minutes |
| Yield | 12 Units (6-inch diameter) |
| Complexity | 4 / 10 |
| Estimated Cost per Serving | $0.12 USD |
THE GATHERS
Ingredient Protocol:
- 500g / 3.75 cups All-Purpose Flour (11% protein content preferred).
- 10g / 2 tsp Fine Sea Salt.
- 10g / 2 tsp Baking Powder (Aluminum-free for neutral pH).
- 80g / 0.33 cup High-Quality Lard or Vegetable Shortening (Chilled).
- 250ml / 1 cup Hot Water (approximately 60C / 140F).
Section A: Ingredient Quality Audit:
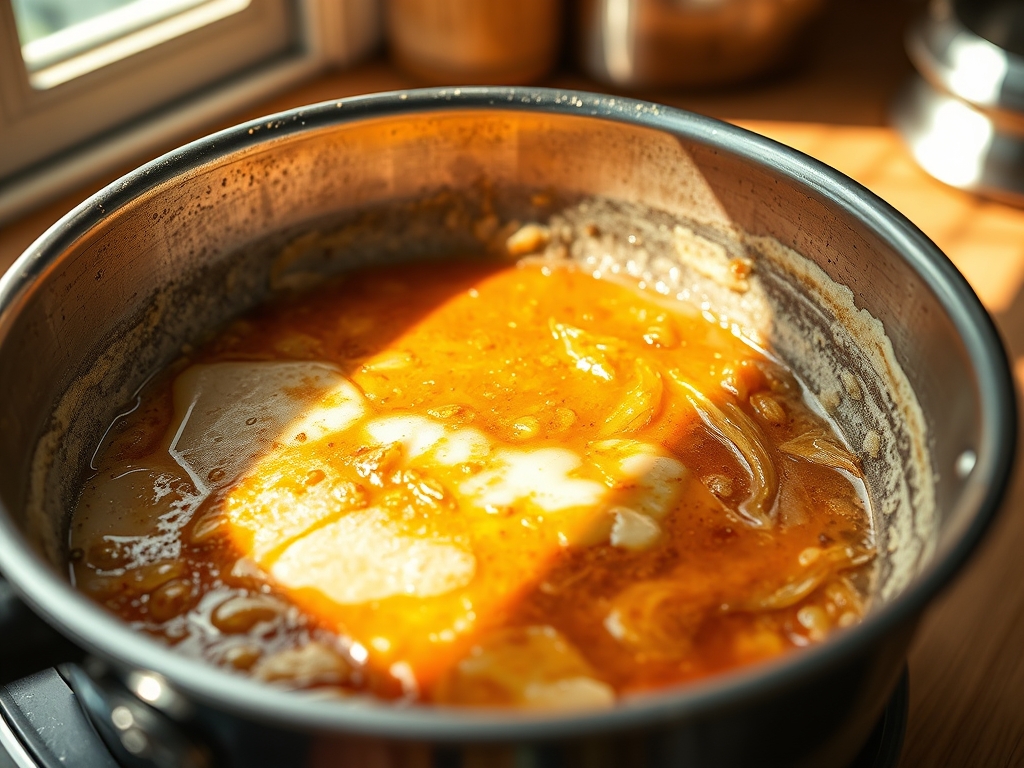
The most common failure in Flour Tortilla Integrity stems from the lipid choice. If you use a liquid oil, you sacrifice the flaky, laminated layers that a solid fat provides. Solid fats create "pockets" that render during cooking, leaving behind air gaps that aerate the crumb. If your flour is too high in protein (like bread flour), the result will be rubbery; if it is too low (like cake flour), the wrap will lack the tensile strength to hold fillings. If your water is too cold, the starches will not gelatinize, leading to a gritty mouthfeel. Use a digital scale to ensure your ratios are precise.
THE MASTERCLASS
1. The Dry Phase Integration
Begin by whisking your flour, salt, and baking powder in a large stainless steel bowl. Ensure the leavening agent is distributed evenly to avoid localized "puffs" that compromise the flat surface.
Pro Tip: Use a bench scraper to cut the chilled fat into the flour until it resembles coarse sand. This ensures the fat is coated in flour, preventing the premature development of a greasy, monolithic dough mass.
2. The Thermal Hydration
Slowly pour the hot water into the center of the dry well. Use a sturdy spatula or a saucier whisk if you are working in smaller batches to incorporate the liquid. The heat partially denatures the proteins, making the dough more extensible.
Pro Tip: Hot water speeds up the hydration of the starch granules. This "pre-cooks" the flour slightly, which is the secret to a tortilla that remains soft even after it cools down.
3. The Kinetic Knead
Transfer the shaggy mass to a clean work surface. Knead for exactly five minutes. You are looking for a smooth, elastic texture that bounces back slightly when pressed. Do not overwork it; we want suppleness, not the toughness of a bagel.
Pro Tip: Use the heel of your hand to stretch the dough away from you. This aligns the gluten strands into a cohesive network, ensuring the final product has the necessary Flour Tortilla Integrity to resist tearing.
4. The Bench Rest
Divide the dough into 12 equal portions (approximately 65g each). Roll them into tight spheres and place them on a tray. Cover with a damp cloth and let them rest for at least 30 minutes.
Pro Tip: This rest period allows the gluten to relax. If you skip this, the dough will "snap back" when you try to roll it out, resulting in thick, uneven wraps that cook poorly.
5. The Precision Compression
Dust your work surface lightly with flour. Using a heavy rolling pin, flatten each ball into a thin, translucent circle. You should almost be able to see the grain of the wood through the dough.
Pro Tip: Rotate the dough 90 degrees after every stroke. This ensures a circular shape and even thickness, which is vital for consistent thermal conduction during the sear.
6. The High-Heat Sear
Heat a heavy cast-iron skillet or comal over medium-high heat until it wisps with smoke. Lay the tortilla flat. Wait for bubbles to form (about 30 seconds), then flip. Cook for another 20 seconds.
Pro Tip: Use an infrared thermometer to ensure your pan surface is between 200C and 230C. If the pan is too cool, the tortilla will dry out before it browns; if it is too hot, the exterior will burn while the interior remains raw.
Section B: Prep & Timing Fault-Lines:
Timing is the silent killer of quality. If you leave the dough balls uncovered for even ten minutes, a "skin" will form, leading to cracks in the finished wrap. Furthermore, if you stack the tortillas without a clean kitchen towel to trap the steam, they will lose their flexibility. The "steam-rest" immediately after cooking is a non-negotiable step in the protocol to ensure the lipids stay viscous and the starches stay soft.
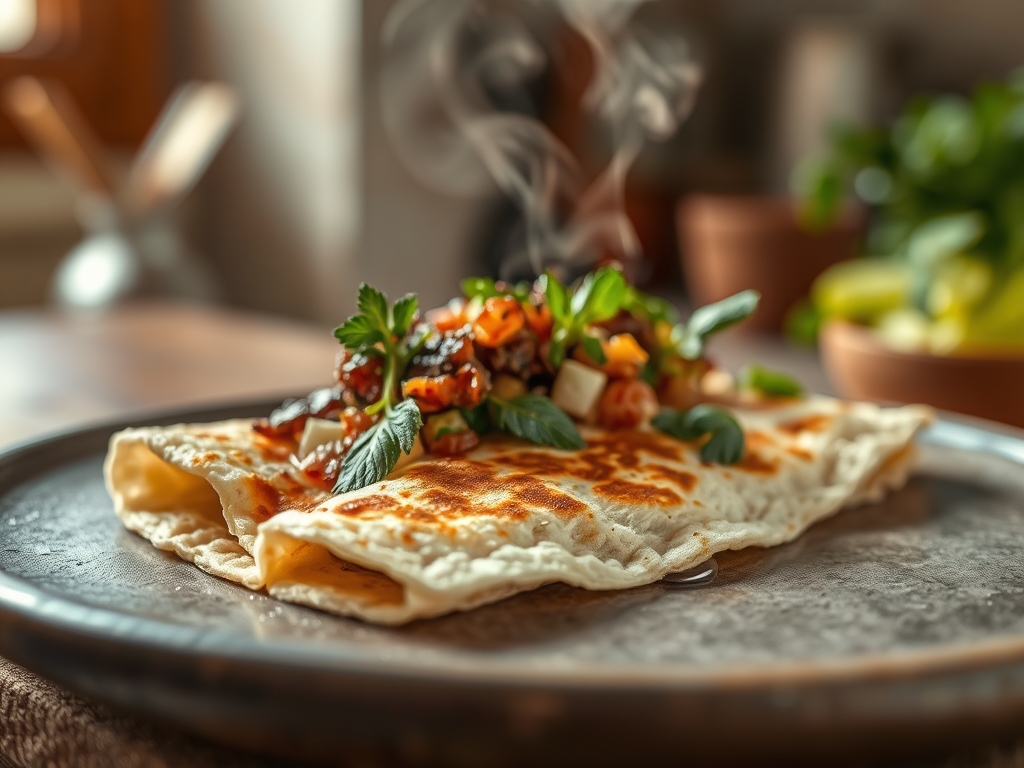
THE VISUAL SPECTRUM
Section C: Thermal & Visual Troubleshooting:
Referencing the Masterclass photo, you are looking for "leopard spots"—small, dark brown circles surrounded by a golden halo. If your tortilla is a uniform, pale white, your pan temperature was insufficient. If the spots are black and acrid, your heat was too high or your fat had a low smoke point. If the edges are frayed or "lacy," your dough was too dry; add a teaspoon of water during the next mix. A perfect tortilla should be matte, not shiny, indicating the fat has been fully integrated and rendered into the flour matrix.
THE DEEP DIVE
Macro Nutrition Profile:
Each 65g tortilla contains approximately 210 calories, 7g of fat, 32g of carbohydrates, and 4g of protein. While not a "diet" food, the absence of industrial seed oils and stabilizers makes this a significantly cleaner fuel source than commercial alternatives.
Dietary Swaps:
- Vegan: Replace lard with high-quality coconut oil (solid state) or a non-hydrogenated shortening.
- Keto/GF: This specific gluten-lipid lamination requires wheat protein; however, a blend of almond flour and xanthan gum can mimic the structure, though the "stretch" will be significantly reduced.
Meal Prep & Reheating Science:
To maintain molecular structure, store tortillas in a vacuum-sealed bag or airtight container for up to five days. To reheat, avoid the microwave, which vibrates water molecules and turns the starch "gummy." Instead, use a dry skillet for 15 seconds per side to re-activate the lipids and restore the crisp-yet-chewy interface.
THE KITCHEN TABLE
Why are my tortillas stiff?
You likely overcooked them or your pan was too cold. High heat and short duration are essential to trap moisture inside while searing the outside. Always wrap hot tortillas in a towel to steam-soften.
Can I use butter instead of lard?
Yes, but butter contains water and milk solids which can lead to a different texture and faster browning. It provides a piquant, nutty flavor but results in a shorter, more biscuit-like crumb.
Why is my dough shrinking when I roll it?
Your gluten is too tense. Give the dough balls another 15 minutes of rest. This allows the protein bonds to relax, making the dough compliant under the rolling pin.
How do I get them perfectly round?
Consistency starts with the sphere. Ensure your initial dough balls are perfectly smooth. Roll from the center outward, rotating frequently. Practice is the only tool that perfects the geometry.

