Listen closely. We are not just making breakfast; we are auditing the structural integrity of a biological gas chamber. When you bite into superior Yeast Raised Donuts, you are experiencing the violent expansion of carbon dioxide trapped within a reinforced gluten lattice. It is a miracle of engineering. The goal is a crumb so light it feels like a suggestion of matter, encased in a golden, oil-resistant shell that shatters under the slightest pressure. Most amateur attempts result in a dense, grease-logged disaster that sits in the gut like a lead weight. That ends today. We are looking for that signature white ring around the equator, the "proof line" that signals perfect buoyancy and internal aeration. If your dough is not fighting back with elastic resilience, you have already lost the war. We are here to optimize the fermentation curve and master the thermal shock of the deep fryer. Prepare your workstation. We are about to turn simple carbohydrates into high-performance culinary architecture.
THE DATA MATRIX
| Metric | Specification |
|---|---|
| Prep Time | 45 Minutes (Active) |
| Execution Time | 3 Hours (Fermentation + Frying) |
| Yield | 12 to 14 High-Output Units |
| Complexity (1-10) | 7 (Precision Temperature Sensitive) |
| Estimated Cost per Serving | $0.45 USD |
THE GATHERS
Ingredient Protocol:
- 500g / 4 cups Bread Flour (12.7% protein minimum)
- 250ml / 1 cup Whole Milk (heated to 43C / 110F)
- 10g / 1 tbsp Active Dry Yeast
- 65g / 1/3 cup Superfine Sugar
- 5g / 1 tsp Fine Sea Salt
- 2 Large Eggs (room temperature)
- 75g / 5 tbsp Unsalted Butter (softened to 20C / 68F)
- 2L / 2 quarts Neutral High-Smoke Point Oil (Canola or Rice Bran)
Section A: Ingredient Quality Audit:
If your flour is bleached or low-protein, your donuts will lack the structural tensile strength to hold the CO2 bubbles; the result is a flat, sad disk. Use bread flour to ensure a robust gluten network. If your yeast is sluggish, perform a "viability check" by blooming it in warm milk and sugar. If it does not foam within five minutes, discard it. Sub-par butter with high water content will also ruin the crumb; always use European-style butter with 82% butterfat to ensure the dough remains rich and viscous during the kneading phase.
THE MASTERCLASS
Step-by-Step Execution:
1. Hydration and Activation
Combine the warm milk, sugar, and yeast in the bowl of a stand mixer. Let it sit until a thick foam forms on the surface. This is the biological ignition of your dough.
Pro Tip: Use a digital thermometer to ensure the milk is exactly 43C. Anything higher will scald the yeast and terminate the fermentation process before it begins.
2. Structural Integration
Add the eggs and half the flour. Use the dough hook to mix on low speed until a shaggy mass forms. Gradually add the remaining flour and the salt.
Pro Tip: Salt is a fermentation regulator. Never add it directly onto the yeast as it can dehydrate the cells through osmotic pressure; let the flour act as a buffer.
3. Lipid Incorporation
While the mixer is running, add the softened butter one tablespoon at a time. Increase the speed to medium and knead for 8 to 10 minutes until the dough is smooth, shiny, and clears the sides of the bowl.
Pro Tip: Use a bench scraper to help gather the dough if it sticks. The dough should pass the "windowpane test," meaning you can stretch a small piece until it is translucent without it tearing.
4. Primary Fermentation
Place the dough in a lightly oiled bowl and cover with plastic wrap. Let it rise in a draft-free environment at 24C (75F) until it has doubled in volume.
Pro Tip: This stage allows the yeast to aerate the dough. A slow rise at room temperature develops more complex flavor molecules than a fast rise in a hot proofing box.
5. Precision Shaping
Punch down the dough to render out large gas pockets. Roll it out on a floured surface to a thickness of 1.5cm. Use a circular cutter to stamp out your donuts.
Pro Tip: Use a digital scale to weigh your scraps. Do not re-roll them more than once; the extra mechanical stress will over-develop the gluten and make the second batch tough.
6. The Final Proof
Place the shaped donuts on individual squares of parchment paper. Cover lightly and let them rise for another 45 minutes. They should look puffy and feel like marshmallows.
Pro Tip: The parchment paper trick allows you to drop the donut into the oil without touching it, preventing you from deflating the delicate gas structure you just built.
7. Thermal Execution
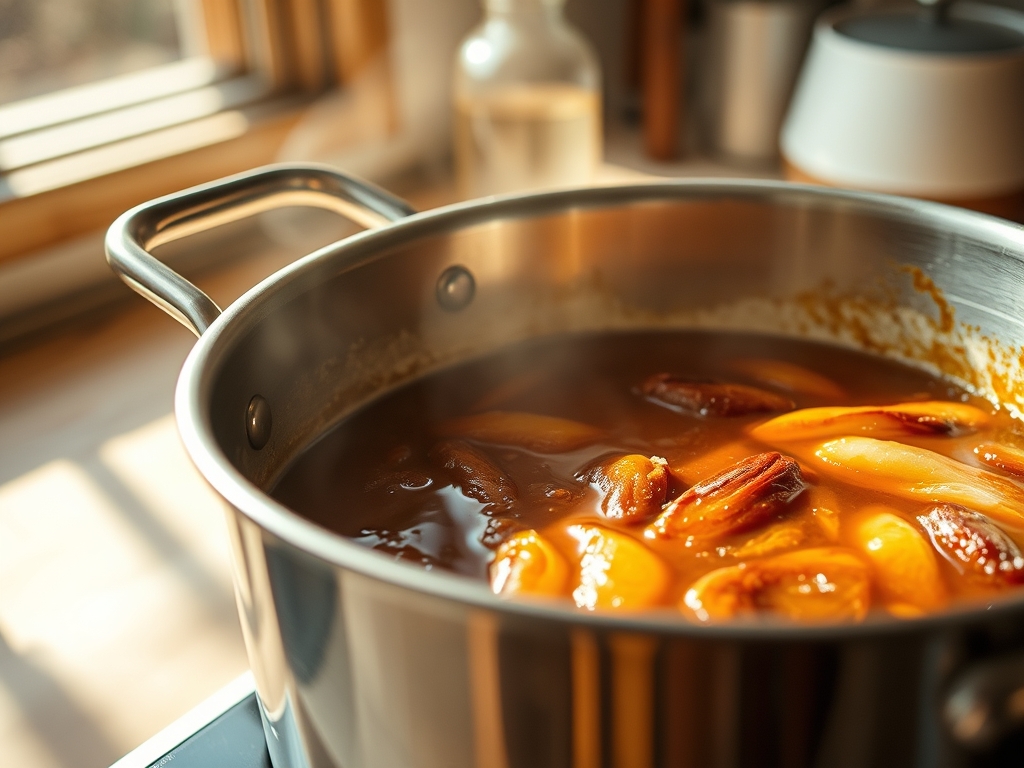
Heat your oil in a heavy-bottomed Dutch oven to 175C (350F). Carefully drop the donuts in, frying for 90 seconds per side until they achieve a deep mahogany hue.
Pro Tip: Use a spider skimmer to flip the donuts. Maintaining a constant oil temperature is critical; if the temp drops, the dough will absorb oil and become greasy rather than crisp.
Section B: Prep & Timing Fault-Lines:
The biggest human error is rushing the second proof. If the dough is under-proofed, it will explode unevenly in the fryer, creating a jagged, ugly surface. If over-proofed, the CO2 bubbles will merge and collapse, leaving you with a greasy, hollow shell. Use the "finger poke" test: if the indentation fills back slowly, it is ready. If it snaps back instantly, it needs more time. If it stays sunken, you have over-proofed and must reshape the dough.
THE VISUAL SPECTRUM
Section C: Thermal & Visual Troubleshooting:
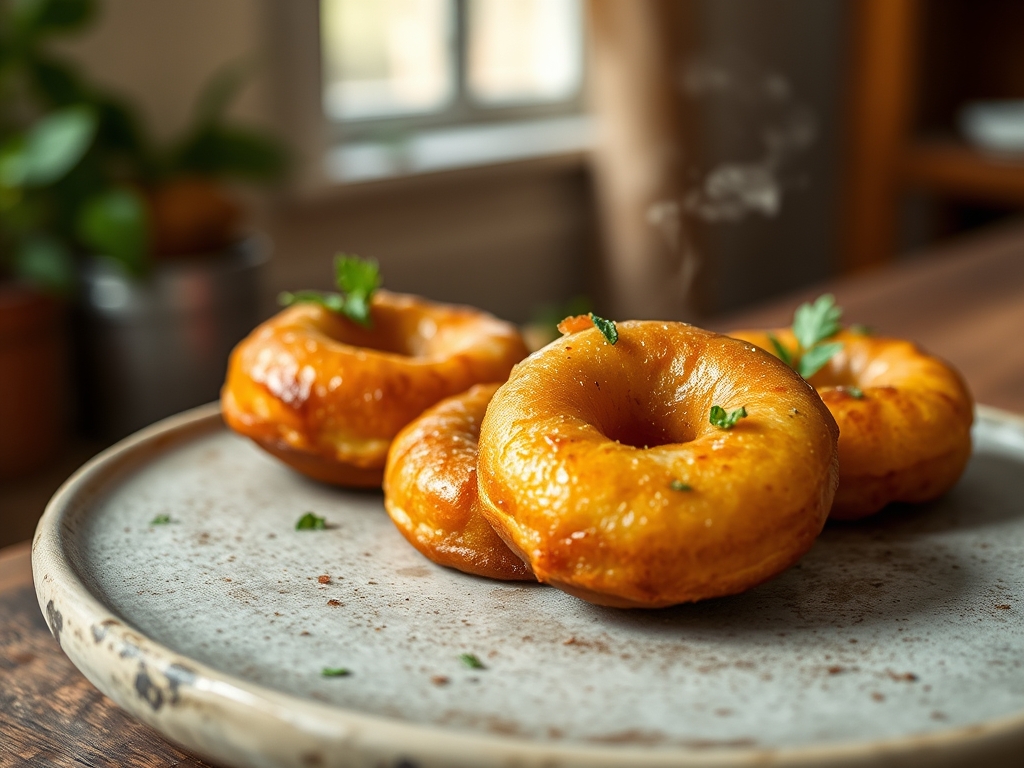
Look at the Masterclass photo above. Notice the pale band around the center? That is the hallmark of a perfectly proofed donut; it is so light it floats high in the oil. If your donuts are dark brown but raw in the middle, your oil is too hot. If they are a dull, grayish tan, your oil is too cold or your yeast is dead. To infuse the exterior with a professional sheen, glaze them while they are still warm to allow the sugar to melt slightly into the crust, creating a seamless moisture barrier.
THE DEEP DIVE
- Macro Nutrition Profile: Each unit contains approximately 280 calories, 14g fat, 32g carbohydrates, and 5g protein. It is a high-energy fuel source intended for immediate consumption.
- Dietary Swaps: For a vegan audit, swap milk for oat milk and butter for a high-quality vegan block butter. Use a commercial egg replacer to maintain the emulsification of the fats. Keto or GF versions require significant structural re-engineering using xanthan gum and almond flour, which will alter the "chew" significantly.
- Meal Prep & Reheating Science: To maintain the molecular structure, never microwave a yeast donut; it will turn into rubber. Reheat in a 150C (300F) oven for 3 minutes to crisp the exterior and soften the internal starches without drying them out.
THE KITCHEN TABLE
Why are my donuts tough?
You likely over-worked the dough or added too much flour during the shaping phase. Excessive gluten development creates a bread-like texture rather than a tender crumb. Always use a digital scale for flour to ensure precision.
Can I proof the dough overnight?
Yes. A cold ferment in the refrigerator for 12 to 18 hours slows down the yeast, allowing for superior flavor development. The cold dough is also much easier to handle and cut into precise shapes.
How do I prevent the donuts from soaking up oil?
Ensure your oil is at exactly 175C (350F). If the oil is too cool, the dough stays in the "danger zone" too long, allowing the fats to penetrate the crust instead of instantly searing the exterior.
What is the best oil for frying?
Use a neutral oil with a high smoke point, such as Canola, Peanut, or Sunflower oil. Avoid olive oil or butter, as they will burn and deglaze the flavor profile with bitter, acrid notes.