
Stop looking at your biceps; they are useless here. If you are still sweating over a mahogany countertop, wrestling with a sticky mass of flour like it is a Greco-Roman opponent, you are living in the culinary dark ages. We are shifting the labor from your triceps to the clock. This is the era of passive fermentation. By leveraging the No Knead Bread Data, we realize that time is the most efficient employee in the kitchen. It does not take breaks, it does not require a salary, and it never over-works the dough. We are talking about a 24-hour hydration cycle where enzymes do the heavy lifting, breaking down complex starches into simple sugars while carbon dioxide builds a cathedral of air pockets. The result is a crust that shatters like glass and a crumb so aerated it practically defies gravity. We are auditing the very infrastructure of your pantry to ensure that every gram of hydration serves a purpose. Forget the gym; grab a digital scale and let the physics of time-dependent gluten alignment do the work.
THE DATA MATRIX
| Metric | Specification |
|---|---|
| Prep Time | 15 Minutes |
| Execution Time | 18 – 24 Hours |
| Yield | 1 Large Boule (approx. 850g) |
| Complexity (1-10) | 2 (Low effort, high precision) |
| Estimated Cost per Serving | $0.28 |
THE GATHERS
Ingredient Protocol:
- 400g / 3.25 cups All-Purpose or Bread Flour (Unbleached)
- 8g / 1.5 tsp Sea Salt (Fine grain)
- 1g / 0.25 tsp Active Dry Yeast
- 300ml / 1.25 cups Filtered Water (Room temperature, approx. 70F)
- 15ml / 1 tbsp Extra Virgin Olive Oil (For bowl coating)
Section A: Ingredient Quality Audit:
If your flour has been sitting in an open bag since the last presidential election, discard it. Old flour loses its moisture content and enzymatic activity, leading to a "dead" loaf that refuses to aerate. If your yeast fails to bloom in a small test cup of warm water, it has expired; do not proceed. For those using tap water, be wary of high chlorine levels. Chlorine is a chemical assassin for yeast. Use filtered water or let a pitcher of tap water sit out for 24 hours to allow the chlorine to dissipate. If your dough feels too viscous and refuses to hold any shape after the long rest, your flour likely has a low protein content. Fix this by substituting 50g of your white flour with Whole Wheat or Rye flour to increase the structural integrity of the gluten matrix.
THE MASTERCLASS
1. The Initial Integration
In a large glass bowl, whisk your dry ingredients to ensure the yeast is evenly distributed. Pour in the water and use a bench scraper or a sturdy spatula to fold the mixture until no dry streaks remain. You are not looking for smoothness yet; you want a "shaggy mass."
Pro Tip: This stage is about autolyse. By simply wetting the flour, you trigger the protease and amylase enzymes which begin breaking down proteins into gluten chains without you moving a single muscle.
2. The Long Hibernate
Cover the bowl tightly with plastic wrap or a silicone lid to prevent a skin from forming. Leave it on the counter at room temperature (68-72F) for at least 12 hours, though 18 is the sweet spot. The dough will double in size and be dotted with bubbles.
Pro Tip: Temperature is your primary variable. If your kitchen is cold, use the "pilot light" warmth of an oven (turned off). High heat will accelerate fermentation but sacrifice the complex flavor profile developed by a slow infuse of organic acids.
3. The Structural Fold
Gently tip the viscous dough onto a floured surface using your bench scraper. Do not deflate it. Fold the edges toward the center like an envelope. Turn it over so the seam is down and let it rest for another 2 hours under a tea towel.
Pro Tip: This "folding" replaces traditional kneading. It realigns the gluten strands into a cohesive web without expelling the precious gases produced during the long rest.
4. The Thermal Shock
Preheat a heavy Dutch oven (cast iron is king) in a 450F oven for 30 minutes. Carefully drop the dough into the scorching pot. Cover with the lid and bake for 30 minutes; then remove the lid and bake for another 15 minutes to render a deep, mahogany crust.
Pro Tip: The lid traps the steam escaping from the dough. This steam keeps the surface supple, allowing the bread to expand fully (oven spring) before the crust sets and the Maillard reaction begins.
Section B: Prep & Timing Fault-Lines:
The most common human error is impatience. If you bake this at the 6-hour mark, you will have a dense, gummy brick. The No Knead Bread Data suggests that the 18-hour mark is where the flavor-to-texture ratio peaks. If you find your dough has over-proofed (it looks deflated and smells like cheap beer), do not toss it. Gently fold in a bit more flour, let it rest for an hour, and bake it in a loaf pan. It won't be a perfect boule, but it will save the bake. Always use a digital scale for measurements; volume measurements with cups are notoriously inaccurate and can vary by as much as 20% depending on how tightly the flour is packed.
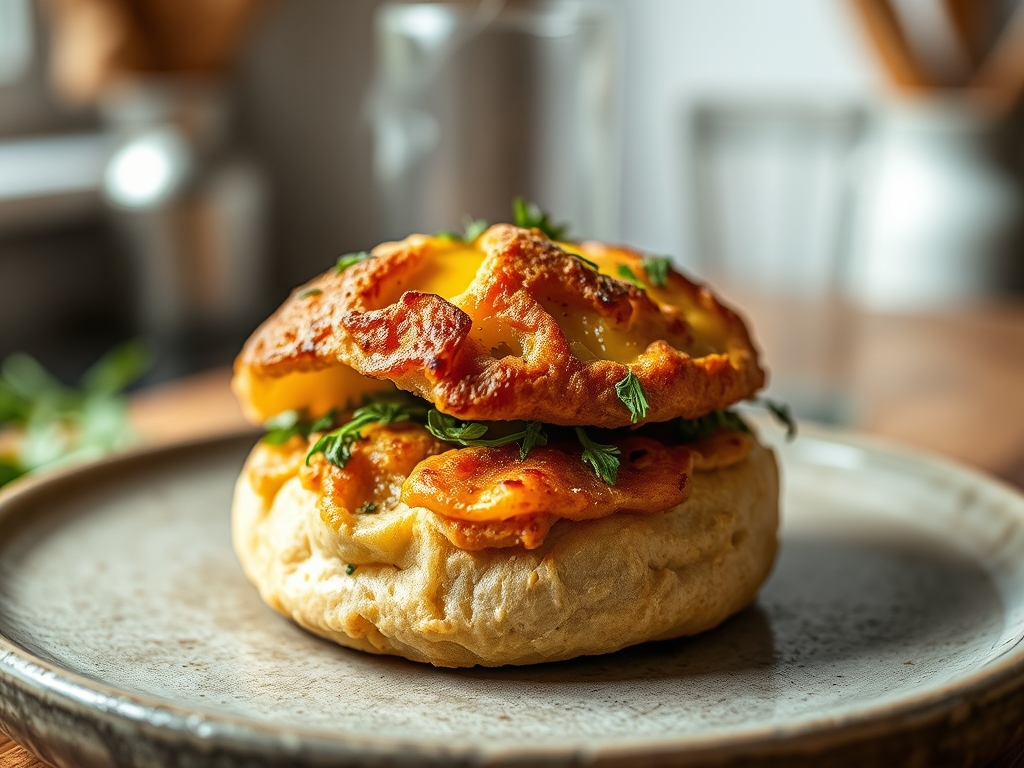
THE VISUAL SPECTRUM
Section C: Thermal & Visual Troubleshooting:
Look at the Masterclass photo above. Notice the "ears" or the jagged ridges on the top of the loaf; these occur because the steam escaped through the weakest points. If your loaf is flat and pale, your oven was not hot enough or your Dutch oven lacks a tight seal. A dull, matte finish usually indicates a lack of surface tension during the final shaping. To achieve that glossy, professional sheen, spray the dough lightly with water just before the lid goes on. If the bottom is scorched while the top is perfect, slide a baking sheet on the rack below the Dutch oven to act as a heat shield. The interior should sound hollow when tapped; if it thuds, the internal moisture has not yet turned to steam.
THE DEEP DIVE
Macro Nutrition Profile:
A standard slice (approx. 50g) contains roughly 120 calories, 4g of protein, 25g of carbohydrates, and less than 1g of fat. Because of the long fermentation, the glycemic index is lower than store-bought white bread, and the phytic acid is reduced, making minerals more bio-available.
Dietary Swaps:
- Vegan: Naturally vegan. Ensure your flour is not fortified with animal-derived D3.
- Keto: This infrastructure is carbohydrate-dependent; however, you can substitute 20% of the flour with almond flour for a denser, lower-carb profile.
- GF: Use a high-quality 1-to-1 gluten-free blend containing xanthan gum. Increase water by 10% as GF flours are highly absorbent.
Meal Prep & Reheating Science:
To maintain the molecular structure, never refrigerate bread; this accelerates staling through starch retrogradation. Store at room temperature in a paper bag. To revive a day-old loaf, mist the crust with water and place it in a 350F oven for 6 minutes. This re-gelatinizes the starches, returning the interior to a soft, pillowy state.
THE KITCHEN TABLE
Why is my dough so sticky?
High hydration is the secret to big bubbles. Do not add more flour. Use a bench scraper and floured hands to handle it quickly. The stickiness is a sign that the gluten is ready to trap gas.
Can I use a slow cooker instead?
You can, but you will lose the crust. A slow cooker cannot reach the temperatures required to render the Maillard reaction. Stick to a Dutch oven or a heavy lidded pot for the best structural results.
What if I don't have a Dutch oven?
Use a heavy stainless steel pot with a tight lid. If the lid isn't tight, cover the pot with foil before putting the lid on. The goal is to trap steam to ensure maximum expansion.
My bread is doughy in the middle.
You likely cut it too soon. The bread continues to cook as it cools. If you slice into a hot loaf, the steam escapes instantly, causing the remaining moisture to collapse the starch cells into a gummy mess.

