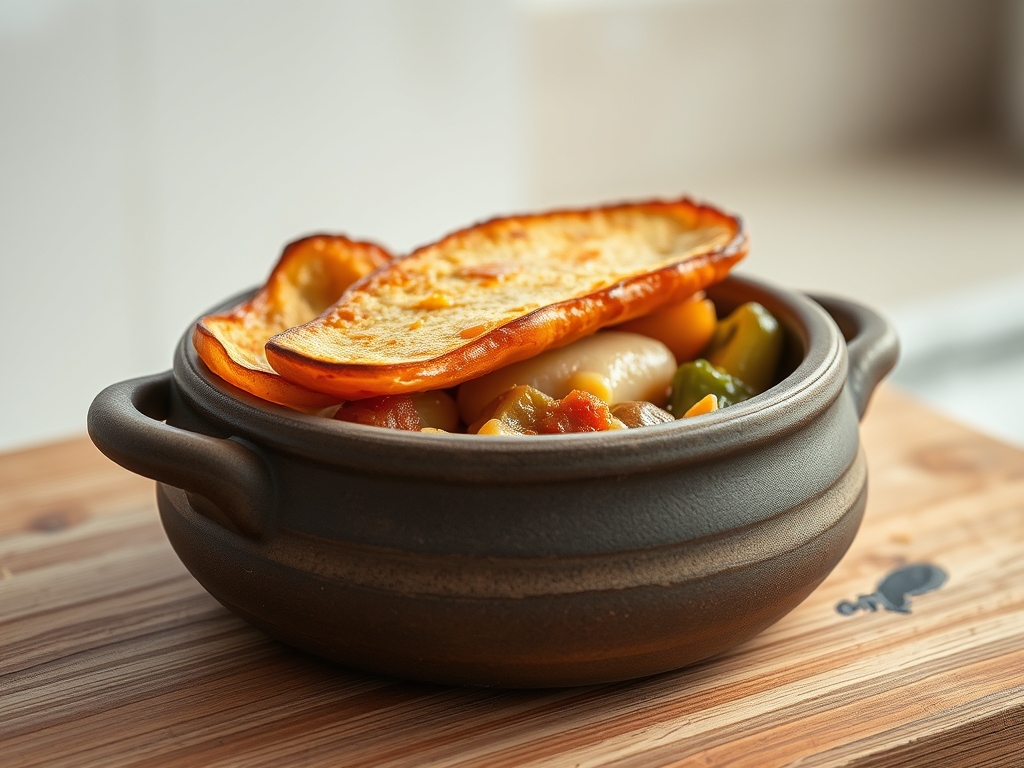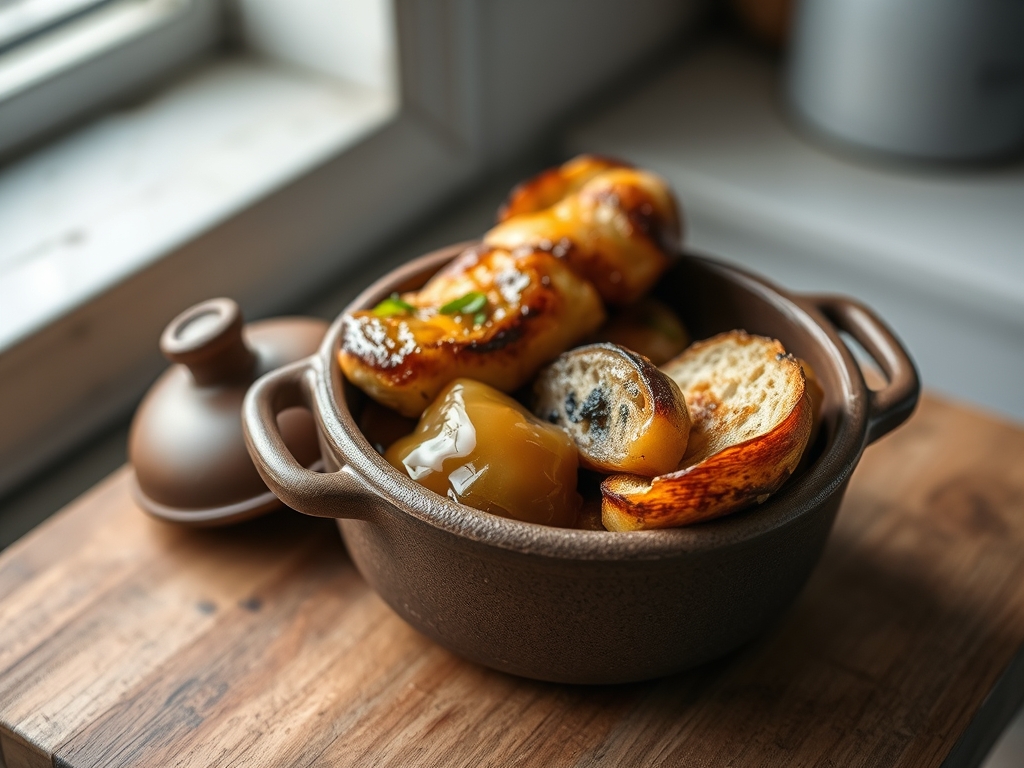
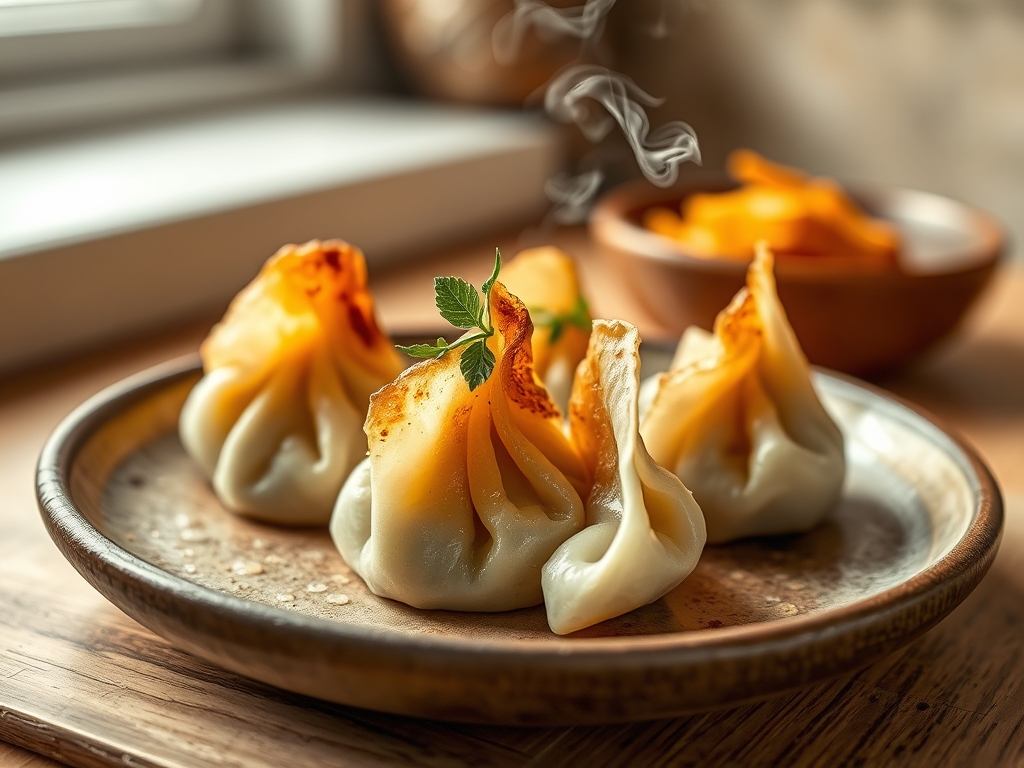
Listen to the sound of a high stakes culinary transformation. It begins with the violent hiss of water hitting a screaming hot pan; a white cloud of steam erupts to envelop the delicate pleats of a dumpling. This is the Steam to Sear Thermal Cycle in its most aggressive and beautiful form. We are not just making lunch here; we are engineering a dual-texture marvel that requires precision and a deep understanding of Potsticker Dough Data. To the uninitiated, it looks like simple frying. To the expert auditor, it is a calculated manipulation of starch gelatinization and the Maillard reaction. The goal is a top that is translucent and supple, paired with a bottom crust so crisp it shatters like glass upon impact. If your dough is flabby or your base is scorched, you have failed the audit. We are looking for that perfect golden brown gradient and a structural integrity that holds a piquant, juicy interior without leaking. Let us break down the infrastructure of the perfect pan fried dough.
THE DATA MATRIX
| Metric | Specification |
|---|---|
| Prep Time | 45 Minutes (Resting Included) |
| Execution Time | 12 Minutes |
| Yield | 30 to 35 Dumplings |
| Complexity | 6 / 10 |
| Estimated Cost per Serving | $0.85 USD |
THE GATHERS
Ingredient Protocol:
- 375g / 3 cups All Purpose Flour (High protein preferred)
- 240ml / 1 cup Boiling Water (The "Tangzhong" shortcut)
- 5ml / 1 tsp Fine Sea Salt
- 15ml / 1 tbsp Neutral Oil (For the sear)
- 120ml / 0.5 cup Room Temperature Water (For the steam phase)
Section A: Ingredient Quality Audit:
The most common failure in the infrastructure of dough is the protein content of the flour. If you use cake flour, the structure will collapse; it lacks the gluten network to withstand the steam pressure. Use a flour with at least 11 percent protein. If your dough feels too tacky, do not just dump more flour on it. This ruins the hydration ratio. Instead, use a bench scraper to work the dough on a cold surface to encourage gluten development without adding bulk. If your water is not at a rolling boil when integrated, the starches will not partially gelatinize. This results in a rubbery texture rather than a tender, workable skin. Always use a digital scale for your Potsticker Dough Data metrics; volume measurements are for amateurs and lead to inconsistent results.
THE MASTERCLASS
1. The Hot Water Integration
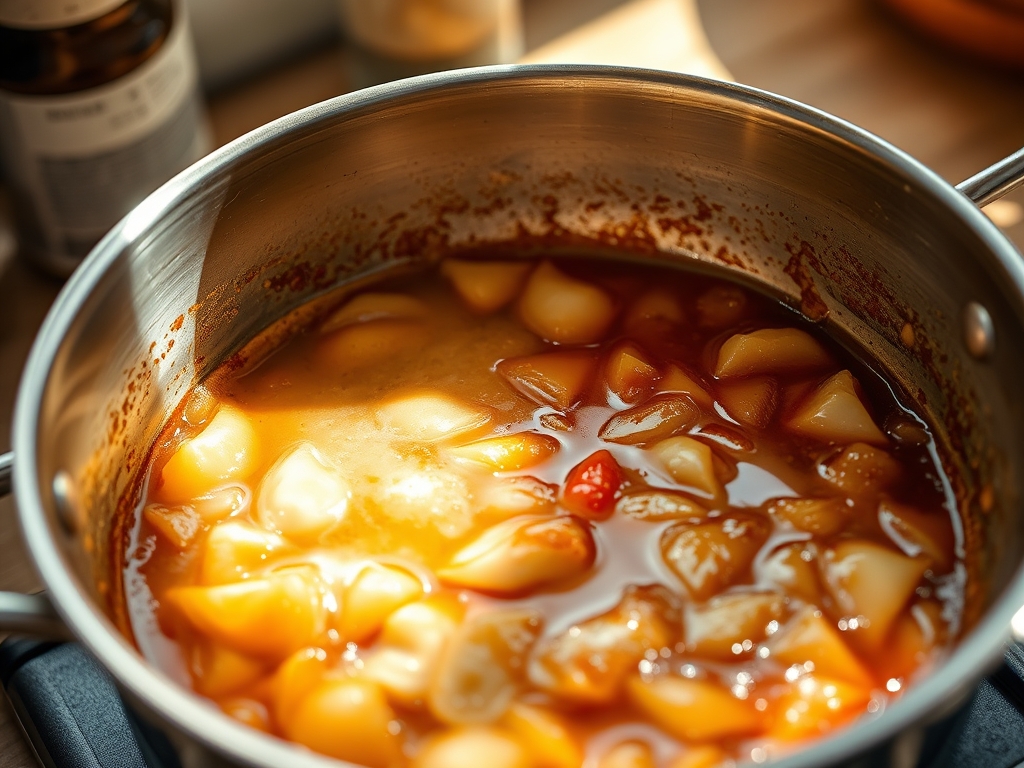
Place your flour and salt in a heat proof bowl. Slowly pour the boiling water into the center while stirring rapidly with chopsticks or a wooden spoon. You are looking to create "shaggy" clumps. This process denatures some of the proteins and pre-cooks the starch, which ensures the dough remains soft even after it is fried.
Pro Tip: This is known as the "hot water crust" method. By partially gelatinizing the starch, you limit gluten elasticity, making the dough easier to roll out into paper thin circles that do not snap back.
2. The Kneading Protocol
Once the mixture is cool enough to touch, move it to a clean work surface. Knead by hand for 8 to 10 minutes until the surface is as smooth as a baby's earlobe. If you have a stand mixer, 5 minutes on medium-low will suffice. Wrap the dough tightly in plastic wrap and let it rest for at least 30 minutes at room temperature.
Pro Tip: Resting allows the moisture to equalize throughout the dough mass. Without this phase, your wrappers will have "dry spots" that crack during the pleating process. Use a digital scale to portion the dough into 12g balls for perfect uniformity.
3. The Rolling and Pleating
Dust your surface lightly with cornstarch rather than flour. Roll each ball into a 3.5 inch circle, ensuring the edges are thinner than the center. This "belly" in the middle supports the weight of the filling, while the thin edges allow for beautiful, delicate pleats that do not become a thick, doughy knot at the top.
Pro Tip: Use a small wooden rolling pin (a "dowel" style) to exert targeted pressure. A heavy French rolling pin is too cumbersome for this level of precision.
4. The Thermal Shock (The Sear)
Heat a heavy bottomed non-stick skillet or a seasoned cast iron pan over medium-high heat. Add your neutral oil. Place the dumplings in the pan, flat side down. Do not crowd them. Fry for 2 minutes until the bottoms are a pale, consistent gold.
Pro Tip: This initial sear "sets" the shape of the dumpling and begins to render any fat in the filling, creating an internal basting effect.
5. The Steam Injection
Pour in enough room temperature water to reach one third of the way up the sides of the dumplings. Immediately cover with a tight fitting lid. The trapped steam will cook the wrappers and the filling simultaneously. Continue this for 6 to 8 minutes until the water has almost completely evaporated.
Pro Tip: Use a glass lid if possible. Visual cues are vital here. You are looking for the wrappers to turn from opaque white to a slightly translucent, "glassy" state.
6. The Final Crisp
Remove the lid. Let the remaining moisture evaporate. Add a tiny drizzle of sesame oil around the edges of the pan. Fry for another 1 to 2 minutes. The dumplings will "release" from the pan when the crust is fully formed.
Pro Tip: This is where the Maillard reaction reaches its peak. The sugars and proteins in the dough undergo a chemical transformation that creates hundreds of different flavor compounds. Use a thin metal spatula to check the "snap" of the crust.
Section B: Prep & Timing Fault-Lines:
If your dumplings are sticking to the pan, you likely moved them too early. The dough must undergo a "release" phase where the crust dries out enough to detach from the cooking surface. If the filling is cold but the dough is overcooked, your steam phase was too short or your heat was too high. The Steam to Sear Thermal Cycle requires a balanced medium heat; high heat will vanish the water before the filling reaches a safe internal temperature.
THE VISUAL SPECTRUM
Section C: Thermal & Visual Troubleshooting:
Look at the Masterclass photo. Notice the "lace" or the "skirt" that sometimes forms between dumplings; this is achieved by adding a teaspoon of flour to your steaming water. If your dumplings look dull or grey, they are likely undercooked or the dough was too dry. A perfect potsticker should have a vibrant, almost glowing translucency on the pleats. If the bottom is dark brown but the sides are white and doughy, you skipped the steam saturation. The goal is a 360 degree cook with a 180 degree crunch. If you see uneven browning, your pan has "hot spots." Rotate the pan 90 degrees every two minutes during the final crisping phase to ensure an even thermal distribution.
THE DEEP DIVE
Macro Nutrition Profile
A standard serving of five dumplings provides approximately 350 calories. The breakdown is roughly 45g Carbohydrates, 12g Protein, and 14g Fat (depending on the filling). The dough itself is a pure carbohydrate source, providing the quick energy needed for the "crunch" factor.
Dietary Swaps
- Vegan: The dough is naturally vegan. Ensure your filling uses tofu or minced mushrooms seasoned with soy and ginger.
- Gluten-Free: This is difficult. You must use a blend of rice flour, tapioca starch, and xanthan gum to mimic the elasticity of gluten.
- Keto: Replace dough with blanched cabbage leaves or "egg skins" (thinly fried sheets of whisked egg).
Meal Prep & Reheating Science
To maintain molecular structure, freeze dumplings on a parchment lined tray before bagging them. Do not thaw before cooking; go straight from freezer to pan, adding 2 minutes to the steam phase. To reheat cooked dumplings, avoid the microwave; it makes the dough rubbery. Instead, use a toaster oven or a quick "re-fry" in a pan with a drop of water to infuse moisture back into the wrapper.
THE KITCHEN TABLE
Why is my dough so tough?
You likely over-worked the gluten or used cold water. The boiling water method is non-negotiable for tenderness. If you knead it too long after it has cooled, the protein bonds become too tight to stretch properly.
Can I use store-bought wrappers?
You can, but they often contain preservatives that affect the "stretch." Store-bought skins are usually thinner and prone to tearing during the steam phase. For a true infrastructure audit, handmade is the only way to go.
What is the best oil for searing?
Use an oil with a high smoke point like grapeseed or avocado oil. Avoid butter; the milk solids will burn during the 8-minute steam cycle, leaving a bitter, charred residue on your beautiful Potsticker Dough Data.
Why did my dumplings burst?
Two culprits: overfilling or trapped air. When the steam expands inside the dumpling, it needs a little room. If there is no headspace or the seal is weak, the pressure will find the weakest point and explode.