
Listen closely because the air in this bakery is thick with more than just the scent of fermented grain. We are stepping into the arena of heavy hitters. Forget the airy, whimsical brioche or the forgiving stretch of a high protein wheat loaf. We are here to audit the structural integrity of the dark horse of the grain world. Achieving true Rye Bread Elasticity is not a suggestion; it is a rigorous mechanical requirement for anyone serious about European sourdough. Rye is a temperamental beast. It lacks the glutenin and gliadin framework that gives wheat its bounce. Instead, it relies on a complex network of pentosans. These mucilaginous substances create a viscous environment that traps gas, but they are fragile. If your enzyme activity is unmonitored, your loaf will collapse into a dense, gummy brick. We are here to engineer a crumb that is resilient, a crust that is shatteringly crisp, and a flavor profile that is unapologetically piquant. Strap in. This is a technical audit of the highest order.
THE DATA MATRIX
| Metric | Specification |
|---|---|
| Prep Time | 45 Minutes (Active) |
| Execution Time | 24 – 36 Hours (Fermentation Dependent) |
| Yield | 2 Large Boules (Approx. 900g each) |
| Complexity (1-10) | 8.5 |
| Estimated Cost per Serving | $0.65 USD |
THE GATHERS
Ingredient Protocol:
- 500g / 4 cups Dark Rye Flour (High Extraction)
- 300g / 2.5 cups Strong Bread Flour (14% Protein)
- 600ml / 2.5 cups Filtered Water (Target Temp: 32C / 90F)
- 200g / 0.75 cup Active Rye Sourdough Starter (100% Hydration)
- 18g / 1.2 tbsp Fine Sea Salt
- 10g / 2 tsp Caraway Seeds (Optional for aromatic infusion)
- 50ml / 0.2 cup Blackstrap Molasses (For color and hygroscopic moisture)
Section A: Ingredient Quality Audit:
If your rye flour smells dusty rather than nutty, your enzymatic activity is likely compromised. Old flour loses its ability to hold water, leading to a "leaky" dough. Fix this by incorporating a small amount of vital wheat gluten to bolster the frame. If your sourdough starter is sluggish, do not proceed. A weak starter cannot acidify the dough quickly enough to deactivate amylase enzymes, which will literally liquefy your bread from the inside out. Ensure your water is filtered; chlorine is a silent assassin that inhibits wild yeast colonization.
THE MASTERCLASS
Step-by-Step Execution:
1. The Acidic Inoculation
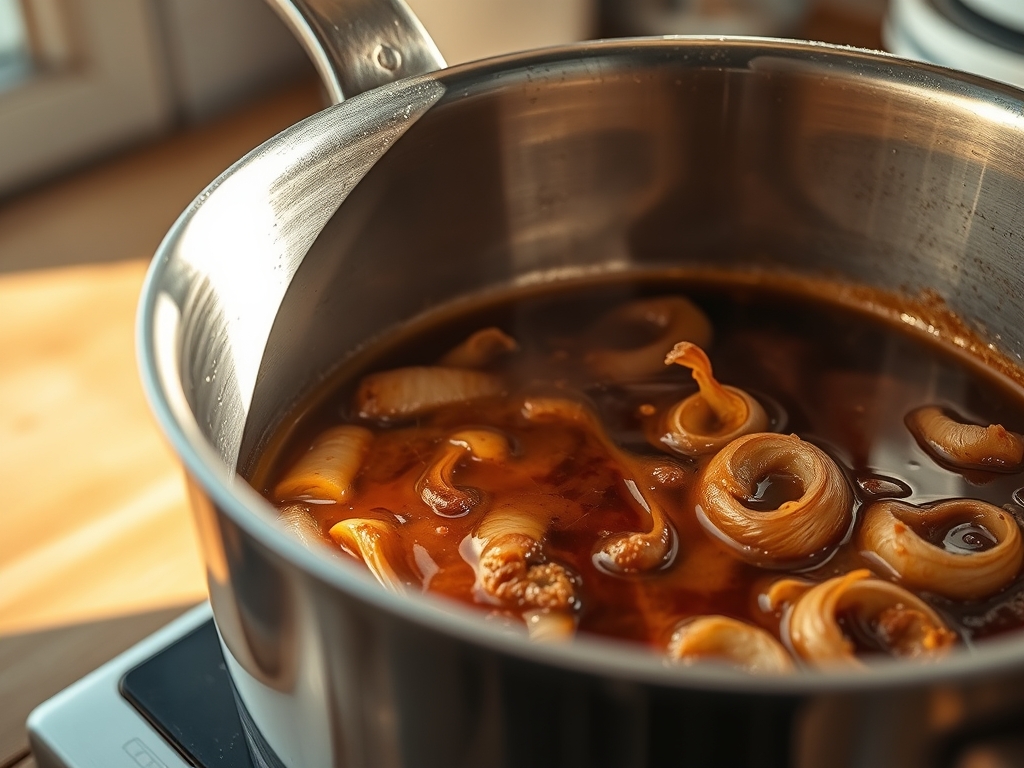
Combine your rye starter with the water and molasses in a large glass bowl. Use a digital scale for precision; volume measurements are for amateurs and will ruin your hydration ratios. Stir until the mixture is a uniform, muddy suspension.
Pro Tip: Acidification is the secret to Rye Bread Elasticity. The acidity prevents the rye starches from degrading during the bake. Without this, the crumb will be sticky regardless of how long you bake it.
2. The Pentosan Integration
Add the rye and bread flours along with the caraway seeds. Use a bench scraper to fold the mass together until no dry pockets remain. Do not expect a smooth dough. It will feel like wet clay. This is the viscous nature of pentosans at work.
Pro Tip: Do not overwork the dough at this stage. Unlike wheat, rye does not benefit from aggressive kneading. You are looking to hydrate the fibers, not build a gluten windowpane.
3. The Bulk Fermentation and Salt Fold
Let the dough rest for 30 minutes before sprinkling the salt over the surface. Use wet hands to dimple the salt into the mass. Cover with a damp cloth and ferment at 24C (75F) for 4 to 6 hours.
Pro Tip: Use a probe thermometer to monitor the internal temperature of the dough. If it exceeds 28C, the fermentation will accelerate too quickly, leading to a loss of structural integrity and a sourness that is unpleasant rather than piquant.
4. Precision Shaping
Turn the dough onto a lightly floured surface. Use your bench scraper to tension the surface of the loaf. Rye is sticky; avoid adding too much extra flour or you will create dry "veins" in the finished crumb. Place into a well-floured banneton.
Pro Tip: Tension is the key to vertical growth. If the skin of the dough is loose, the gases will expand sideways, resulting in a flat disc rather than a proud boule.
5. The Thermal Shock
Preheat a heavy Dutch oven in an oven set to 250C (480F). Carefully transfer the loaf into the pot and score the top with a sharp lame. Bake covered for 20 minutes, then uncovered for another 25 minutes at a reduced temperature of 220C (425F).
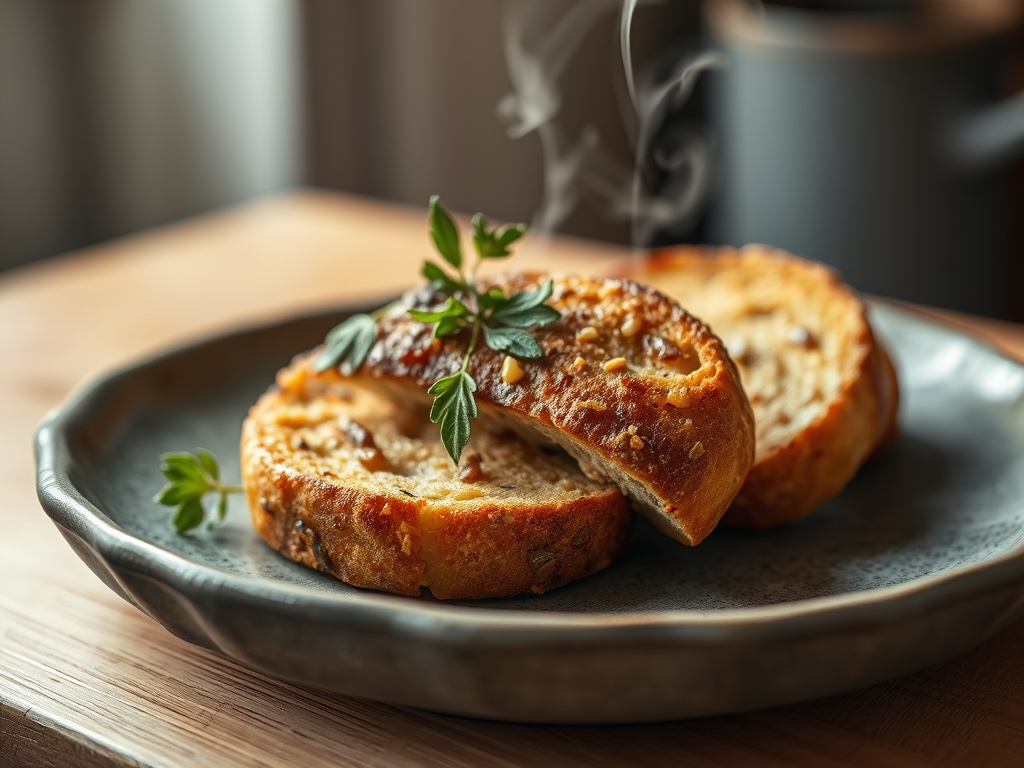
Pro Tip: The steam trapped inside the Dutch oven allows the starches on the surface to gelatinize. This creates that signature glassy, mahogany crust seen in the reference photo.
Section B: Prep & Timing Fault-Lines:
The most common failure in rye production is the "Rush Job." If you shorten the bulk fermentation, you fail to develop the organic acids required to stabilize the crumb. Conversely, over-proofing will lead to a collapsed top. If your kitchen is cold, do not simply wait longer; use an insulated proofing box or the "pilot light" method in your oven to maintain a steady 24C. Timing is a function of temperature.
THE VISUAL SPECTRUM
Section C: Thermal & Visual Troubleshooting:
Look closely at the reference image. Notice the deep, variegated browns and the "ears" created by the score marks. If your bread is pale, your oven temperature was too low or your dough lacked sufficient sugars for the Maillard reaction. If the crust is separating from the crumb (the dreaded "flying crust"), you likely under-proofed the loaf or failed to score it deeply enough. A dull, matte finish suggests a lack of steam during the initial phase of the bake. To fix this, spray the loaf with a fine mist of water before closing the Dutch oven lid to infuse the environment with moisture.
THE DEEP DIVE
Macro Nutrition Profile:
Rye is a nutritional powerhouse compared to refined wheat. It is exceptionally high in fiber, specifically beta-glucans, which modulate blood sugar response. A standard 100g slice contains approximately 250 calories, 9g of protein, and 12g of dietary fiber. It is rich in magnesium and iron.
Dietary Swaps:
- Vegan: This recipe is naturally vegan.
- Keto: Rye is high-carb. For a keto alternative, look toward flaxseed and psyllium husk "breads," though you will sacrifice the authentic fermentation profile.
- Gluten-Free: Achieving Rye Bread Elasticity without gluten is a different science entirely. Use a blend of buckwheat and teff flour with xanthan gum to mimic the viscosity.
Meal Prep & Reheating Science:
Rye bread actually improves with age. Do not slice it for at least 12 hours after baking. This allows the moisture to redistribute and the starch to set. To reheat, avoid the microwave, which turns the pentosans into rubber. Use a toaster or a hot skillet with a touch of butter to render the crust back to its original crispness.
THE KITCHEN TABLE
Why is my rye bread so sticky inside?
This is likely "starch attack." If the dough isn't acidic enough, amylase enzymes break down the starch into sugar. Ensure your starter is mature and active to provide the necessary acidity to shut those enzymes down.
Can I make this without a Dutch oven?
Yes, but you must manually aerate the oven with steam. Place a lava rock pan at the bottom and pour boiling water into it as you load the bread. This mimics the professional hearth environment.
How do I get a better rise?
Rye will never rise like white bread. However, adding 20 percent high protein bread flour provides a "scaffold" for the rye to climb. This hybrid approach is the standard for achieving optimal Rye Bread Elasticity.
Why did my loaf crack at the bottom?
The crust set before the interior finished expanding. This is a steam issue. More steam keeps the crust supple longer, allowing the loaf to expand fully through the scores rather than bursting at the weakest point.

