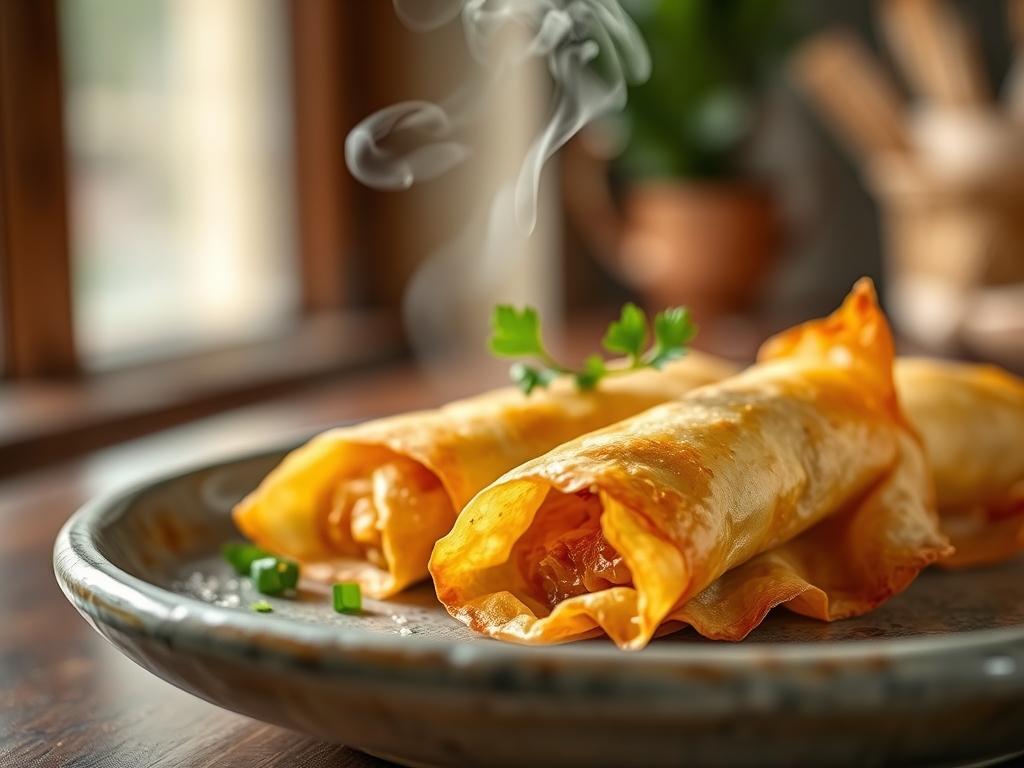
Listen to the sound of a structural failure that tastes like victory. It is the high-frequency snap of a perfectly dehydrated, flash-fried membrane. We are not talking about flimsy spring roll skins or delicate rice paper. We are analyzing the heavy hitter of the dim sum world: the Egg Roll Wrapper. This is a high-protein, wheat-based envelope designed to withstand the violent thermal transition of deep frying while maintaining a blistered, shatter-prone exterior. When you bite into a properly engineered wrapper, you are experiencing the results of controlled gluten development and precise hydration. The exterior should be a topographical map of golden micro-bubbles; the interior must remain slightly chewy to provide a textural anchor for the savory filling. This is culinary infrastructure at its most demanding. If your dough is too flaccid, it absorbs grease like a sponge. If it is too dry, it fractures before it even hits the oil. We are here to audit your technique and ensure your fried dough envelopes meet professional-grade specifications every single time.
THE DATA MATRIX
| Metric | Specification |
|---|---|
| Prep Time | 20 Minutes (plus 30 min rest) |
| Execution Time | 15 Minutes |
| Yield | 12 to 14 Wrappers |
| Complexity (1-10) | 6 |
| Estimated Cost per Serving | $0.25 USD |
THE GATHERS
Ingredient Protocol:
- 250g / 2 cups All-Purpose Flour (High protein content preferred)
- 1 Large Egg (approximately 50g / 1.75 oz), beaten
- 120ml / 0.5 cup Cold Water
- 3g / 0.5 tsp Fine Sea Salt
- 30g / 0.25 cup Cornstarch (for dusting and moisture management)
Section A: Ingredient Quality Audit:
If your flour has a protein content below 10 percent, your Egg Roll Wrapper will lack the tensile strength to hold heavy fillings. The dough will tear during the rolling phase. To fix this, replace two tablespoons of your flour with vital wheat gluten. If your eggs are older, the lecithin levels might be degraded. This results in a less stable emulsion. Always use fresh, Grade A eggs to ensure the lipids properly infuse the starch granules. If the water is too warm, you risk premature starch gelatinization, which makes the dough sticky and unmanageable. Use chilled water to keep the gluten network tight and responsive. Finally, do not substitute table salt for fine sea salt; the iodine in table salt can sometimes impart a metallic piquant note that distracts from the neutral, wheaty profile of the dough.
THE MASTERCLASS
1. Dry Component Integration
Place your flour and salt on a clean work surface or in a large stainless steel bowl. Create a wide well in the center. Use a digital scale to ensure your measurements are precise to the gram. Accuracy is the difference between a dough that is viscous and one that is pliable.
Pro Tip: Use a bench scraper to pull the flour into the center gradually. This prevents the "dam" from breaking and keeps your hydration ratios consistent across the entire batch.
2. Hydration and Emulsification
Pour the beaten egg and half of the water into the well. Begin whisking the liquid while slowly incorporating flour from the inner walls. Gradually add the remaining water until a shaggy mass forms. The egg acts as a binder and a colorant; it provides the rich hue necessary for the Maillard reaction.
Pro Tip: The fat in the egg yolk helps to render a more tender crumb within the crispy shell. If the dough feels too dry, add water one teaspoon at a time using a spray bottle to aerate the moisture distribution.
3. Mechanical Tension Development
Knead the dough vigorously for 8 to 10 minutes. You are looking for a smooth, elastic surface that springs back when poked. This process aligns the gluten proteins into a sophisticated structural web. Wrap the dough tightly in plastic and let it rest for at least 30 minutes at room temperature.
Pro Tip: Resting is non-negotiable. It allows the moisture to fully infuse the starch and relaxes the gluten. Without this, the dough will "snap back" when you try to roll it thin, leading to a thick, leaden wrapper.
4. Precision Sheeting
Dust your work surface with cornstarch. Avoid using extra flour, as it will toughen the dough. Divide the dough into small balls and roll them out until they are translucent. You should be able to see the silhouette of your hand through the dough.
Pro Tip: Use a heavy rolling pin or a pasta machine for maximum consistency. A saucier might be used later for dipping sauces, but for the dough, a pasta machine ensures a uniform thickness that guarantees even frying.
Section B: Prep & Timing Fault-Lines:
The most common human error is rushing the resting phase. If the dough is not relaxed, the internal tension causes the wrapper to shrink and thicken during the fry. Another failure point is "stacking syndrome." If you stack your wrappers without enough cornstarch between them, they will fuse into a single block of gluten. If your kitchen is too humid, the dough will become tacky. Work in a cool, dry environment and keep your finished wrappers under a damp cloth to prevent the edges from becoming brittle. If you find the dough is resisting the rolling pin, walk away for ten minutes. Let the physics of protein relaxation work in your favor.
THE VISUAL SPECTRUM
Section C: Thermal & Visual Troubleshooting:
Look at the reference photo above. Notice the micro-blisters on the surface. These are caused by rapid steam expansion within the dough. If your wrappers are smooth and flat like a cracker, your oil temperature was likely too low (below 350F/175C). If the wrappers are dark brown but doughy inside, the oil was too hot, causing the exterior to carbonize before the interior could dehydrate. The color should be a vibrant, golden amber. If the color is dull or grayish, your flour may be oxidized or your egg-to-water ratio was too low. To achieve that professional sheen, ensure the dough is rolled thin enough to allow light to penetrate the layers during the initial seconds of the fry.
THE DEEP DIVE
Macro Nutrition Profile:
A single Egg Roll Wrapper typically contains 60 to 80 calories. It is high in complex carbohydrates (12-15g) and contains a modest amount of protein (2-3g) depending on the flour grade. Sodium levels are generally low, provided you adhere to the 3g salt protocol.
Dietary Swaps:
- Vegan: Replace the egg with a "flax egg" or 50g of silken tofu blended with a pinch of turmeric for color. Note that the texture will be less "snappy."
- Keto: This is difficult as gluten is the primary structural agent. However, a mixture of almond flour, xanthan gum, and egg whites can create a functional, albeit fragile, substitute.
- GF: Use a high-quality 1-to-1 gluten-free flour blend that contains rice flour and potato starch. Increase the egg count to two to provide extra structural binding.
Meal Prep & Reheating Science:
To maintain the molecular structure of a fried wrapper, never use a microwave. Microwaves vibrate water molecules, which softens the starch network and turns the wrapper into a rubbery mess. Instead, use an air fryer or a conventional oven at 375F (190C). This re-triggers the crisping of the surface lipids and restores the mechanical tension of the dough.
THE KITCHEN TABLE
Why are my wrappers turning out greasy?
Your oil temperature is likely too low. If the oil is below 350F, the dough absorbs fat instead of vaporizing internal moisture. Use a digital thermometer to maintain a consistent 365F to 375F for the duration of the fry.
Can I use cornstarch instead of flour for the whole recipe?
No. Cornstarch lacks the protein necessary to form a gluten network. Without gluten, you cannot roll the dough thin enough to create an envelope. Cornstarch should only be used as a dusting agent to prevent sticking.
How do I prevent the egg rolls from exploding in the oil?
Explosions occur when steam is trapped. Ensure your filling is cold and relatively dry before wrapping. Use an egg wash to seal the edges of the Egg Roll Wrapper completely, leaving no air pockets inside the envelope.
How long can I store fresh wrappers?
Fresh wrappers will last 2 to 3 days in the refrigerator if sealed airtight with parchment paper between each layer. For long-term storage, they can be frozen for up to three months; thaw them slowly in the fridge before use.