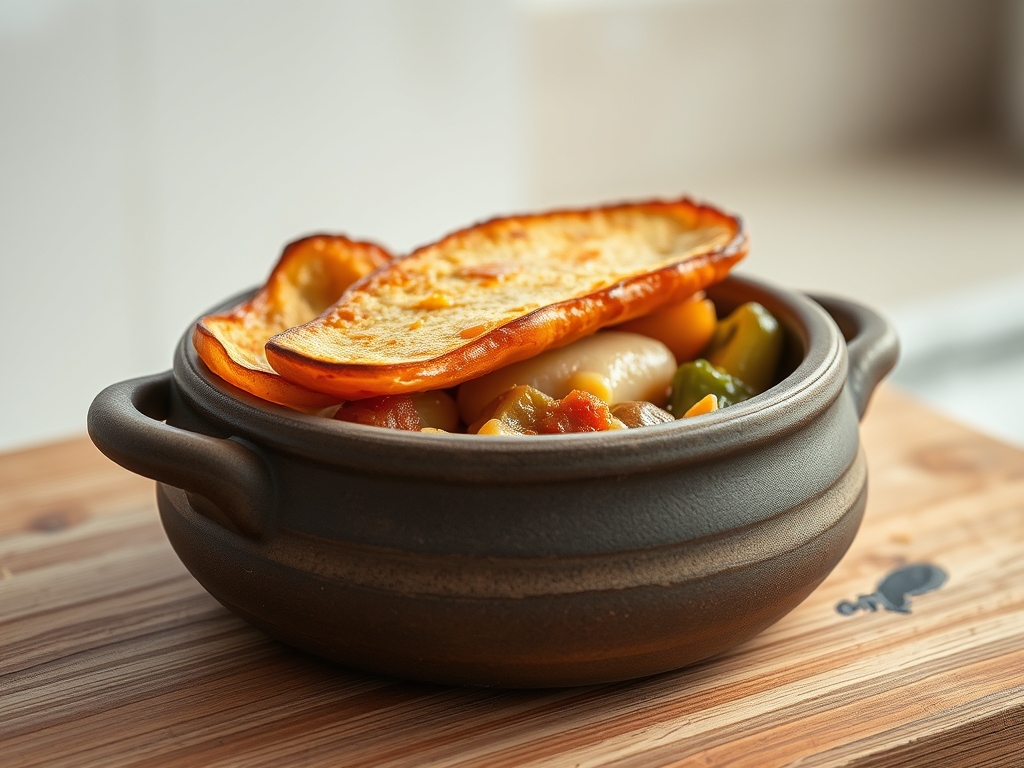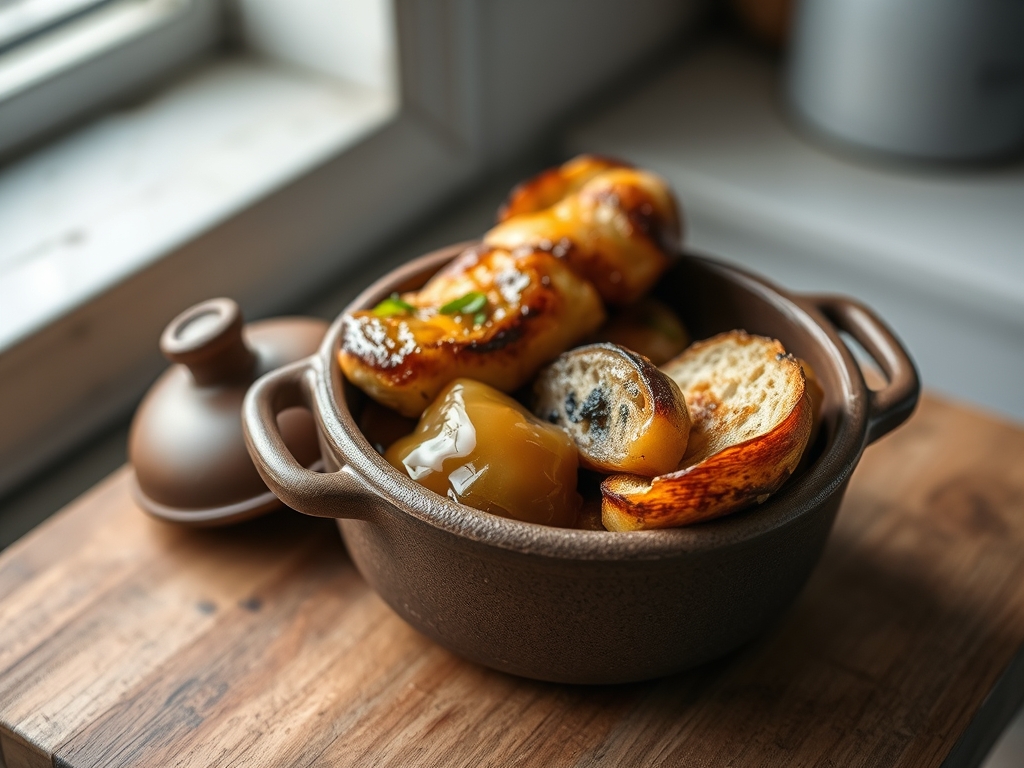
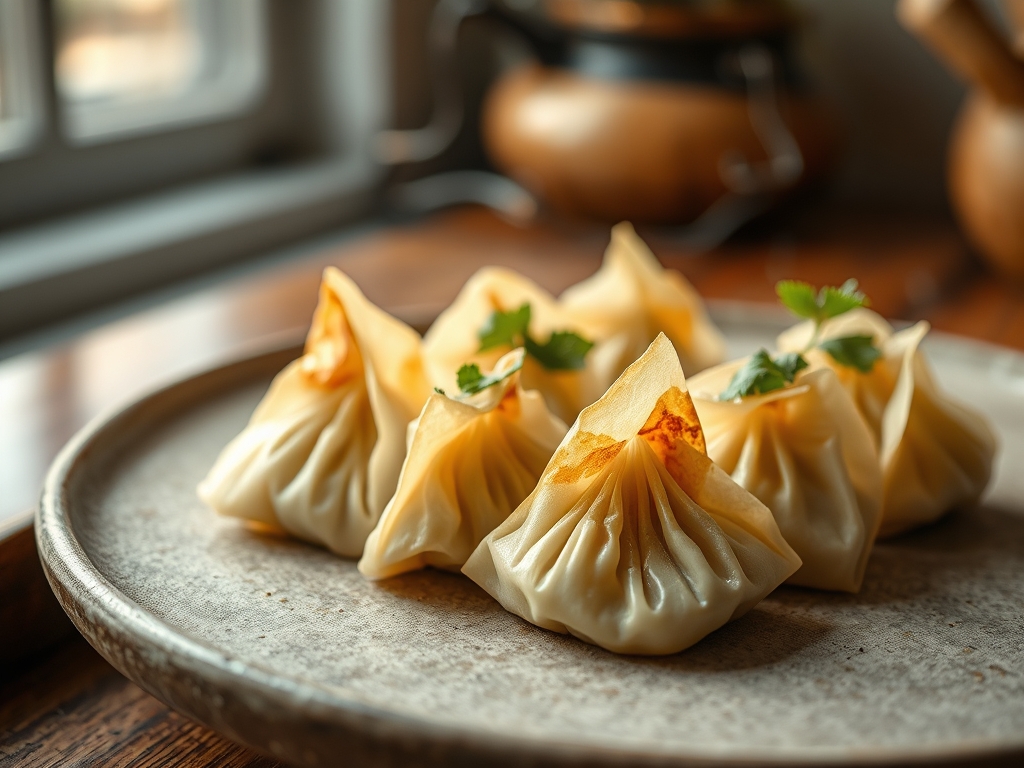
The air in a high-stakes kitchen is thick with the scent of toasted flour and the rhythmic thud of a rolling pin. We are not merely making dinner; we are engaging in a high-level Dumpling Wrapper Study to stress-test the structural integrity of boiled envelopes. When you bite into a perfect dumpling, you are experiencing the culmination of a precise protein-water matrix. If the dough is too flaccid, it disintegrates in the pot; if it is too rigid, it feels like chewing on a rubber gasket. We demand a skin that is translucent yet resilient, capable of containing a pressurized burst of piquant juices without a single structural failure. This is where culinary art meets material science. We are looking for that specific viscous elasticity that only comes from controlled hydration and mechanical agitation. Forget the pre-packaged, dry skins found in the frozen aisle. Those are the dial-up internet of the dumpling world. We are here to build a high-speed fiber-optic network of gluten that will revolutionize your gastronomic infrastructure.
THE DATA MATRIX
| Metric | Specification |
|---|---|
| Prep Time | 45 Minutes |
| Execution Time | 25 Minutes |
| Yield | 40-50 Wrappers |
| Complexity (1-10) | 7 |
| Estimated Cost per Serving | $0.85 |
THE GATHERS
Ingredient Protocol:
- 500g / 4 cups All-Purpose Flour (High protein content preferred)
- 250ml / 1 cup Boiling Water (For starch gelatinization)
- 5g / 1 tsp Fine Sea Salt (To tighten the gluten network)
- 15ml / 1 tbsp Neutral Oil (To infuse the dough with suppleness)
- Extra flour for dusting (To prevent unwanted adhesion)
Section A: Ingredient Quality Audit:
If your flour has a low protein count, your wrappers will lack the tensile strength to survive the boil. You will notice the dough feels "short" or crumbly. To fix this, replace 10% of your flour with bread flour or add a pinch of vital wheat gluten to boost the structural lattice. If your water is too hard, the minerals can interfere with protein bonding; use filtered water to ensure a clean infuse of hydration. If the dough feels overly sticky even after the rest period, your ambient humidity is likely high. Do not just dump more flour in; instead, use a bench scraper to work the dough on a cold marble surface to stabilize the temperature before adding increments of flour.
THE MASTERCLASS
1. The Thermal Hydration Phase
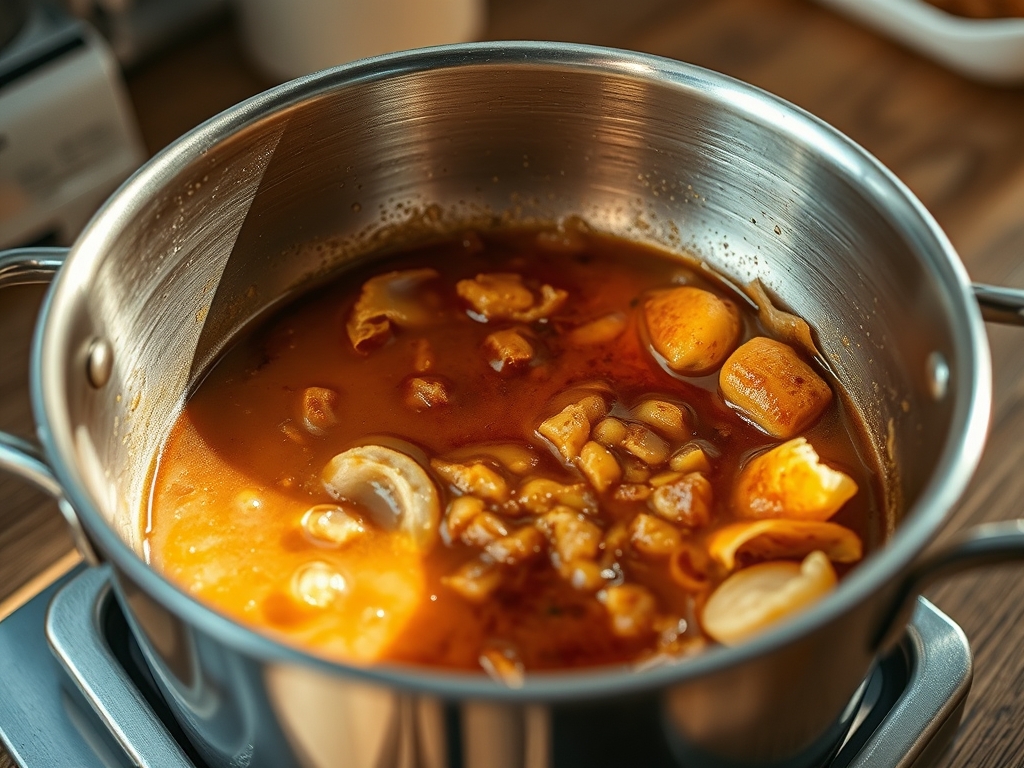
Place your flour in a large stainless steel bowl and create a well in the center. Gradually pour in the boiling water while stirring rapidly with a pair of heavy-duty chopsticks or a wooden spoon. This technique, known as "tangzhong-adjacent" hydration, partially gelatinizes the starches, allowing the dough to hold more moisture without becoming sticky.
Pro Tip: Use a digital scale for the water rather than a measuring cup. Water density changes with temperature, and a gram-for-gram ratio is the only way to ensure the viscous consistency required for thin rolling.
2. Mechanical Agitation and Development
Once the dough is cool enough to handle, transfer it to a clean work surface. Knead the mass for at least 10 minutes. You are looking for the "baby's earlobe" texture; soft, smooth, and slightly bouncy. If the surface remains shaggy, the gluten has not yet formed a continuous network.
Pro Tip: Use a bench scraper to keep your work surface clear of dried dough bits. These "scabs" can create weak points in the wrapper, leading to catastrophic failure during the boiling process.
3. The Molecular Rest Period
Cover the dough with a damp cloth or plastic wrap and let it sit at room temperature for at least 30 minutes. This allows the gluten proteins to relax and the moisture to distribute evenly throughout the flour particles. A rested dough will not spring back when rolled, which is vital for achieving the desired translucency.
Pro Tip: During this rest, the enzymes in the flour begin to break down complex starches into simple sugars. This subtle chemical shift will help the dough render a slight sweetness and improve the final mouthfeel.
4. Precision Portioning and Rolling
Divide the dough into four equal quarters. Roll each into a long cylinder and cut into 10-gram nuggets. Flatten each nugget with your palm, then use a small wooden dowel to roll from the edge toward the center. Rotate the disc slightly with each stroke to create a wrapper that is thinner at the edges and thicker in the middle.
Pro Tip: The "thick center" is the structural foundation. It supports the weight of the filling, while the thin edges allow for a delicate, pleated seal that won't result in a thick, doughy knot at the top.
Section B: Prep & Timing Fault-Lines:
The biggest human error is rushing the rest period. If you attempt to roll the dough while the gluten is still "tight," the wrappers will shrink back, resulting in a thick, chewy hide. Another common failure is the temperature of the water. If the water is merely warm rather than boiling, you won't achieve the starch gelatinization necessary for that signature silky texture. Use an infrared thermometer to ensure your water is at least 95 degrees Celsius before it hits the flour.
THE VISUAL SPECTRUM
Section C: Thermal & Visual Troubleshooting:
Referencing our Dumpling Wrapper Study photo, notice the matte, porcelain-like finish of the raw skins. If your wrappers look translucent before they are cooked, they are likely too wet and will dissolve in the pot. If they appear chalky or cracked, they are too dry. After boiling, the wrappers should have a slight sheen and show the faint silhouette of the filling inside. Dull, greyish skins indicate the dough was oxidized; keep your dough covered at all times. If you see uneven browning when pan-frying, your saucier or skillet likely has hot spots; ensure you use a heavy-bottomed pan to distribute heat evenly and render a uniform golden-brown crust.
THE DEEP DIVE
Macro Nutrition Profile:
A single wrapper (approximately 12g of dough) contains roughly 35 calories, 7g of carbohydrates, 1g of protein, and negligible fat. The primary nutritional value comes from the complex carbohydrates, providing a steady release of energy. Because we are using the boiling method, no additional fats are introduced during the cooking process.
Dietary Swaps:
- Vegan: This protocol is inherently vegan.
- Keto: Replace wheat flour with a blend of almond flour, xanthan gum, and lupin flour. Note that the "snap" of the gluten will be missing.
- Gluten-Free: Use a high-quality GF 1-to-1 flour blend containing tapioca starch and rice flour. Increase the water temperature and add 5g of psyllium husk to mimic the gluten lattice.
Meal Prep & Reheating Science:
To store, dust each wrapper heavily with cornstarch (not flour) before stacking. Flour contains moisture and will cause the skins to fuse into a single block. For reheating, steaming is the only way to go. Microwaving vibrates the water molecules so violently that it ruptures the starch bonds, leaving you with a gummy, unappealing mess. Steaming re-hydrates the protein network gently, maintaining the original molecular structure.
THE KITCHEN TABLE
Why are my dumpling wrappers springing back when I roll them?
Your gluten network is too tense. The dough requires a longer rest period to allow the proteins to relax. Give it another 15 minutes under a damp cloth and try again; the elasticity will settle into a more workable state.
Can I use a pasta machine to roll these out?
You can, but it is not recommended for traditional shapes. A pasta machine creates uniform thickness, whereas a hand-rolled wrapper with a thicker center and thinner edges provides the superior structural integrity required for heavy fillings and complex pleating.
What is the best way to prevent the wrappers from sticking?
Use cornstarch instead of flour for dusting between layers. Cornstarch does not contain gluten and does not absorb moisture as readily as flour, creating a more effective physical barrier that prevents the skins from fusing together during storage.
Why did my dumplings burst during the boiling process?
This is usually caused by an air pocket trapped inside the pleats. When heated, the air expands and punctures the dough. Ensure you squeeze out all the air before sealing, and check that your dough has enough tensile strength to expand.