Forget everything you know about the limp, waterlogged noodles found in supermarket bargain bins. We are entering the realm of structural engineering where flour and brine collide to create a high-performance carbohydrate. The secret to a world-class bowl lies entirely in Udon Noodle Density. This is not just about thickness; it is about the internal architecture of the dough. We are looking for a specific gravity that resists the tooth, providing that legendary "mochi-mochi" bounce that defines the high-end udon experience. When you bite into a properly executed noodle, the exterior should be almost translucent and slick, while the core remains resilient and muscular. Achieving this requires a brutal manipulation of gluten networks and a precise calculation of salt-to-water ratios. If your noodles lack that structural integrity, you are just eating boiled paste. We are here to audit your process, optimize your hydration, and ensure your kitchen infrastructure is capable of producing a noodle with the tensile strength of a suspension bridge and the silken mouthfeel of pure luxury.
THE DATA MATRIX
| Metric | Specification |
|---|---|
| Prep Time | 45 Minutes |
| Execution Time | 20 Minutes |
| Yield | 4 Servings |
| Complexity (1-10) | 7 |
| Estimated Cost per Serving | $1.25 |
THE GATHERS
Ingredient Protocol:
- 500g / 4 cups All-Purpose Flour (High protein content preferred)
- 250ml / 1 cup Filtered Water
- 25g / 1.5 tbsp Sea Salt
- Extra flour for dusting (Cornstarch or Potato starch preferred for anti-clumping)
- 15ml / 1 tbsp Toasted Sesame Oil (For finishing)
Section A: Ingredient Quality Audit:
If your flour has a protein content below 10%, your Udon Noodle Density will suffer; the gluten strands will be too weak to support the weight of the thick-cut noodle. To fix this, replace 10% of your flour with Vital Wheat Gluten to reinforce the matrix. If your water is excessively hard, the minerals can interfere with protein bonding. Use filtered or distilled water to ensure a clean slate for the brine. If the dough feels "shaggy" and refuses to incorporate, do not just splash in more water. This is a hydration error. Instead, use a spray bottle to aerate a fine mist over the surface, ensuring even distribution without creating sticky pockets that ruin the texture.
THE MASTERCLASS
1. Brine Calibration and Integration
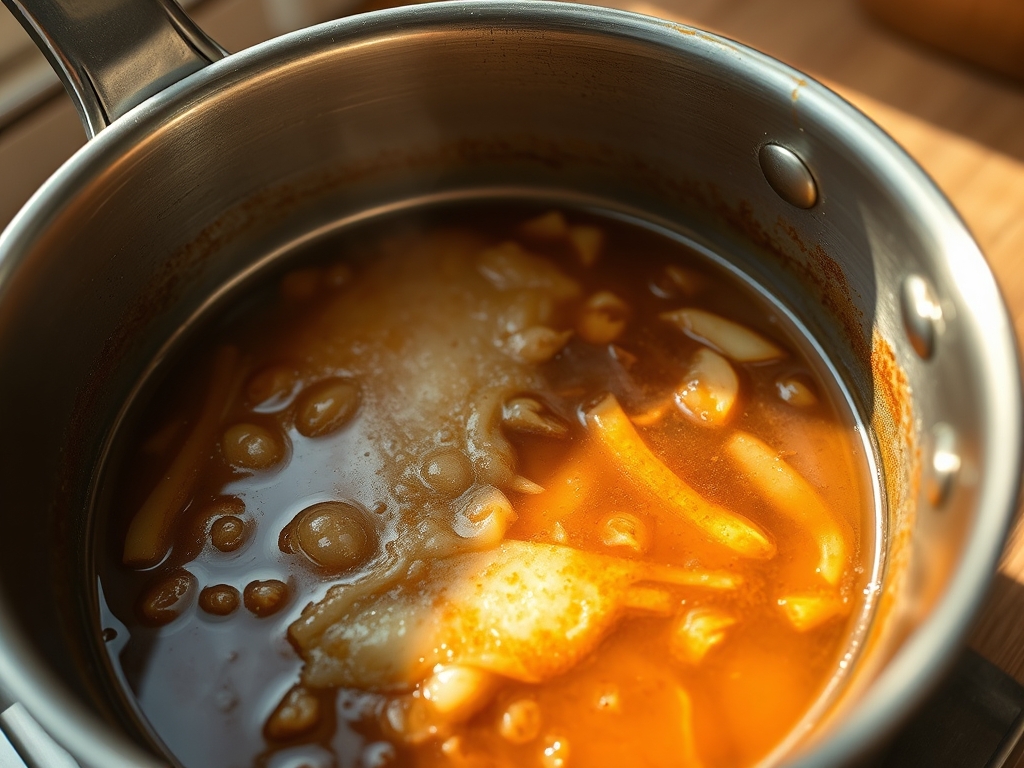
Dissolve your salt completely into the water before it touches the flour. Pour the brine in a slow, steady stream into the center of your flour mound while using a bench scraper to toss the flour like a salad. This ensures every molecule of starch begins the hydration process simultaneously.
Pro Tip: Salt does more than season; it strengthens the gluten by neutralizing the repulsive forces between protein chains. Use a digital scale to ensure your salt ratio is exactly 5% of your flour weight for optimal structural tension.
2. The Compression Phase
Udon dough is notoriously dry and difficult to knead by hand. Once the dough forms small crumbles, gather it into a heavy-duty plastic bag. Place the bag on the floor and use your body weight to step on the dough, flattening it out. Fold the dough over itself and repeat this process for 10 minutes.
Pro Tip: This "foot-kneading" technique provides massive downward pressure that a standard stand mixer cannot replicate. This mechanical stress forces the water into the center of the starch granules, drastically increasing the Udon Noodle Density.
3. Controlled Maturation
Shape the dough into a smooth ball and let it rest at room temperature for at least two hours. This allows the gluten to relax after the trauma of the compression phase, making it possible to roll out without the dough snapping back.
Pro Tip: During this rest, enzymes in the flour begin to break down complex starches into simple sugars. This will later help the noodle render a slight sweetness and improve the final viscous quality of the cooking water.
4. Precision Cutting
Roll the dough out to a thickness of 6mm. Fold it into thirds, using plenty of starch between layers to prevent sticking. Use a sharp bench scraper or a dedicated udon knife to cut strands that are exactly 6mm wide, creating a perfect square cross-section.
Pro Tip: Uniformity is the soul of consistency. If your noodles vary in width, they will cook unevenly. Use a ruler if necessary; professional infrastructure relies on repeatable measurements, not guesswork.
5. The Rapid Boil and Shock
Drop the noodles into a massive pot of boiling water. Do not crowd the pan. Boil for 10 to 12 minutes until the center is no longer opaque. Immediately plunge the cooked noodles into an ice bath and scrub them vigorously with your hands to remove excess surface starch.
Pro Tip: This vigorous washing is the "polishing" phase. It removes the "slime" and ensures the noodles have a piquant snap. It also halts the thermal carry-over that would otherwise turn your dense noodles into mush.
Section B: Prep & Timing Fault-Lines:
The most common failure in udon production is "The Slump," where noodles lose their shape during the boil. This is usually caused by a room temperature that is too high during the resting phase, causing the dough to ferment slightly and lose its structural integrity. If your kitchen is over 75 degrees Fahrenheit, rest your dough in the refrigerator. Another timing error is the "Wait Gap." If you cut the noodles and let them sit for more than 20 minutes before boiling, they will oxidize and turn a dull grey. Always have your water at a rolling boil before the first cut is made.
THE VISUAL SPECTRUM
Section C: Thermal & Visual Troubleshooting:
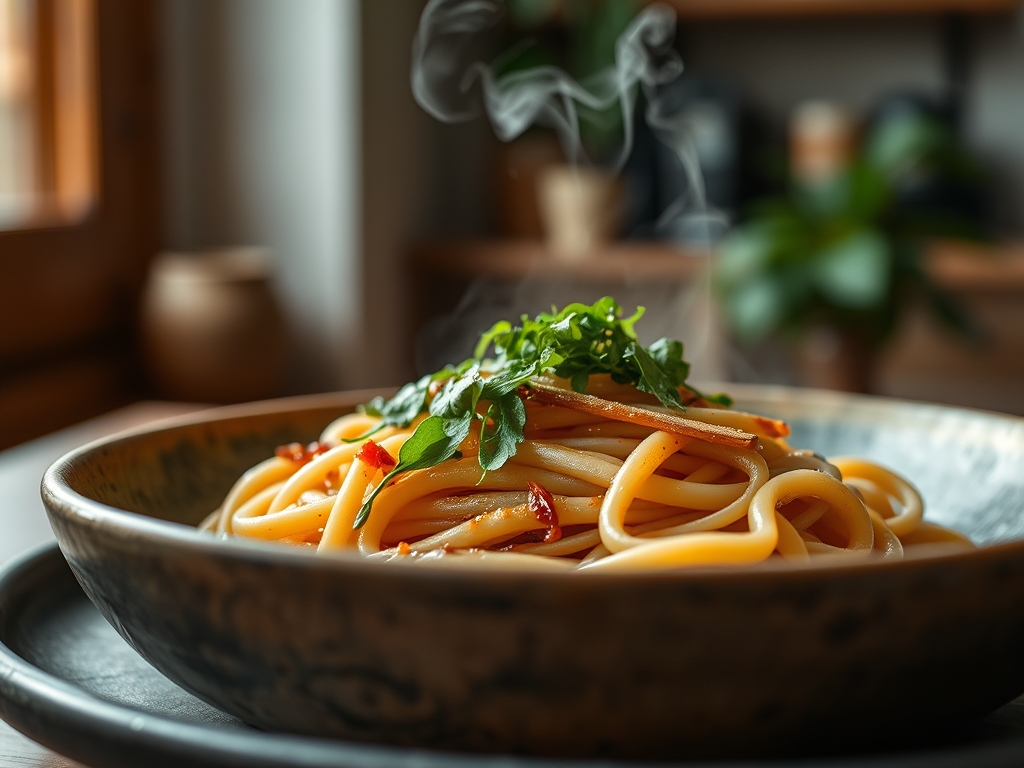
Referencing the Masterclass photo, your noodles should exhibit a "pearlescent glow." If they appear chalky or matte white, they are undercooked in the center. If the edges look frayed or "hairy," your knife was dull or you didn't use enough starch during the folding process. To fix uneven browning in a stir-fry application, ensure you deglaze the pan with a splash of mirin or dashi before adding the noodles; this creates a steam jacket that protects the delicate exterior while allowing the sugars to infuse and caramelize evenly. If the color is dull, a quick toss in a saucier with a dash of dark soy will provide that deep, mahogany luster without compromising the bite.
THE DEEP DIVE
- Macro Nutrition Profile: A standard 200g serving of fresh udon provides approximately 280 calories, 56g of complex carbohydrates, 8g of protein, and 1g of fat. It is a high-octane fuel source with a low glycemic index compared to processed white bread.
- Dietary Swaps: For a Vegan profile, ensure your dashi base uses kombu and shiitake instead of bonito flakes. For Gluten-Free requirements, substitute the wheat flour with a blend of brown rice flour and xanthan gum, though the Udon Noodle Density will be significantly lower and the texture more brittle.
- Meal Prep & Reheating Science: To maintain molecular structure when reheating, never microwave udon in a dry bowl. Submerge them in hot broth or flash-boil them for 30 seconds. This rehydrates the starch retrogradation that occurs during cooling, restoring the original "mochi" bounce.
THE KITCHEN TABLE
Why are my noodles breaking in the pot?
This is a hydration failure. Either the dough was too dry during the kneading phase or you didn't rest it long enough. The gluten strands snapped under the heat because they weren't elastic enough to expand.
Can I use a pasta machine for udon?
Standard Italian pasta machines are often too flimsy for the high Udon Noodle Density. The dough is much tougher than egg pasta. If you use one, go slow and do not force the crank, or you will strip the gears.
What is the best flour for udon?
Look for "Semi-Strong" flour or a blend of All-Purpose and Bread flour. You need a protein content of roughly 11% to 12% to achieve the necessary tensile strength for a thick-cut noodle.
Why do I need to wash the noodles after boiling?
Washing removes the gummy surface starch. If you skip this, the starch will thicken your broth into a cloudy, unappealing sludge and the noodles will stick together in a single, unmanageable mass.
How long does fresh udon dough last?
You can keep the dough in the fridge for up to 24 hours. Beyond that, the acid levels rise and the dough begins to lose its elasticity, resulting in a sour taste and a "short" texture that breaks easily.