
Imagine a world where the air is thick with the scent of caramelized sugars and the sharp, piquant bite of ground bark. This is not just a kitchen; it is a laboratory of osmotic tension where the humble Cinnamon Raisin Bread undergoes a structural metamorphosis. Most bakers view a raisin as a simple inclusion, but to the culinary auditor, it is a biological sponge capable of sabotaging your hydration levels. When you fold these dried fruits into a high-yeast dough, they begin to leach moisture from the gluten network, creating a desert landscape where your yeast cells struggle to survive. This is osmotic stress in its purest form. We are here to engineer a loaf that defies these physics, achieving a crumb so supple it feels like velvet while maintaining the structural integrity to support a heavy payload of fruit. We are balancing the volatile oils of cinnamon against the elastic potential of flour. It is a high-stakes game of moisture management where the prize is the ultimate aromatic masterpiece.
THE DATA MATRIX
| Metric | Specification |
|---|---|
| Prep Time | 45 Minutes |
| Execution Time | 3.5 Hours |
| Yield | 2 Large Loaves |
| Complexity (1-10) | 7 |
| Estimated Cost per Serving | $0.85 |
THE GATHERS
Ingredient Protocol:
- 500g / 4 cups Bread Flour (12.7% protein minimum)
- 300ml / 1.25 cups Whole Milk (scalded and cooled)
- 50g / 0.25 cup Granulated Sugar
- 10g / 2 tsp Fine Sea Salt
- 7g / 2.25 tsp Instant Yeast
- 60g / 4 tbsp Unsalted Butter (softened)
- 1 Large Egg (room temperature)
- 150g / 1 cup Seedless Raisins
- 15g / 2 tbsp Ground Cinnamon
- 50g / 0.25 cup Brown Sugar (for the swirl)
- 15ml / 1 tbsp Water (for raisin hydration)
Section A: Ingredient Quality Audit:
The primary failure point in Cinnamon Raisin Bread is the hydroscopic nature of the raisins. If you use "shelf-stable" raisins straight from the box, they will act as desiccants, stealing water from your dough and resulting in a crumb that is crumbly rather than elastic. Technical Fix: Submerge your raisins in warm water or rum for 20 minutes before use; then pat them dry. This ensures they are "neutral" in the moisture equation. Secondly, cinnamon is a known yeast inhibitor. If you mix the cinnamon directly into the dough mass, the essential oils can coat the yeast cells and prevent fermentation. Technical Fix: Keep the cinnamon primarily in the "swirl" layer to isolate it from the biological activity of the yeast. Finally, ensure your flour is high-protein bread flour; all-purpose flour lacks the tensile strength to hold the weight of the fruit without collapsing.
THE MASTERCLASS
1. Thermal Scaling and Hydration
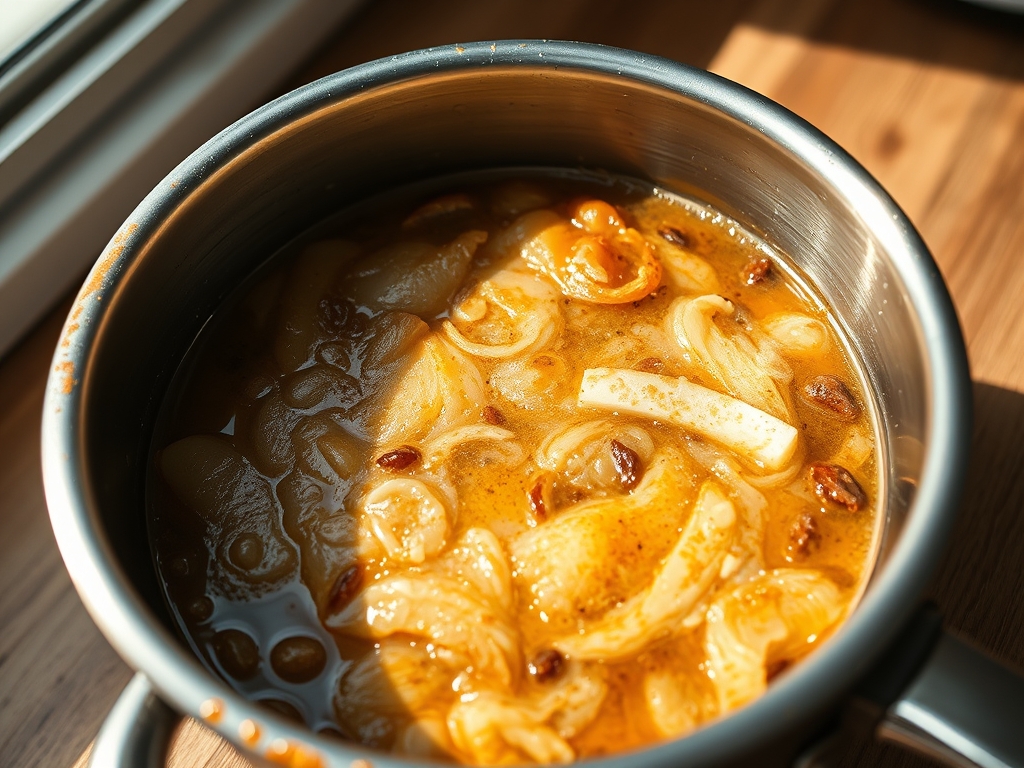
Begin by weighing all ingredients on a digital scale to ensure precision. Scald your milk in a saucier to 180 degrees Fahrenheit to denature the whey proteins which can otherwise weaken gluten. Allow it to cool to 105 degrees Fahrenheit before whisking in your yeast and sugar.
Pro Tip: Denaturing whey proteins via scalding is a non-negotiable step for professional texture. It allows the gluten to aerate more effectively during the secondary proof, leading to a loftier rise.
2. The Autolyse and Initial Mix
Combine your flour and milk mixture in a stand mixer. Use the dough hook to mix on low speed until a shaggy mass forms. Let this sit for 15 minutes. This allows the flour to fully hydrate before you introduce the fats and salts.
Pro Tip: This short rest period initiates the enzymatic breakdown of starches into sugars, providing an immediate fuel source for the yeast and reducing total kneading time.
3. Incorporating the Lipid Matrix
Add the softened butter and salt. Increase the mixer speed to medium. You are looking for the dough to "clean the sides of the bowl." The butter must be added after the initial gluten structure has formed; otherwise, the fats will coat the flour proteins and prevent them from linking.
Pro Tip: Use a bench scraper to clear the sides of the bowl. Incorporating fats late in the process creates a "short" crumb that remains tender even after several days of storage.
4. Controlled Fermentation
Place the dough in a lightly oiled bowl and cover. Allow it to double in size, typically 60 to 90 minutes. While the dough rises, prepare your cinnamon sugar mixture and ensure your raisins are fully drained and patted dry.
Pro Tip: Fermentation is a gas-production phase. If your kitchen is cold, use a proofing box or a turned-off oven with a bowl of hot water to maintain a consistent 75-degree environment.
5. The Lamination and Swirl
Turn the dough onto a floured surface. Roll it into a precise rectangle using a heavy rolling pin. Mist the surface lightly with water, then sprinkle your cinnamon sugar and raisins evenly across the surface. Roll the dough tightly into a cylinder, ensuring no air pockets remain.
Pro Tip: Use your bench scraper to maintain straight edges during the roll. A tight roll is essential to prevent "tunneling," where the bread separates from the cinnamon swirl during the bake.
6. The Final Proof and Thermal Execution
Place the loaves into greased tins and cover for the second rise. Once the dough has risen about an inch above the rim, bake at 350 degrees Fahrenheit for 35 to 40 minutes. The internal temperature must reach 190 degrees Fahrenheit to ensure the center is fully set.
Pro Tip: Use an instant-read thermometer. Because of the high sugar content, the crust will brown quickly due to the Maillard reaction, but the interior may still be doughy. If it browns too fast, tent with foil.
Section B: Prep & Timing Fault-Lines:
The most common human error is the "rushed proof." If you do not allow the dough to reach its full volume during the second rise, the steam generated in the oven will cause the loaf to burst at the seams, a phenomenon known as "oven spring" gone wrong. Conversely, over-proofing leads to a collapsed structure because the gluten "balloons" have been stretched beyond their elastic limit. Always use the "finger-dent test"; if the dough springs back slowly and leaves a small indentation, it is ready for the heat.
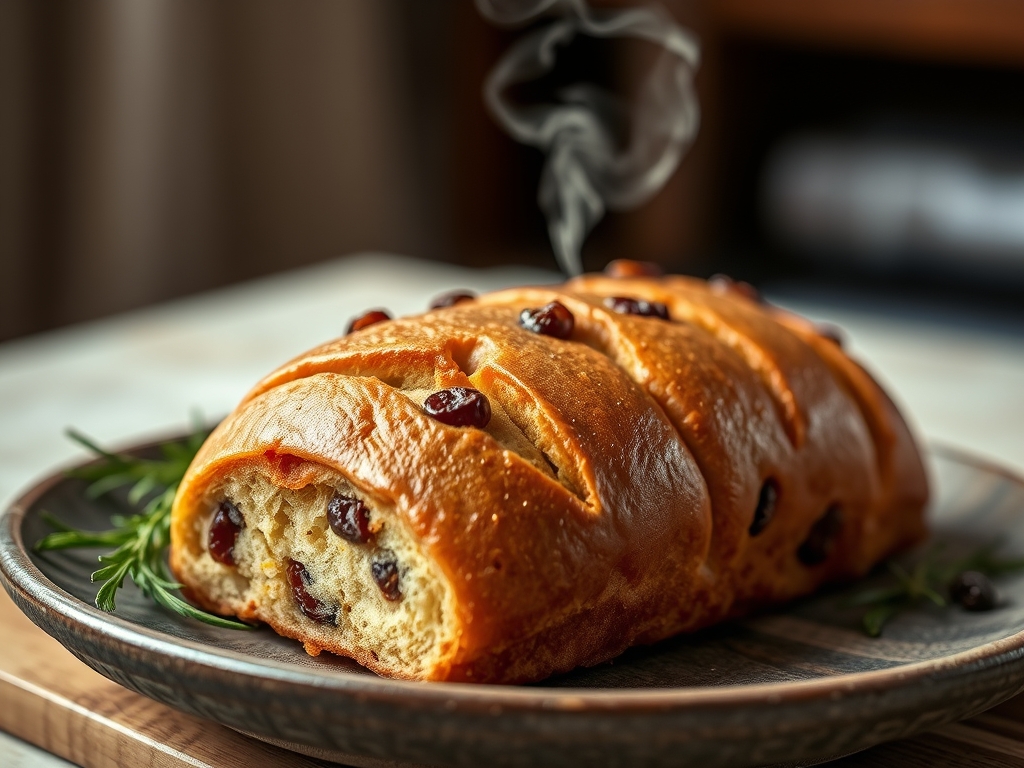
THE VISUAL SPECTRUM
Section C: Thermal & Visual Troubleshooting:
Referencing the Masterclass photo, notice the deep mahogany crust and the tight, concentric circles of the cinnamon swirl. If your bread looks pale, you likely under-fermented the dough, leaving too much residual sugar that did not caramelize properly. If you see large gaps or "caverns" around the cinnamon, your roll was too loose or your raisins were too wet. The raisins should appear plump and integrated, not burnt or shriveled. A dull, matte crust indicates a lack of steam or a missed egg wash; for that professional sheen, a light brush of egg and milk before baking is essential to infuse the exterior with a glossy finish.
THE DEEP DIVE
Macro Nutrition Profile:
A standard slice of this engineered Cinnamon Raisin Bread contains approximately 180 calories, 4g of protein, 32g of carbohydrates, and 5g of fat. The inclusion of raisins provides a modest boost in potassium and iron, though the primary caloric driver is the complex carbohydrate structure of the bread flour.
Dietary Swaps:
- Vegan: Substitute the whole milk with oat milk and the butter with a high-quality vegan block butter (avoid oil-based spreads as they lack the necessary solids). Use a maple syrup wash instead of an egg wash.
- Keto: This is a high-carb architecture; however, using almond flour and vital wheat gluten can approximate the texture, though the "swirl" must use erythritol.
- GF: Use a high-quality 1-to-1 gluten-free blend with added xanthan gum to mimic the protein scaffolding.
Meal Prep & Reheating Science:
To maintain the molecular structure, store the loaf in a paper bag for the first 24 hours, then transition to an airtight container. When reheating, use a toaster to induce a secondary Maillard reaction on the surface, or steam-heat in a covered pan to re-gelatinize the starches for a "fresh-baked" softness.
THE KITCHEN TABLE
Why does my cinnamon swirl always separate?
This is usually caused by excess moisture or air trapped during rolling. Ensure your raisins are dry and roll the dough as tightly as possible. A light mist of water on the dough before adding sugar helps the layers bond.
Can I add nuts to this recipe?
Absolutely. Walnuts or pecans provide a structural contrast to the viscous raisins. Toast them first to render their oils and enhance the nutty profile, then fold them in during the lamination step.
My bread is beautiful but the bottom is soggy. Why?
This is a "sweat" issue. If you leave the bread in the pan for more than five minutes after baking, steam traps against the metal and re-hydrates the crust. Move it to a wire rack immediately.
Does the type of cinnamon matter?
Yes. Ceylon cinnamon is delicate and floral, while Cassia cinnamon is bold and spicy. For a classic Cinnamon Raisin Bread, Cassia provides the necessary punch to cut through the density of the enriched dough.
How do I get the raisins to stay inside the dough?
If you find raisins are popping out during kneading, wait until the final lamination step to add them. Rolling them into the "swirl" keeps them protected from the direct heat of the crust.

