
The scent of blooming yeast and wildflower nectar is not just a pleasant morning aroma; it is the olfactory signature of a high-performance carbohydrate engine firing on all cylinders. When we initiate a Honey Wheat Audit, we are not merely baking bread. We are conducting a structural integrity test on a complex matrix of bran-heavy flour and hygroscopic sweeteners. The goal is a crumb that defies the typical density of whole grains, achieving a loft that feels almost impossible given the weight of the raw materials. You want a crust that shimmers with the mahogany luster of controlled caramelization and an interior that remains soft for days, thanks to the moisture-retaining properties of natural honey. This is a technical challenge that demands precision, patience, and a deep understanding of how lipids interact with gluten strands. We are here to optimize the fermentation cycle and ensure that every slice delivers a balanced profile of earthy grain and floral sweetness. Prepare your workstation; we are about to re-engineer the classic loaf.
THE DATA MATRIX
| Metric | Specification |
|---|---|
| Prep Time | 30 Minutes |
| Execution Time | 3 Hours 45 Minutes |
| Yield | 2 Standard Loaves |
| Complexity (1-10) | 6 |
| Estimated Cost per Serving | $0.45 |
THE GATHERS
Ingredient Protocol:
- 500g / 4 cups Whole Wheat Flour (High Protein)
- 250g / 2 cups All-Purpose Flour
- 12g / 1.5 tbsp Active Dry Yeast
- 15g / 1 tbsp Fine Sea Salt
- 120ml / 0.5 cup Wildflower Honey
- 60g / 4 tbsp Unsalted Butter (Softened)
- 475ml / 2 cups Warm Water (105F to 110F)
- 30ml / 2 tbsp Whole Milk (for crust wash)
Section A: Ingredient Quality Audit:
The primary failure point in a Honey Wheat Audit is often the age of the whole wheat flour. Whole grain flours contain the germ, which is rich in oils that can turn rancid. If your flour smells like old crayons, discard it immediately. To fix a low-protein flour issue, you can substitute 50g of the flour with vital wheat gluten to ensure the structure does not collapse under the weight of the honey. If your honey has crystallized into a gritty mass, do not add it directly to the dough. Instead, gently warm the honey container in a water bath until it returns to a viscous state. This ensures even distribution throughout the dough matrix and prevents localized "sugar spots" that can lead to uneven fermentation or scorched patches during the bake.
THE MASTERCLASS

Step 1: The Hydration and Bloom Phase
Combine the warm water, a teaspoon of the honey, and the yeast in the bowl of a stand mixer. Allow the mixture to sit for ten minutes until a thick, frothy foam develops on the surface. This indicates that the yeast is active and ready to metabolize the complex sugars.
Pro Tip: Use a digital thermometer to verify the water temperature. If the water exceeds 115F, you risk thermal shock to the yeast cells; if it is too cold, the metabolic rate will be too sluggish for a proper rise.
Step 2: Incorporating the Lipid and Sweetener
Add the remaining honey, softened butter, and half of the whole wheat flour to the yeast mixture. Use the paddle attachment on low speed to infuse the fats into the flour. This coating of the flour particles with fat helps to limit gluten development initially, ensuring a tender crumb.
Pro Tip: Use a silicone spatula to scrape the sides of the bowl frequently. This ensures that the honey, which is highly viscous, does not settle at the bottom and create an uneven sugar concentration.
Step 3: Structural Development and Kneading
Switch to the dough hook and gradually add the remaining flours and the sea salt. Knead on medium-low speed for approximately 8 to 10 minutes. The dough should transition from a shaggy mass to a smooth, elastic ball that clears the sides of the bowl.
Pro Tip: Perform the "windowpane test" by stretching a small piece of dough. If it stretches thin enough to see light through it without tearing, the gluten network is sufficiently developed. Use a bench scraper to manage the dough during transfer.
Step 4: The Primary Fermentation
Place the dough in a lightly oiled bowl and cover with a damp cloth. Allow it to rise in a warm, draft-free environment until it has doubled in volume. This typically takes 60 to 90 minutes depending on ambient humidity and temperature.
Pro Tip: A professional proofing box is ideal, but you can create a makeshift version by placing the dough in an unlit oven with a pan of steaming water on the rack below to aerate the environment with moisture.
Step 5: Shaping and Final Proof
Deflate the dough gently and divide it into two equal portions using a digital scale for precision. Shape each into a tight cylinder and place into greased loaf pans. Let them rise again until the dough reaches about one inch above the rim of the pan.
Pro Tip: Tension is key during shaping. Use the friction of the countertop to pull the dough toward you, creating a taut surface skin that will expand evenly in the oven without bursting.
Step 6: The Thermal Transformation
Preheat your oven to 375F. Brush the tops of the loaves with a thin layer of milk or an egg wash. Bake for 30 to 35 minutes, or until the internal temperature reaches 195F to 200F. The crust should be a deep, golden brown.
Pro Tip: Rotate the pans halfway through the bake to ensure even heat distribution. Use an instant-read probe thermometer to confirm doneness; tapping the bottom of the loaf to hear a "hollow" sound is subjective and less reliable.
Section B: Prep & Timing Fault-Lines:
Timing errors usually occur during the second proof. If you over-proof the dough, the gluten structure becomes over-extended and will collapse when it hits the heat of the oven. If the dough feels "fragile" or leaves a deep indentation when poked that does not spring back, it is over-proofed. To mitigate this, shorten the proofing time by five minutes in future batches. Conversely, under-proofing leads to "oven spring" that is too violent, causing the bread to rip along the sides. Precision in timing is the difference between a professional loaf and a kitchen disaster.
THE VISUAL SPECTRUM
Section C: Thermal & Visual Troubleshooting:
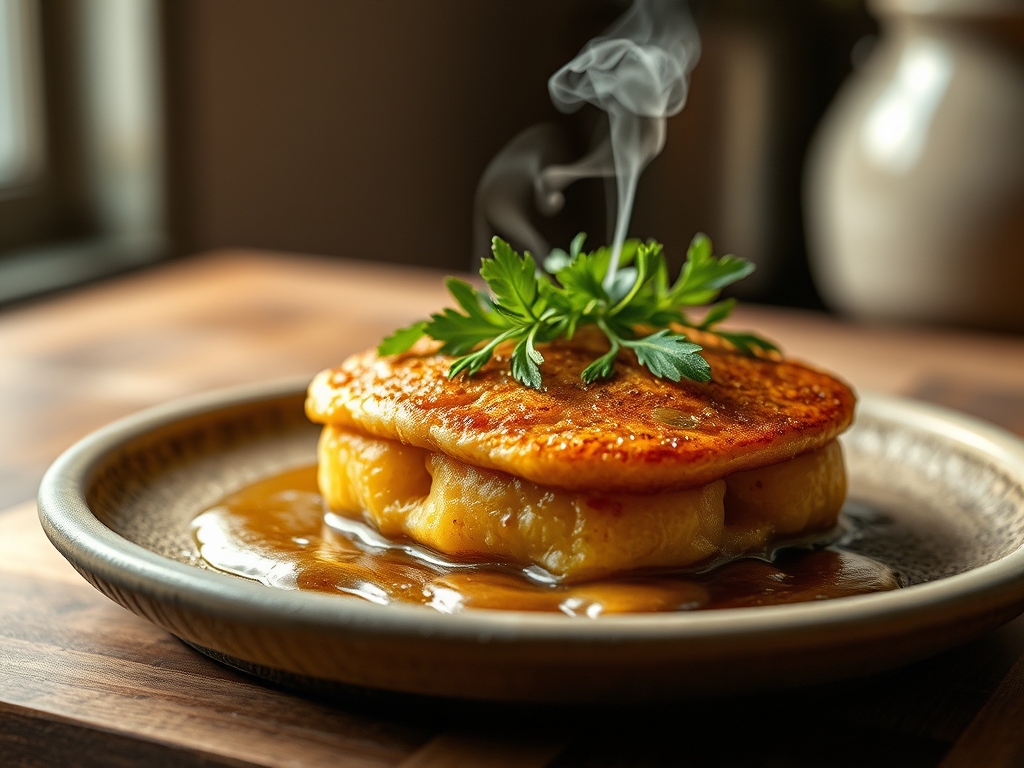
The Masterclass photo displays a loaf with a uniform, matte-gold finish and a consistent "shred" where the dough expanded. If your loaf appears dull or grayish, it likely lacked sufficient hydration or the milk wash was skipped. If the top is excessively dark while the center is doughy, your honey content might be too high for the oven temperature; honey accelerates the Maillard reaction significantly. To fix this, tent the loaves with foil after the first 15 minutes of baking. If the crumb appears "streaky" in the photo, it indicates that the honey and butter were not fully emulsified into the dough during the initial mixing phase.
THE DEEP DIVE
Macro Nutrition Profile:
Each slice of this Honey Wheat Audit provides approximately 140 calories, 4g of protein, 2g of fiber, and 3g of healthy fats. The use of whole wheat ensures a lower glycemic index compared to white bread, while the honey provides trace minerals and antioxidants.
Dietary Swaps:
For a vegan iteration, substitute the honey with agave nectar or maple syrup and use a high-quality vegan butter or coconut oil. For a gluten-free version, a specialized 1-to-1 gluten-free baking flour containing xanthan gum is required; however, the kneading times must be reduced significantly as there is no gluten to develop.
Meal Prep & Reheating Science:
To maintain the molecular structure, store the bread in a paper bag for the first 24 hours, then transition to an airtight container. When reheating, use a toaster or a low-heat oven. Avoid the microwave, as it causes the starch molecules to undergo rapid retrogradation, resulting in a rubbery texture once the bread cools.
THE KITCHEN TABLE
Why is my honey wheat bread so heavy?
Whole wheat flour contains bran, which acts like tiny saws cutting through gluten strands. To fix this, ensure you knead long enough to develop a strong network and consider adding a small amount of white flour for lift.
Can I use honey instead of sugar in any bread?
Yes, but honey is sweeter and more acidic. You should use about 3/4 cup of honey for every cup of sugar and reduce the other liquids in the recipe by about 1/4 cup to maintain the proper hydration balance.
What does the salt actually do in this recipe?
Salt is a fermentation regulator. It slows down the yeast so the bread doesn't over-proof too quickly and strengthens the gluten protein. Without it, your Honey Wheat Audit would be a structural mess with a very bland flavor profile.
How do I get that shiny professional crust?
The secret is moisture. Brushing the loaf with a mixture of honey and warm water immediately after it exits the oven creates a tacky, brilliant sheen that softens the crust and adds a final punch of piquant sweetness.

