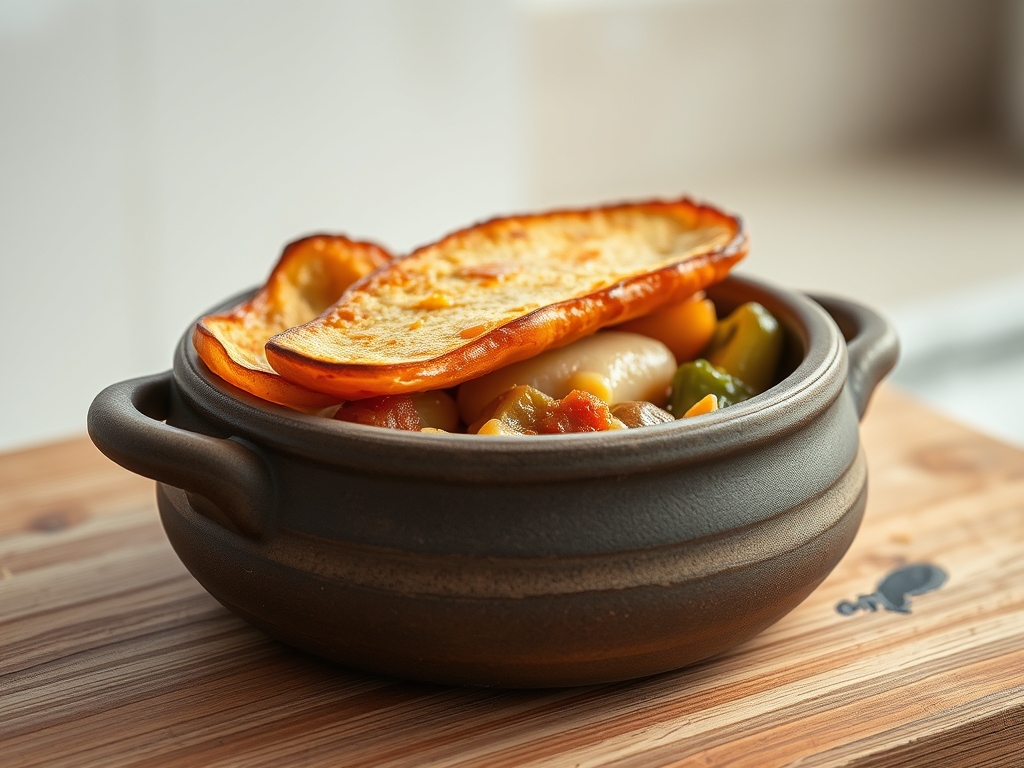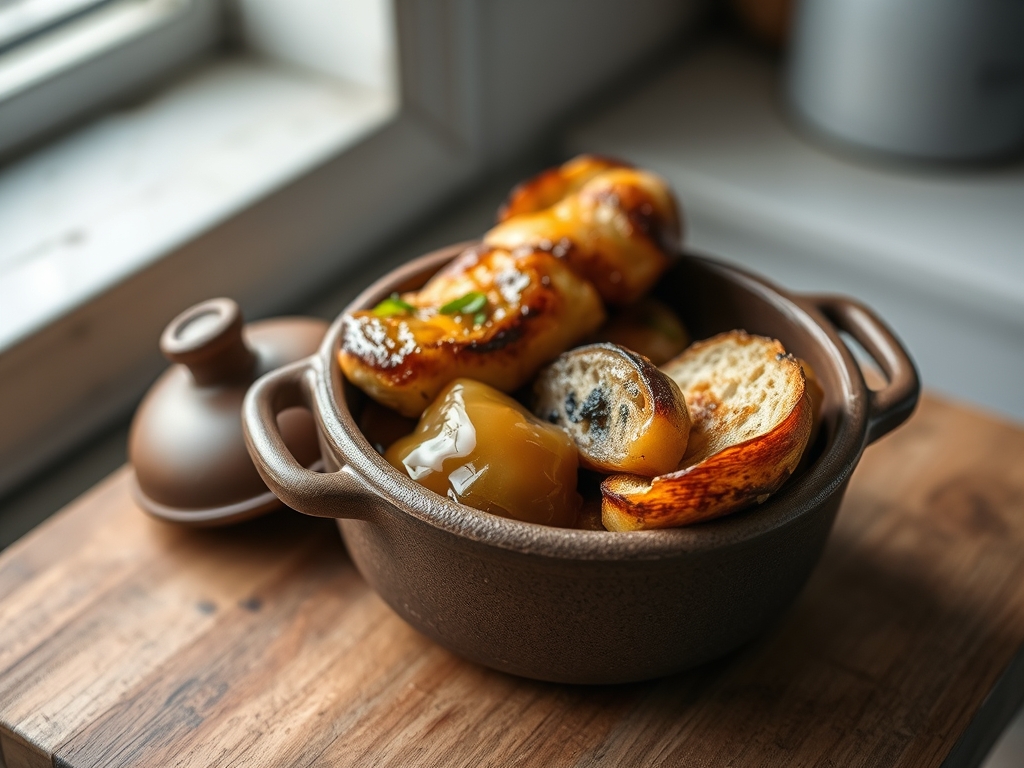

The scent of shimmering lard hitting a cast iron surface is the siren song of the high plains. We are not merely talking about snacks here; we are auditing a cultural cornerstone that defies the standard laws of leavening. Native American fry bread is a marvel of improvised engineering. It is a product of necessity that has evolved into a masterclass of Fry Bread Expansion. When the dough hits that 370 degree Fahrenheit oil, a violent transition occurs. Residual moisture flashes into steam, forcing the gluten network to stretch and balloon into those iconic, craggy landscapes of gold and amber. This is not the delicate crumb of a brioche. This is a structural triumph of aeration and surface area. To achieve the perfect audit, one must understand the tension between the elastic protein bonds and the rapid thermal shock of deep frying. We are looking for a specific structural integrity: a crisp, shattered-glass exterior that yields to a pillowy, slightly chewy core. If your dough is heavy or grease-logged, your infrastructure has failed. Let us recalibrate your technique.
THE DATA MATRIX
| Metric | Specification |
|---|---|
| Prep Time | 15 Minutes |
| Execution Time | 20 Minutes |
| Yield | 8 to 10 Servings |
| Complexity | 4 / 10 |
| Estimated Cost per Serving | $0.45 USD |
THE GATHERS
Ingredient Protocol:
- 500g / 4 cups All-Purpose Flour (High protein content preferred)
- 10g / 2 tsp Baking Powder (Double-acting for maximum lift)
- 5g / 1 tsp Fine Sea Salt
- 240ml / 1 cup Warm Water (Target temperature: 105 degrees Fahrenheit)
- 30ml / 2 tbsp Melted Lard or Shortening (To render the crumb more tender)
- 950ml / 4 cups Neutral High-Smoke Point Oil (For frying)
Section A: Ingredient Quality Audit:
If your flour feels gritty or clumps excessively, it has likely absorbed ambient humidity. This will sabotage your Fry Bread Expansion by weighing down the dough. Sift your dry goods through a fine-mesh strainer to aerate the mixture before hydration. If your baking powder is past its prime, the chemical reaction will be sluggish; test it by dropping a pinch into hot water. If it does not fizz violently, discard it. Using cold water is a common failure point. Cold water inhibits the solubility of the salt and prevents the fats from distributing evenly, leading to a "tough" final product. Ensure your water is warm to the touch to encourage a more viscous and pliable dough consistency.
THE MASTERCLASS
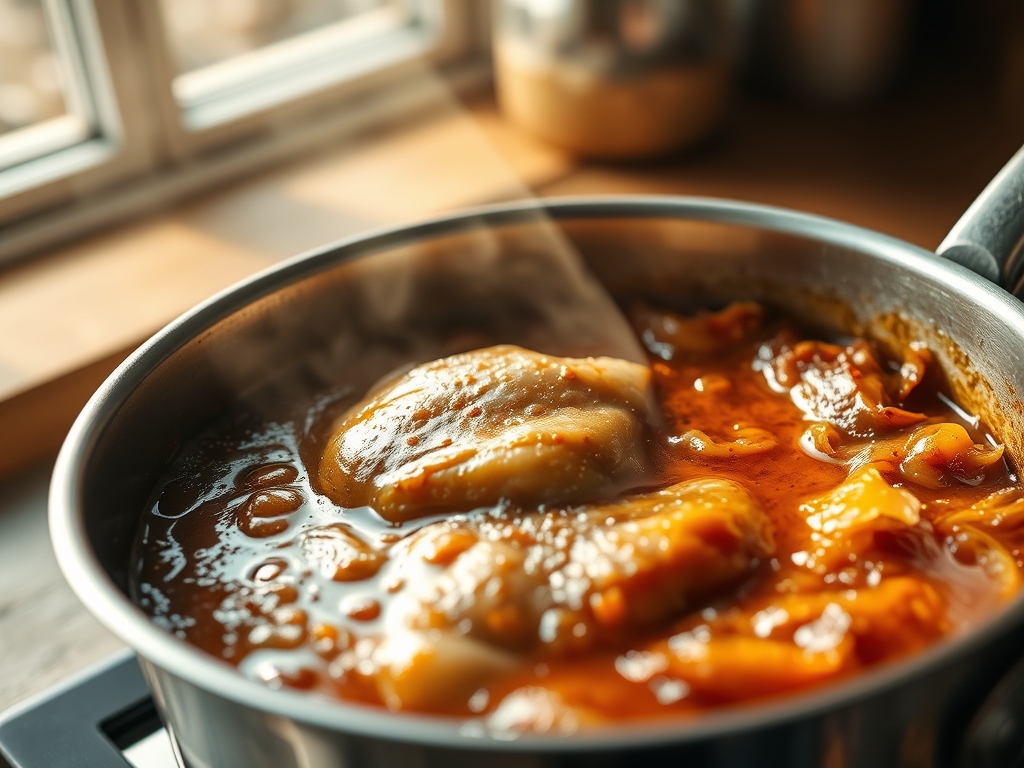
1. Dry Component Integration
Whisk your flour, baking powder, and salt in a large stainless steel bowl. Use a digital scale for these measurements; volumetric cups are the enemies of precision. You are looking for a homogenous distribution of leavening agents to ensure even bubbling.
Pro Tip: Use a balloon whisk to vigorously aerate the flour. This introduces micro-pockets of air that act as nucleation sites for steam during the frying process, enhancing the overall lift.
2. Hydration and Fat Incorporation
Create a well in the center of your dry ingredients. Pour in the warm water and melted lard. Using a bench scraper or a sturdy wooden spoon, fold the flour into the liquid from the outside in. Do not overwork the dough at this stage.
Pro Tip: The goal is to reach the "shaggy mass" stage. Over-mixing here will develop too much gluten, turning your bread into a rubbery disc rather than a light, puffy cloud. Stop as soon as no dry flour remains.
3. The Resting Phase
Cover the dough with a damp lint-free towel and let it sit for at least 30 minutes. This allows the flour to fully hydrate and the gluten strands to relax.
Pro Tip: Skipping the rest period is a critical error. A relaxed dough allows for maximum Fry Bread Expansion because the internal structure can stretch without snapping back. Use this time to calibrate your frying station.
4. Portioning and Shaping
Dust your workspace lightly with flour. Divide the dough into golf-ball-sized portions. Flatten them by hand or with a rolling pin into discs about half an inch thick. Poke a small hole in the center of each disc.
Pro Tip: That center hole is not just for aesthetics; it is a thermal vent. It prevents the center from ballooning into a sphere, ensuring the dough stays submerged and cooks evenly across its entire surface area.
5. The Thermal Strike
Heat your oil in a heavy-bottomed saucier or cast iron skillet to 370 degrees Fahrenheit. Carefully slide the dough into the oil. It should sink briefly and then aggressively float to the surface within three seconds.
Pro Tip: Use an infrared thermometer to monitor oil recovery times. If the temperature drops below 350 degrees, the dough will absorb oil rather than searing, resulting in a greasy, heavy texture.
Section B: Prep & Timing Fault-Lines:
Timing is the silent killer in the kitchen. If you shape all your dough discs at once and let them sit, they will dry out and form a "skin" that prevents expansion. Shape them one by one as they go into the oil. If your oil is too hot, the exterior will undergo the Maillard reaction too quickly, leaving the interior raw and doughy. If the oil is too cool, the dough will act like a sponge. Maintain a strict thermal window to ensure the steam pressure inside the dough can overcome the atmospheric pressure.
THE VISUAL SPECTRUM
Section C: Thermal & Visual Troubleshooting:
Examine the Masterclass photo above. Notice the "topography" of the bread. You want deep golden valleys and pale, puffed ridges. If your bread is a uniform, flat brown, you have likely pressed the air out during shaping. If the bread is pale and "leathery" in appearance, your oil temperature was too low, failing to render the exterior crisp. Look for "leopard spotting," which indicates high-quality fermentation or hydration. If the bread looks dull, try adding a pinch of sugar to the dry mix; this assists in caramelization and provides a more piquant visual finish.
THE DEEP DIVE
- Macro Nutrition Profile: Fry bread is a high-energy carbohydrate source. A single serving typically contains 250 to 300 calories, with approximately 12g of fat and 35g of carbohydrates. It is a fuel-dense food designed for high-output environments.
- Dietary Swaps: For a vegan audit, ensure the lard is swapped for vegetable shortening or coconut oil. For a gluten-free version, utilize a high-quality 1-to-1 flour blend containing xanthan gum; however, be aware that the Fry Bread Expansion will be significantly reduced due to the lack of a true gluten matrix.
- Meal Prep & Reheating Science: To maintain the molecular structure, never reheat fry bread in a microwave. The moisture will migrate to the surface, making it soggy. Instead, use an air fryer or oven at 350 degrees Fahrenheit for three minutes to recrisp the exterior and infuse heat back into the core.
THE KITCHEN TABLE
Why is my fry bread tough instead of fluffy?
You likely over-kneaded the dough. Excessive handling develops a dense gluten network that resists expansion. Mix until just combined and allow for a full 30-minute rest to let the proteins relax before frying.
Can I use yeast instead of baking powder?
Yes, but that shifts the audit toward a "yeast bread" profile. Yeast requires longer fermentation times and produces a different pore structure. For traditional, rapid Fry Bread Expansion, chemical leaveners like baking powder are the standard protocol.
How do I prevent the bread from being too greasy?
Ensure your oil is at exactly 370 degrees Fahrenheit. High heat creates an immediate steam barrier that prevents oil from penetrating the dough. Always drain the finished bread on a wire rack rather than flat paper towels.
What is the best oil for this process?
Use an oil with a high smoke point such as peanut, canola, or grapeseed oil. These oils can withstand the high temperatures required to render the dough crisp without breaking down and releasing bitter, acrid flavors.