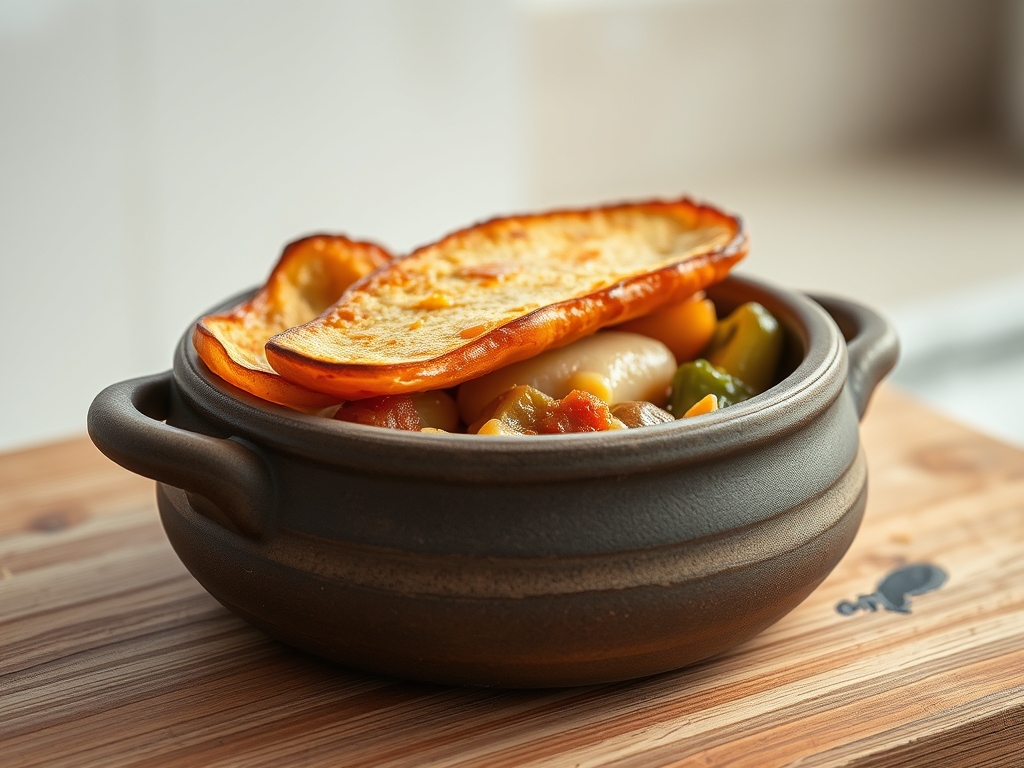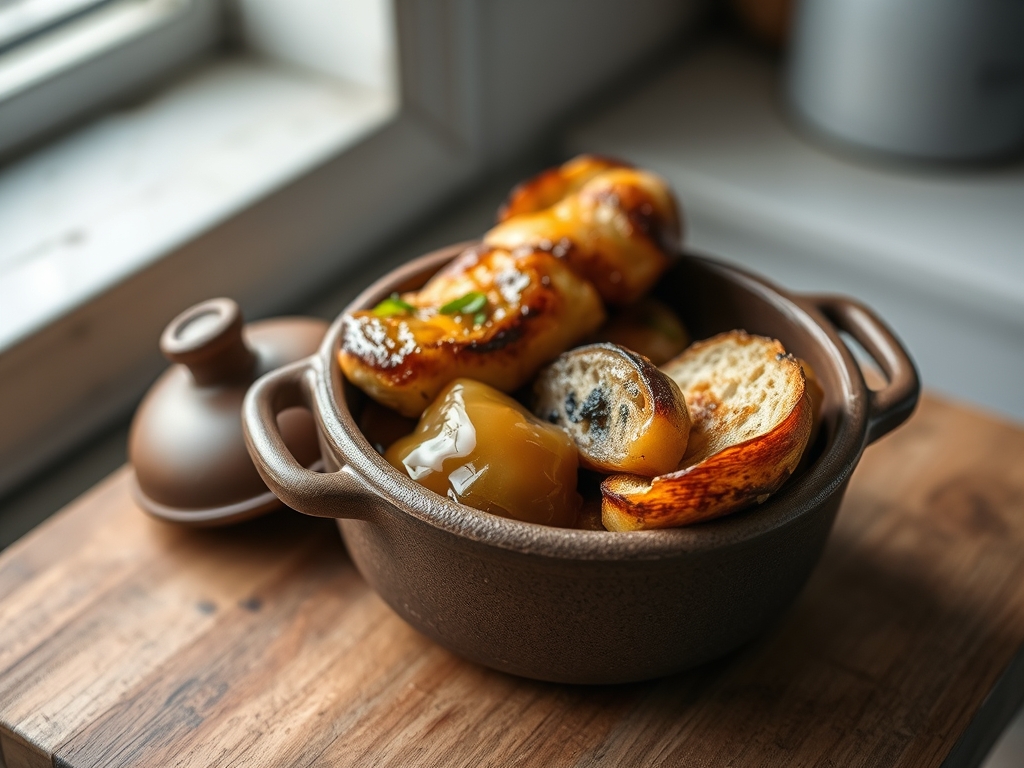
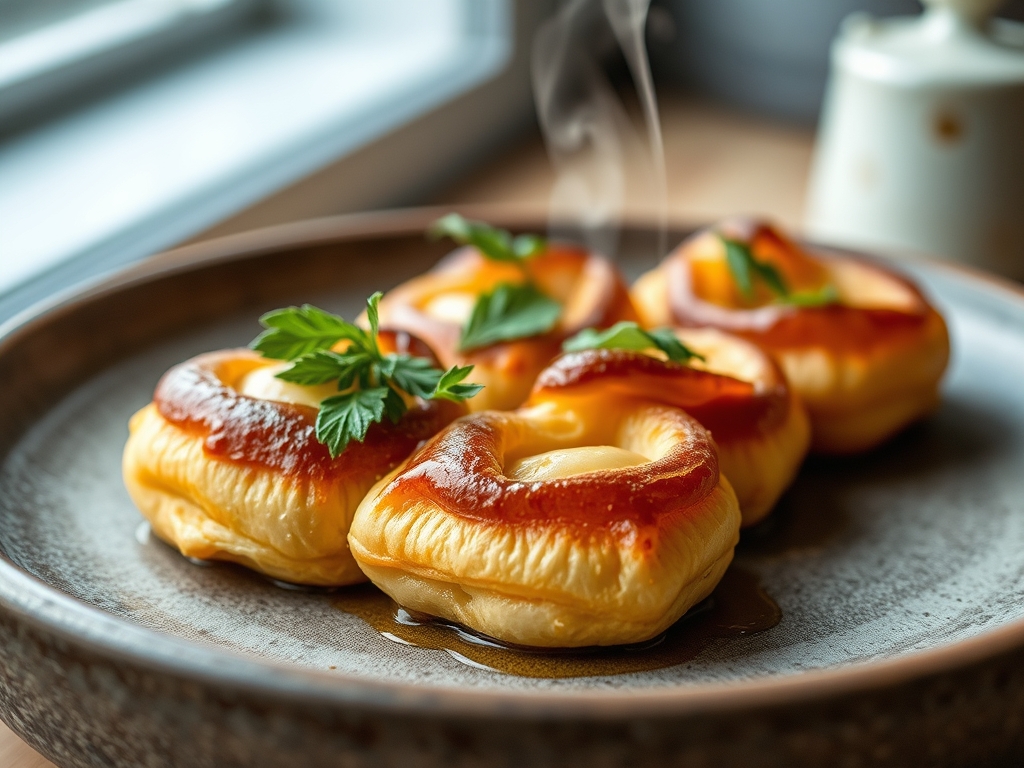
Imagine a culinary architecture where water turns into structural integrity and eggs become the scaffolding of a golden cathedral. We are not just baking; we are managing a high pressure steam event within a glutenous membrane. The magic of Choux Pastry Expansion relies on the violent transition of liquid to vapor, trapped inside a precooked dough that refuses to leak. When that tray hits the furnace, you are witnessing a biological engine firing on all cylinders. The scent of toasted butter and cooked flour fills the air as the shells inflate, doubling or tripling in volume while maintaining a hollow, cavernous interior. This is the ultimate test of a chef's technical precision. If your ratios are off by a fraction, the structural integrity collapses, leaving you with a sad, dense puck instead of a crisp, ethereal orb. We are here to audit your process, eliminate the variables of failure, and ensure that every puff you produce is a masterclass in internal vapor pressure. Prepare for a total system overhaul.
THE DATA MATRIX
| Metric | Specification |
|---|---|
| Prep Time | 15 Minutes |
| Execution Time | 35 Minutes |
| Yield | 24 Large Shells |
| Complexity (1-10) | 7 |
| Estimated Cost per Serving | $0.22 |
THE GATHERS
Ingredient Protocol:
- 250ml / 1 cup Filtered Water
- 115g / 0.5 cup Unsalted European Butter (82% fat)
- 150g / 1.25 cups All-Purpose Flour (sifted)
- 4 to 5 Large Eggs (room temperature)
- 5g / 1 tsp Fine Sea Salt
- 5g / 1 tsp Granulated Sugar (for browning)
Section A: Ingredient Quality Audit:
The primary failure point in many kitchens is the moisture content of the butter or the protein level of the flour. If you use a low-fat "spread," the excess water will disrupt the viscous nature of the panade, leading to a weak structure. Fix: Always use high-fat European-style butter to ensure a rich, stable emulsion. If your flour is too low in protein (like cake flour), the shell will not have the tensile strength to hold the steam. Fix: Stick to all-purpose flour with at least 10% protein. Finally, cold eggs are the enemy of an emulsion. Fix: Warm your eggs in a bowl of tepid water before incorporation to prevent the dough from breaking.
THE MASTERCLASS
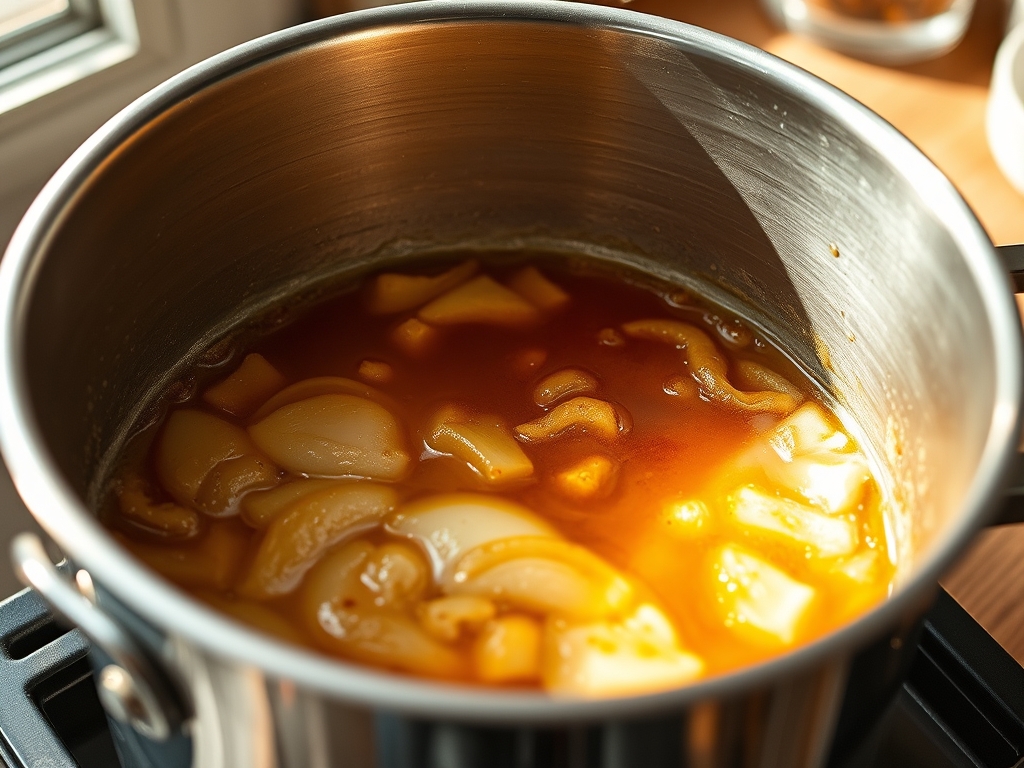
1. The Initial Hydration
Combine water, butter, salt, and sugar in a heavy-bottomed saucier. Bring to a rolling boil. As soon as the butter is fully rendered, dump the flour in all at once. Stir vigorously with a stiff heat-proof spatula until a cohesive ball forms.
Pro Tip: This stage is about gelatinizing the starches. You must cook the dough over medium heat for 2 to 3 minutes until a thin film forms on the bottom of the pan. This indicates you have evaporated enough moisture to allow the dough to absorb the maximum amount of egg later.
2. The Cooling Phase
Transfer the hot dough (the panade) to the bowl of a stand mixer. Use the paddle attachment to aerate the mixture on low speed for approximately 2 minutes. You want to see the steam dissipate until the dough is warm to the touch but not scorching.
Pro Tip: If you add eggs while the dough is above 140 degrees Fahrenheit, you will scramble them. Use an infrared thermometer to verify the temperature before proceeding to ensure a smooth, glossy finish.
3. The Egg Incorporation
Add the eggs one at a time, ensuring each is fully incorporated before adding the next. Watch the texture closely. You may not need the final egg. The dough is ready when it reaches a "V" stage; it should fall off the paddle slowly, leaving a translucent triangle of dough hanging.
Pro Tip: Use a digital scale to weigh your eggs if the texture seems inconsistent. The final consistency should be glossy and pipeable, yet firm enough to hold its shape on the baking sheet.
4. The Piping Protocol
Fit a large piping bag with a plain round tip. Pipe mounds onto a parchment-lined baking sheet, spacing them 2 inches apart to allow for Choux Pastry Expansion. Use a damp finger to smooth down any peaks to prevent burning.
Pro Tip: Use a bench scraper to push the dough toward the tip of the bag, ensuring no air pockets are trapped. Air pockets lead to irregular bursts and uneven shells.
5. The Thermal Execution
Bake at 425 degrees Fahrenheit for 15 minutes, then reduce the heat to 375 degrees Fahrenheit for another 15 to 20 minutes. Do not open the oven door during the first phase. The initial high heat creates the steam blast required for expansion.
Pro Tip: In the final minutes, prick each shell with a toothpick to let the internal steam escape. This prevents the interior moisture from softening the crust as it cools, ensuring a crisp result.
Section B: Prep & Timing Fault-Lines:
Timing is the silent killer of the choux. If you wait too long between piping and baking, a skin forms that restricts expansion. If your oven isn't preheated for at least 30 minutes, the stone or steel won't have the thermal mass to trigger the steam flash. Audit your oven with a secondary thermometer; internal dials are notoriously inaccurate. If the shells collapse upon removal, you pulled them too early. They must feel light and sound hollow when tapped.
THE VISUAL SPECTRUM
Section C: Thermal & Visual Troubleshooting:
Referencing the Masterclass photo, you are looking for a deep, amber-gold hue and a surface characterized by "crazing" or micro-cracks. If your shells are pale and soft, you likely had too much humidity in the oven or insufficient sugar for the Maillard reaction. If they are lopsided, your piping technique was inconsistent or your fan (if using convection) is too strong. For a dull finish, skip the egg wash; for a professional sheen, brush the tops lightly with a whisked egg and a pinch of salt before baking. This also helps the dough stretch without tearing.
THE DEEP DIVE
- Macro Nutrition Profile: Per shell (unfilled), you are looking at approximately 85 calories, 6g fat, 5g carbohydrates, and 2g protein. The caloric density shifts dramatically once you infuse the center with creme patissiere or savory mousses.
- Dietary Swaps: For a Gluten-Free version, use a high-quality 1-to-1 flour blend with xanthan gum. For a Dairy-Free version, replace butter with a high-fat vegan buttery stick (avoid tubs). Keto versions are difficult due to the lack of starch, but almond flour with added psyllium husk can provide a similar, albeit denser, structure.
- Meal Prep & Reheating Science: Choux shells can be frozen for up to 3 months in airtight containers. To restore the molecular structure, bake them from frozen at 350 degrees Fahrenheit for 5 minutes. This re-crisps the exterior while maintaining the hollow core.
THE KITCHEN TABLE
Why did my choux pastry fail to rise?
The most common culprit is undercooking the flour paste or adding eggs too quickly. If the dough is too liquid, the steam cannot build enough pressure to lift the heavy batter, resulting in flat, dense discs.
Can I make the dough in advance?
Yes, the raw dough can be refrigerated for up to 24 hours in a piping bag. However, for maximum expansion, it is best to pipe and bake immediately while the emulsion is at its most stable state.
How do I get a perfectly round shape?
Hold the piping bag vertically, about half an inch above the parchment. Apply steady pressure without moving the tip. Stop squeezing before pulling away with a quick circular flick to minimize the "tail" on top.
What is the best way to fill them?
Poke a small hole in the bottom of the cooled shell using a paring knife. Use a small Bismarck tip to inject your filling until you feel the shell expand slightly and offer resistance against the tip.
Why are my puffs soggy the next day?
Sugar and flour are hygroscopic; they pull moisture from the air. Store unfilled shells in an airtight container with a silica gel pack, or briefly re-toast them before serving to drive off absorbed atmospheric moisture.