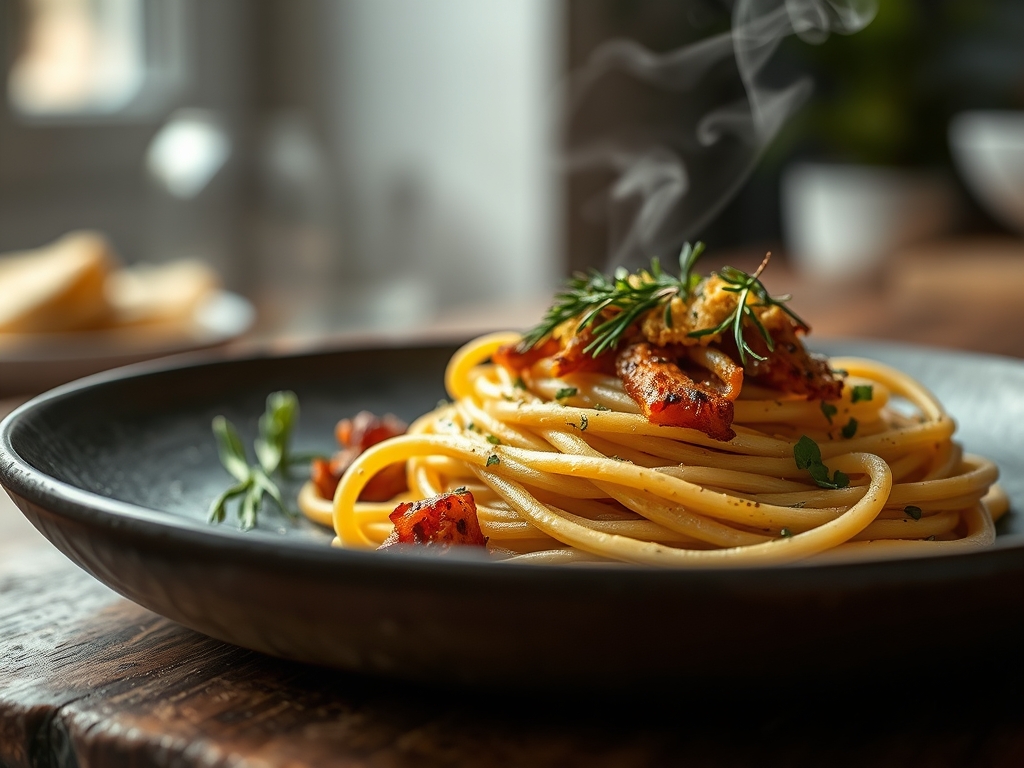
Listen to the sound of high-protein durum wheat hitting a stainless steel bowl; it is the percussion of a culinary revolution. We are not merely making dinner. We are conducting a high-stakes Semolina Pasta Audit to ensure your kitchen infrastructure can handle the mechanical demands of extruded dough. When you hydrate coarse-ground semolina, you are engaging in a biological negotiation with glutenin and gliadin proteins. The goal is a texture that offers a defiant snap against the teeth, a quality the Italians call al dente, but which we recognize as structural integrity. Most home cooks fail because they treat hydration as a suggestion rather than a chemical requirement. They end up with a gummy, flaccid mess that dishonors the grain. We are here to fix the system. We will analyze the granular starch hydration levels, the friction heat of the extruder, and the precise molecular bonding required to create a noodle that holds its shape under the weight of a heavy ragu. Prepare for a total overhaul of your carbohydrate manufacturing process.
THE DATA MATRIX
| Metric | Specification |
|---|---|
| Prep Time | 20 Minutes |
| Execution Time | 45 Minutes |
| Yield | 4 Servings |
| Complexity (1-10) | 7 |
| Estimated Cost per Serving | $1.25 |
THE GATHERS
Ingredient Protocol:
- 400g / 3.25 cups Semolina Flour (Double-milled "00" or coarse durum)
- 200ml / 0.85 cups Warm Filtered Water (Target temperature: 38C / 100F)
- 5ml / 1 tsp Extra Virgin Olive Oil (High polyphenol count preferred)
- 2g / 0.5 tsp Fine Sea Salt (Non-iodized for mineral purity)
Section A: Ingredient Quality Audit:
The primary failure point in a Semolina Pasta Audit is often the age of the flour. If your semolina smells like a dusty attic, the lipids have oxidized, and the protein structure is compromised. You cannot fix dead grain. If the dough feels brittle and refuses to bond, your hydration water might be too "hard" with mineral deposits. Use filtered water to ensure the ions do not interfere with gluten development. If the dough is excessively sticky, your ambient humidity is likely over 60 percent. In this case, reduce water intake by 10ml to compensate for atmospheric moisture. Always use a digital scale; volumetric measurements are the enemy of consistency in the pasta laboratory.
THE MASTERCLASS
Step-by-Step Execution:
1. The Crater Formation
Mount your semolina on a clean marble slab or stainless steel prep table. Use the base of a small bowl to create a wide, deep well in the center. This is your containment vessel. Gradually pour your warm water and olive oil into the center. Use a fork to whisk the liquid, slowly pulling flour from the inner walls of the crater.
Pro Tip: Warm water at exactly 38C accelerates the hydration of starch granules, allowing the moisture to penetrate the dense durum core faster than cold water. A bench scraper is essential here to keep your boundaries tight and prevent a liquid breach.
2. The Initial Consolidation
Once the mixture reaches a shaggy, viscous state, abandon the fork. Use your bench scraper to fold the outer dry flour over the central mass. Press down firmly with the heel of your hand to force the moisture into the dry pockets. The dough will look like a topographical map of a desert; keep pressing until it forms a unified, albeit rough, sphere.
Pro Tip: Do not add more water yet. The "shaggy" stage is a deceptive phase where the flour has absorbed moisture but hasn't yet undergone proteolysis, the breakdown of proteins that leads to a smooth texture.
3. Mechanical Kneading Protocol
Apply rhythmic pressure using the heels of both hands. Push the dough away from you, fold it back, rotate 90 degrees, and repeat. You are looking for the development of a smooth, matte finish. This process should take exactly ten minutes of continuous labor. The dough should feel like cold earlobe tissue; firm but yielding.
Pro Tip: Use a digital scale to weigh the dough before and after kneading. If you lose more than 5g of weight, your dough is dehydrating too quickly due to airflow. Cover it immediately with an inverted bowl to infuse the moisture back into the center.
4. The Autolyse Rest
Wrap the dough tightly in plastic film, ensuring no air pockets remain. Let it sit at room temperature for 30 minutes. This is not a suggestion; it is a chemical mandate. During this time, the gluten network relaxes and the moisture distributes evenly across every starch molecule, ensuring a consistent cook later.
Pro Tip: This resting phase allows the enzymes in the flour to begin breaking down complex starches into simpler sugars. This will later enhance the Maillard reaction if you decide to pan-sear the finished pasta in butter.
5. Extrusion or Manual Shaping
Divide the dough into four quadrants. Work with one section at a time while keeping the others covered. Roll the dough into long ropes and cut into small segments, or feed it through a mechanical extruder. If using an extruder, ensure the brass die is chilled to prevent friction heat from "cooking" the dough prematurely.
Pro Tip: If your shapes are tearing, the dough is too dry. If they are collapsing, it is too wet. A saucier pan should be prepped with boiling salted water (at a 1 percent salinity) before you finish shaping to ensure the pasta goes from board to bath instantly.
Section B: Prep & Timing Fault-Lines:
The most common human error is the "Panic Pour." When a cook sees dry flour, they over-saturate the dough with water. This destroys the protein matrix. You must trust the ten-minute knead. Temperature control is also vital; if your kitchen is over 25C (77F), the dough may sweat, leading to a tacky surface that sticks to the extruder. Work in a cool, dry environment. If you overshoot your rest time and leave the dough for over two hours, it may become too soft to hold intricate shapes.
THE VISUAL SPECTRUM
Section C: Thermal & Visual Troubleshooting:
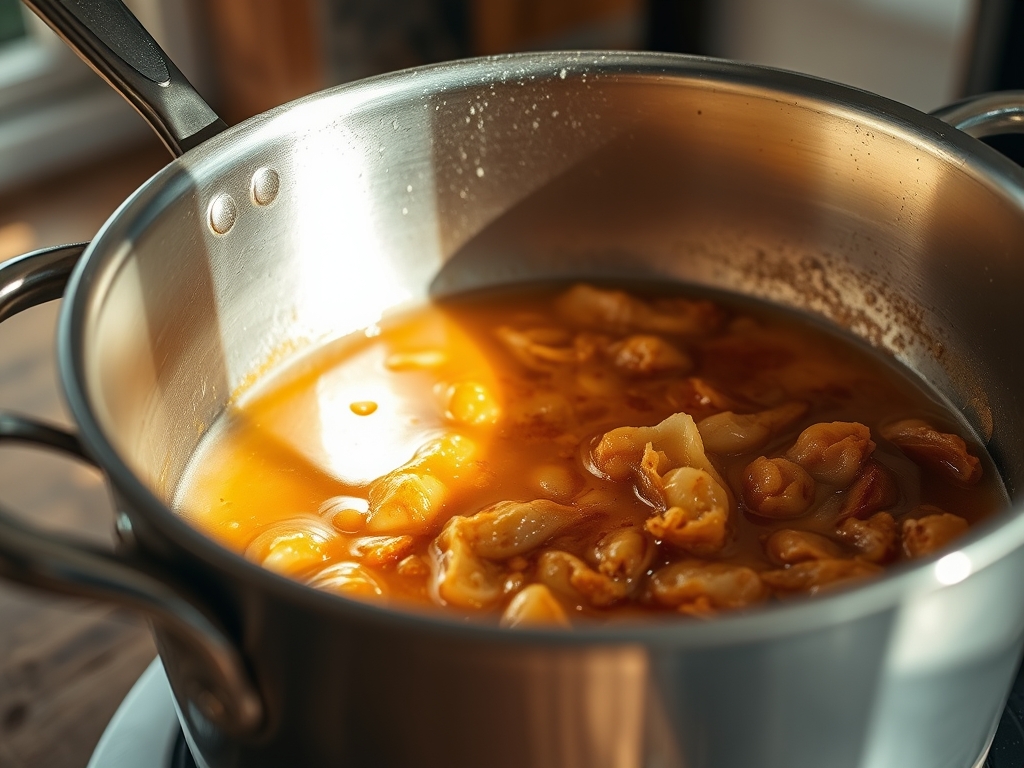
Referencing our Masterclass photo, notice the dull, matte finish of the raw dough. If your pasta looks shiny or translucent before cooking, it is over-hydrated. After boiling, the pasta should have a uniform, pale gold color. White spots indicate "flour pockets" where hydration failed. If the edges of your pasta look "frayed" or ragged, your cutting blade or extruder die was dull, causing mechanical stress to the gluten. To fix a dull color, ensure your boiling water is at a rolling, violent boil; this quickly sets the exterior starch and prevents the "graying" effect caused by slow-leaching amylose.
THE DEEP DIVE
Macro Nutrition Profile:
A standard 100g serving of semolina pasta provides approximately 350 calories, 12g of protein, and 2g of fiber. Because durum is a complex carbohydrate, it has a lower glycemic index than standard white flour, providing sustained energy release rather than a spike.
Dietary Swaps:
- Vegan: This recipe is naturally vegan. To increase richness, replace 20ml of water with 20ml of high-quality aquafaba.
- Keto/GF: Semolina is inherently gluten-heavy. For a similar structural "snap" in a GF version, utilize a blend of brown rice flour and xanthan gum (3 percent by weight).
Meal Prep & Reheating Science:
To maintain molecular structure when reheating, under-cook the pasta by 60 seconds. Shock in an ice bath to stop the thermal carryover. Store with a thin film of oil to prevent starch-bonding. When reheating, use a steam-injection method or a quick 30-second plunge into boiling water to re-gelatinize the starches without making them mushy.
THE KITCHEN TABLE
Why is my pasta falling apart in the water?
Your gluten network failed. This usually happens because the dough wasn't kneaded long enough or the "rest" period was skipped. Without that 30-minute autolyse, the starch granules won't hold together under the turbulence of boiling water.
Can I use regular all-purpose flour for this?
No. All-purpose flour lacks the protein density and coarse granulation of semolina. You will end up with a soft, doughy noodle that lacks the signature "bite" required for a successful Semolina Pasta Audit.
How much salt should I put in the water?
The water should be "seasoned like the sea." Aim for a 1 percent salinity. This doesn't just season the pasta; it tightens the gluten structure and raises the boiling point, ensuring a faster, more efficient cook.
My dough is too hard to knead. What do I do?
Wrap it in plastic and let it sit for 10 minutes. This allows the moisture to move into the center of the flour particles, softening the mass. Never add water until you have given the dough time to "relax."