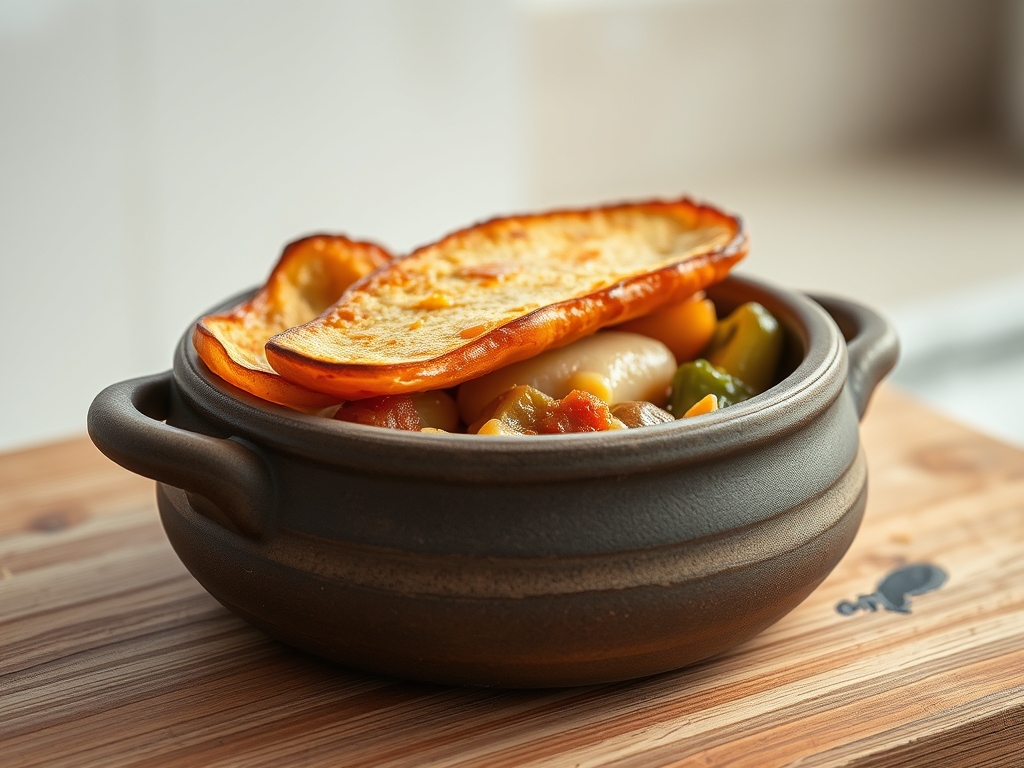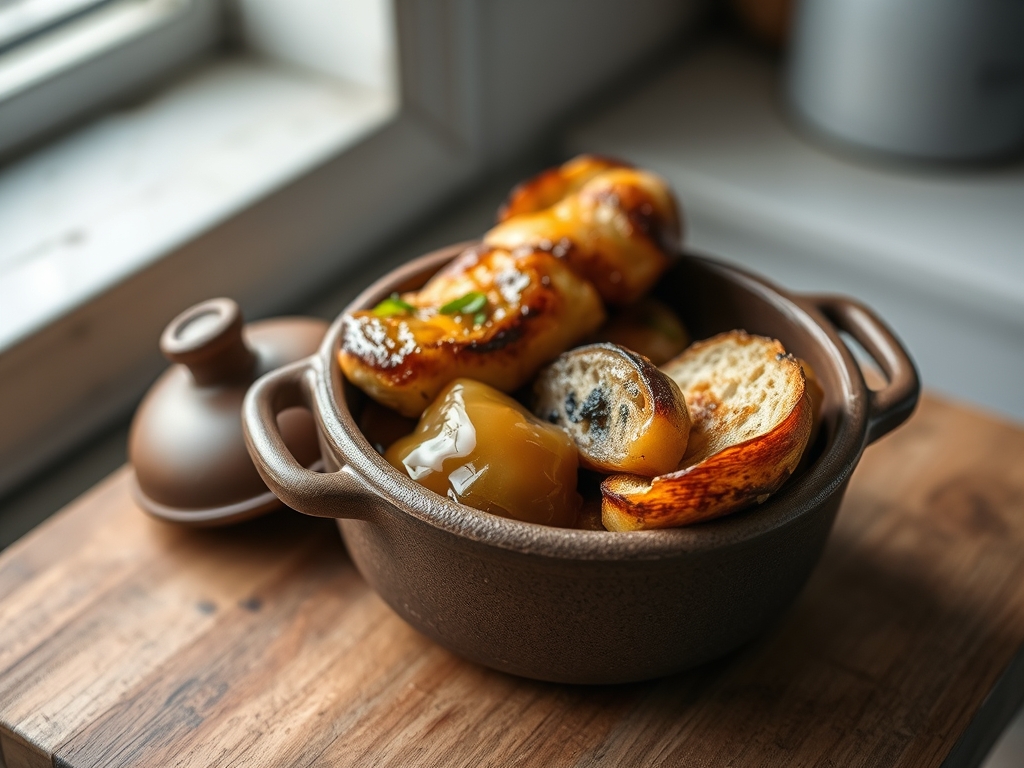
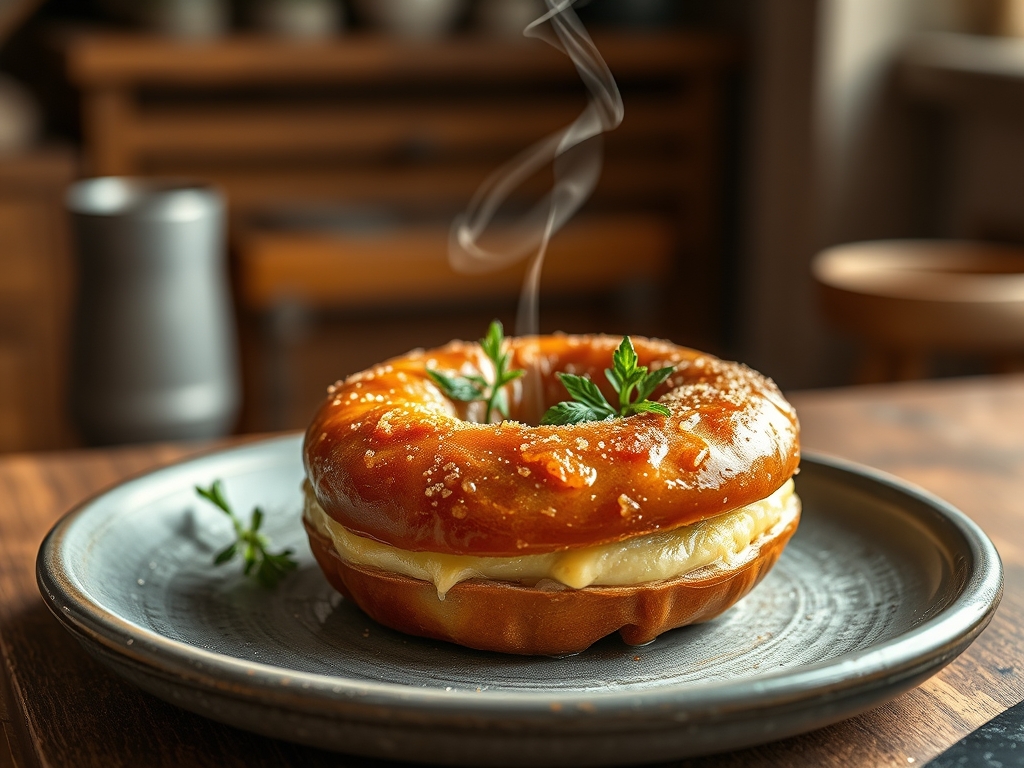
Listen up, kitchen architects. We are not just making breakfast; we are conducting a high-stakes Cronut Hybrid Audit to ensure your lamination can withstand the violent thermal shock of deep frying. The goal is a structural masterpiece that defies the laws of pastry physics. Imagine a crust so crisp it shatters like glass, revealing an interior of buttery, airy layers that have been perfectly aerated by steam. This is the intersection of high-end viennoiserie and the raw, unbridled power of the fryer. If your dough is too warm, the butter leaks and you are left with a greasy brick. If your oil is too cold, the pastry absorbs fat like a sponge, ruining the delicate balance of flavor and texture. We are hunting for that elusive golden ratio where the Maillard reaction creates a deep, nutty exterior while the lamination remains distinct and tender. Prepare your stations. We are moving from mere baking into the realm of culinary engineering where precision is the only currency that matters.
THE DATA MATRIX
| Metric | Specification |
|---|---|
| Prep Time | 48 Hours (Includes Fermentation) |
| Execution Time | 45 Minutes |
| Yield | 12 Large Hybrids |
| Complexity (1-10) | 9 |
| Estimated Cost per Serving | $1.25 |
THE GATHERS
Ingredient Protocol:
- 500g / 4 cups Bread Flour (High Protein Content)
- 60g / 0.25 cups Granulated Sugar
- 10g / 2 tsp Fine Sea Salt
- 11g / 1 tbsp Instant Yeast
- 250ml / 1 cup Whole Milk (Chilled)
- 1 Large Egg (Cold)
- 250g / 1.1 cups Unsalted European Butter (82% Fat Minimum)
- 2 Liters / 8.5 cups Grapeseed Oil (For Frying)
- 150g / 0.75 cups Vanilla Pastry Cream (For Injection)
Section A: Ingredient Quality Audit:
If your flour has a protein content below 12 percent, your gluten network will collapse under the weight of the butter layers. Technical Fix: Supplement with 10g of vital wheat gluten to reinforce the structural integrity. If using standard grocery store butter with high water content, your lamination will steam excessively and lose definition. Technical Fix: Ensure you are using European-style butter; if unavailable, manually beat the butter between parchment paper to expel excess moisture before creating your butter block. If the yeast is sluggish, the dough will not aerate properly during the final proof, leading to a dense, oily center. Always bloom a small portion of yeast in warm milk first to verify viability before committing to the full batch.
THE MASTERCLASS
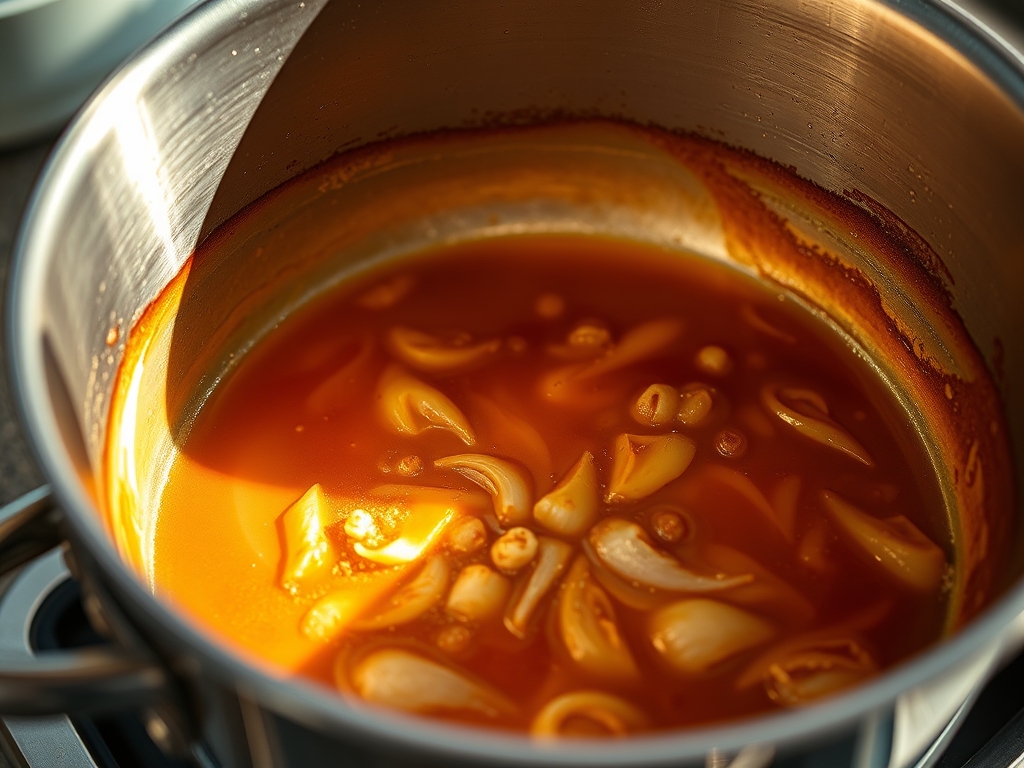
1. The Primary Dough Construction
Combine your dry ingredients in a stand mixer bowl. Add the chilled milk and egg, mixing on low speed until a shaggy mass forms. Use a digital scale to ensure the hydration level is exactly 52 percent. This low hydration is vital for a dough that can withstand multiple folds without becoming too soft.
Pro Tip: Keeping the dough at 4 degrees Celsius prevents premature yeast activation. This cold fermentation allows flavors to develop while keeping the gluten relaxed for easier rolling.
2. The Butter Block Integration
Roll your chilled butter into a perfect square between sheets of parchment. Place the butter block in the center of your rolled-out dough and fold the edges over to encase it completely. Use a bench scraper to keep the edges perfectly square; geometry is the secret to even layers.
Pro Tip: The butter and dough must be the same consistency. If the butter is too hard, it will shatter; if too soft, it will infuse into the dough layers, destroying the lamination.
3. The Lamination Cycle
Perform three "letter folds," resting the dough in the freezer for 20 minutes between each turn. This ensures the butter remains a distinct solid layer. After the final turn, wrap the dough tightly and refrigerate for at least 12 hours.
Pro Tip: Use a heavy rolling pin to apply even pressure. Uneven pressure causes the butter to migrate, leading to "blind spots" where the pastry will not rise during frying.
4. Precision Cutting and Final Proof
Roll the dough to a thickness of 1.5cm. Use a sharp circular cutter to punch out the shapes. Place them on a lined tray and proof at 26 degrees Celsius for two hours until they are wobbly and significantly increased in volume.
Pro Tip: Do not over-proof. If the gluten is stretched to its limit before frying, the rapid expansion in the oil will cause the cell walls to rupture, resulting in a collapsed pastry.
5. The Thermal Execution
Heat your grapeseed oil in a heavy-bottomed saucier or deep fryer to exactly 175 degrees Celsius. Carefully drop the pastries in, frying for two minutes per side. The oil must maintain a constant temperature to render the exterior crisp without burning the sugars.
Pro Tip: Use a digital probe thermometer to monitor oil recovery time. If the temperature drops below 170 degrees, the dough will absorb oil, ruining the "shatter" effect of the crust.
Section B: Prep & Timing Fault-Lines:
The most common human error is rushing the chilling stages. If the dough is not sufficiently cold, the friction from the rolling pin will melt the butter. Technical Fix: If the dough feels "tacky" or soft, immediately return it to the freezer for 10 minutes. Another failure point is the frying window. If you fry too many units at once, the oil temperature crashes. Technical Fix: Fry in batches of no more than three. This maintains the thermal mass required for an instant crust set.
THE VISUAL SPECTRUM
Section C: Thermal & Visual Troubleshooting:
Referencing the Masterclass photo, you are looking for a deep mahogany hue with visible, distinct ridges on the sides. If your hybrid looks pale and "blonde," the oil was too cold or the dough lacked sufficient sugar for the Maillard reaction. Solution: Increase oil temp by 5 degrees. If the layers look fused together rather than distinct "pages" of a book, your lamination was compromised during rolling. Solution: Ensure the dough rests longer between turns to prevent gluten tension from squeezing the butter into the flour. If the center is doughy while the outside is dark, the oil was too hot. Solution: Lower the heat and use a timer to ensure a minimum of 180 seconds of total cook time.
THE DEEP DIVE
Macro Nutrition Profile
Each 100g serving contains approximately 420 calories. The breakdown is roughly 24g of fat (primarily monounsaturated if using grapeseed oil), 45g of carbohydrates, and 6g of protein. This is a high-energy, high-density fuel source designed for indulgence.
Dietary Swaps
- Vegan: Replace European butter with a high-fat plant-based block (look for avocado or shea butter bases) and use oat milk for the dough hydration.
- Keto: This is mathematically impossible for a true laminated pastry; however, almond flour "fathead" doughs can be fried, though they lack the lamination infrastructure.
- Gluten-Free: Use a high-quality 1-to-1 GF blend with added xanthan gum. Note that the layers will be more fragile and require extra chilling time.
Meal Prep & Reheating Science
To maintain the molecular structure, never microwave a fried hybrid; the moisture will migrate from the center to the crust, making it rubbery. To reheat, use an air fryer or convection oven at 180 degrees Celsius for 3 minutes. This flashes the surface moisture and recrisps the fat layers without overcooking the interior cream.
THE KITCHEN TABLE
Why is my pastry greasy inside?
Your oil temperature was likely too low or your dough was over-proofed. Low heat allows oil to penetrate the layers before the crust sets. Over-proofing weakens the structure, allowing the pastry to act like a sponge.
Can I use regular butter?
Standard butter has higher water content. When fried, that water turns to steam too violently, which can blow out the layers or cause the pastry to fall apart. Stick to 82 percent fat minimum for stability.
How do I get the filling inside?
Use a Bismarck tip on a piping bag. Insert the tip into the side or bottom of the warm pastry. The internal steam creates a natural cavity that is perfect for holding viscous pastry cream or ganache.
Why did my layers disappear?
This is a "lamination fail." Either the butter melted into the dough during the rolling process because the room was too warm, or you pressed too hard with the rolling pin, crushing the delicate layers together.