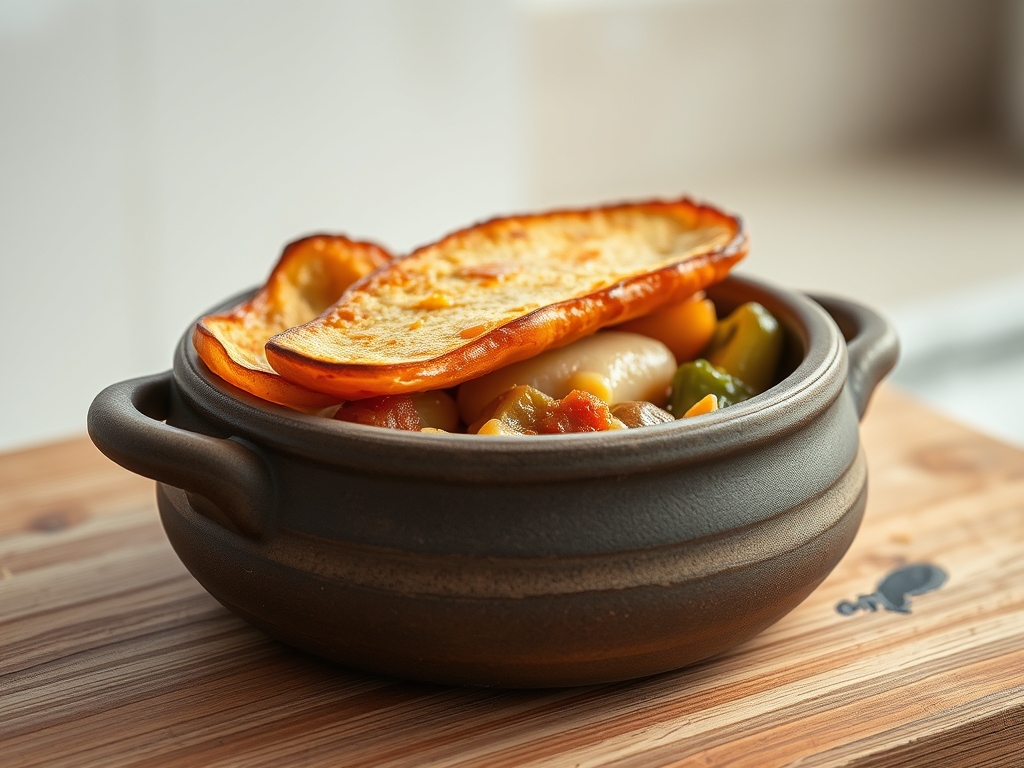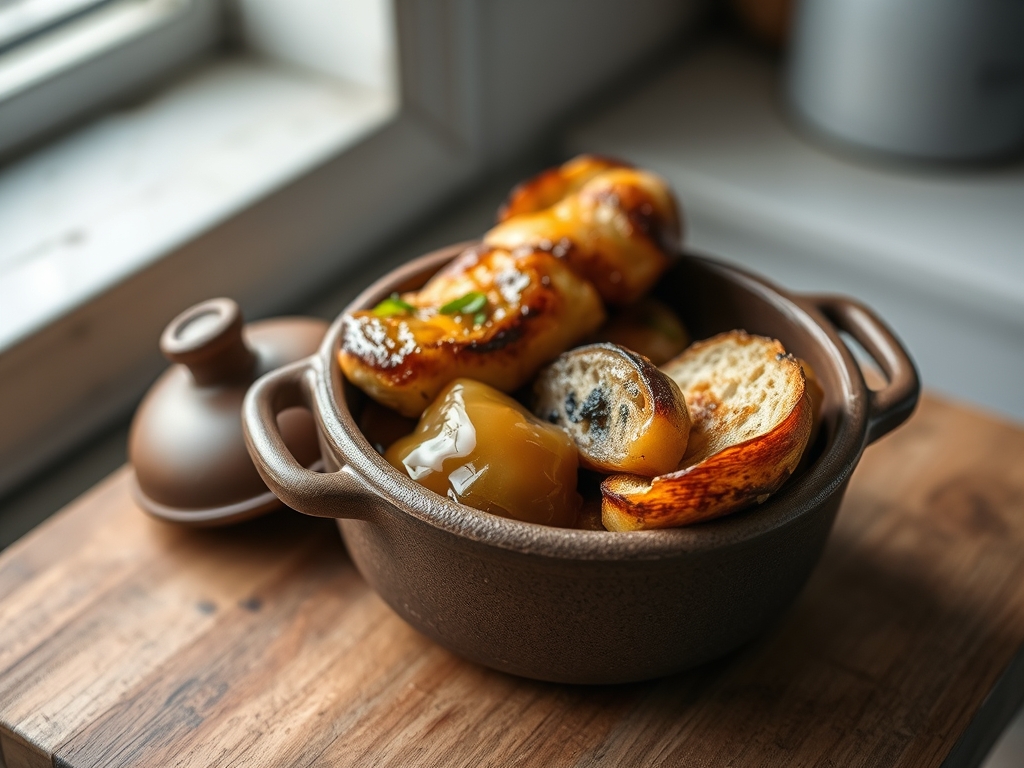
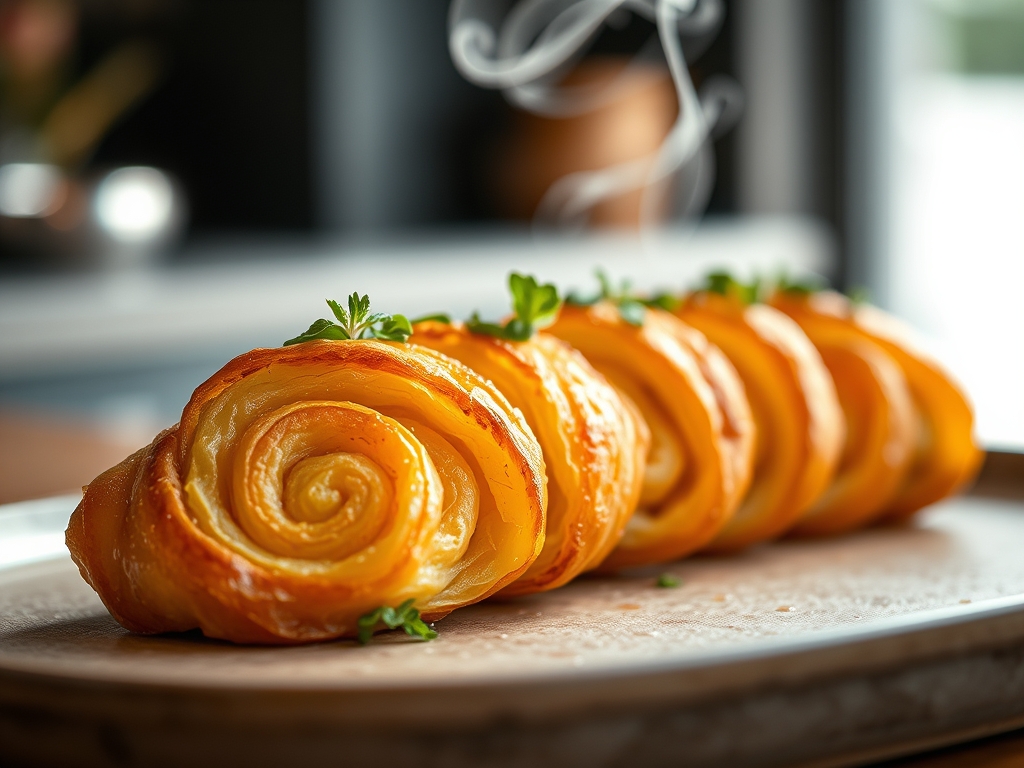
Listen closely because your standard brioche is a structural failure compared to the architectural marvel we are about to dismantle. We are entering the realm of the Balearic masterpiece; the Ensaimada. This is not merely a pastry; it is a high-tension cable of gluten and lipid engineering coiled into a celestial snail. To master this, you must abandon your fear of grease and embrace the viscous power of high-quality lard. We are conducting a full Ensaimada Spiral Audit to ensure your dough achieves maximum elasticity without structural collapse. Imagine a crumb so thin it borders on translucent, laminated not with butter, but with a rendered cloud of pork fat that melts at precisely the temperature of a human tongue. The goal is a finished product that is shatter-crisp on the exterior while remaining impossibly soft and airy within. If your coils are tight, your fermentation is aggressive, and your lard application is generous, you will achieve a level of pastry transcendence that makes standard laminations look like amateur hour.
THE DATA MATRIX
| Metric | Specification |
|---|---|
| Prep Time | 45 Minutes (Active) |
| Execution Time | 14-18 Hours (Includes Proofing) |
| Yield | 8 Large Spirals |
| Complexity (1-10) | 8.5 |
| Estimated Cost per Serving | $1.25 |
THE GATHERS
Ingredient Protocol:
- 500g / 4 cups Strong Bread Flour (Minimum 12% protein)
- 100g / 0.5 cups Granulated Sugar
- 2 Large Eggs (Room temperature)
- 20g / 1.5 tbsp Fresh Yeast (or 7g / 2.25 tsp Active Dry)
- 180ml / 0.75 cups Lukewarm Water
- 150g / 0.6 cups High-Quality Rendered Lard (Room temperature)
- 5g / 1 tsp Fine Sea Salt
- 50g / 0.4 cups Powdered Sugar (For the final snow-drift)
Section A: Ingredient Quality Audit:
Sub-par materials lead to catastrophic structural failure. If your flour lacks sufficient protein, the gluten network will snap during the extreme stretching phase. Technical Fix: Use a high-protein "00" or bread flour and perform a windowpane test early. If your lard smells "piggy" or sour, it will ruin the delicate sweetness of the dough. Technical Fix: Source leaf lard or high-purity rendered fat. If the yeast is sluggish, your spirals will be dense pucks. Technical Fix: Bloom dry yeast in lukewarm water with a pinch of sugar for ten minutes before integrating; if it does not foam, discard it immediately.
THE MASTERCLASS
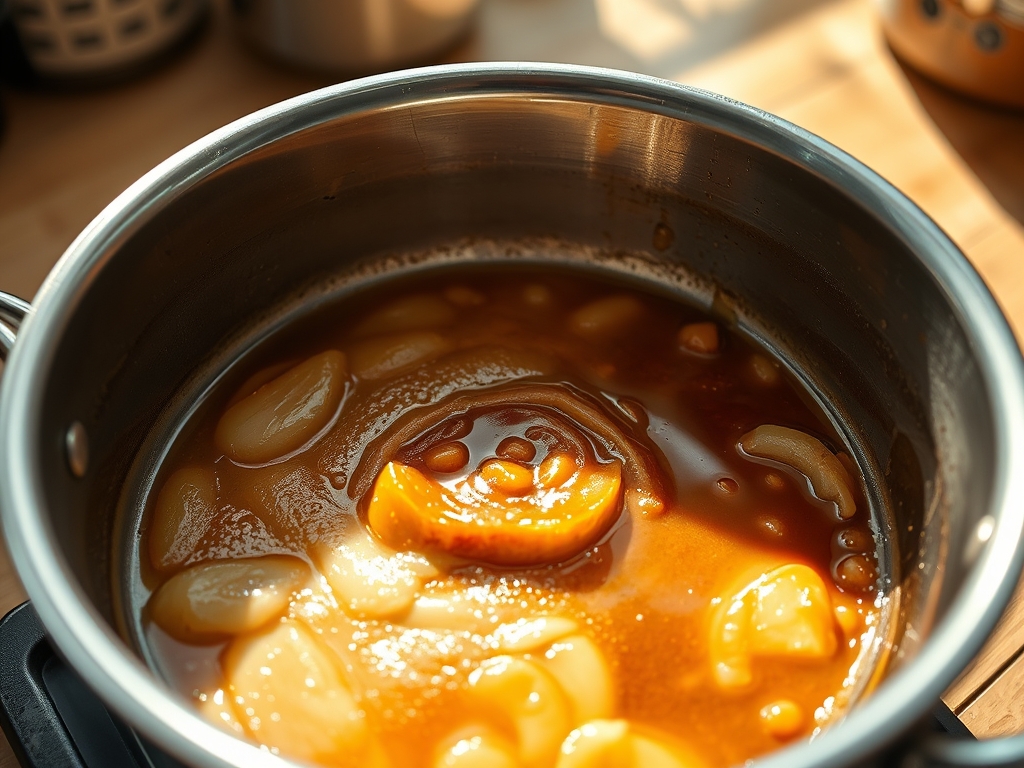
1. The Primary Hydration Phase
Combine your flour, sugar, eggs, and bloomed yeast in the bowl of a heavy-duty stand mixer. Use a digital scale for every gram; volume measurements are the enemies of precision. Mix on low speed while gradually adding water until a shaggy mass forms. Add the salt last to avoid inhibiting yeast activity too early.
Pro Tip: This stage is about building the initial protein bonds. The salt strengthens the gluten strands, allowing them to stretch further without tearing during the later viscous expansion.
2. The Intensive Knead
Increase the mixer speed to medium. You must knead until the dough is completely smooth and pulls away from the sides of the bowl. This usually takes 10 to 12 minutes. The dough should be tacky but not sticky. Use a bench scraper to clear the sides and ensure no dry pockets remain.
Pro Tip: The science here is mechanical energy. You are aligning glutenin and gliadin proteins into long, elastic chains. If the dough feels too warm, stop the mixer; heat can degrade the yeast prematurely.
3. The Bulk Fermentation
Place the dough in a lightly oiled bowl and cover with a damp cloth. Let it rise in a draft-free environment until doubled in size. This typically takes 2 hours depending on ambient temperature.
Pro Tip: Slow fermentation allows for complex flavor development. If your kitchen is cold, use an oven with just the light turned on to create a consistent proofing chamber.
4. The Translucent Stretch
Divide the dough into 8 equal portions. On a large, heavily greased surface, roll one portion out as thin as possible. Then, using your hands, gently pull and stretch the dough until it is paper-thin and see-through. This is where the Ensaimada Spiral Audit becomes critical; any holes must be pinched shut.
Pro Tip: Use your bench scraper to help lift the edges. The goal is a "windowpane" effect across the entire table. This creates the legendary micro-layers of the Spanish tradition.
5. The Lard Infusion
Take a generous scoop of room-temperature lard and spread it across the entire surface of the stretched dough. It should be a thin, even coating. Roll the dough tightly into a long, thin rope.
Pro Tip: The lard acts as a barrier, preventing the layers of dough from fusing back together. This creates a "lamination by rolling" rather than the folding method used in croissants.
6. The Spiral Coil
Coil the rope into a snail shape on a parchment-lined baking sheet. Leave significant space between the coils, as the dough will expand dramatically. Let the shaped ensaimadas proof for at least 8 to 12 hours (overnight is best) until they are puffy and fragile.
Pro Tip: Do not rush the second proof. The long rest allows the gluten to relax, ensuring the pastry doesn't spring back and lose its shape during the bake.
7. The Thermal Execution
Bake at 180C (350F) for 12 to 15 minutes. They should be golden brown and sound hollow when tapped. Immediately after removing from the oven, dust them with a thick layer of powdered sugar.
Pro Tip: Use an infrared thermometer to check your oven's "hot spots." Uneven heat will result in one side of the spiral being doughy while the other is burnt.
Section B: Prep & Timing Fault-Lines:
The most common human error is impatience. If you bake before the overnight proof is complete, the internal structure will be dense and "bread-like" rather than airy. If the room is too hot during the stretching phase, the lard will melt into the dough rather than sitting on top of it, destroying the lamination. Maintain a cool workspace to keep the lipids stable.
THE VISUAL SPECTRUM
Section C: Thermal & Visual Troubleshooting:
Look at the Masterclass photo; notice the distinct ridges of the spiral and the "snow-cap" effect of the sugar. If your Ensaimada looks flat, your yeast was likely dead or the proofing time was insufficient. If the color is a dull grey rather than golden, you likely omitted the sugar in the dough or under-baked. If the texture is "tough," you over-worked the dough after the initial ferment. The visual cue for success is a "shatter" effect when you break the coil; the outer layer should flake away to reveal a moist, honeycombed interior.
THE DEEP DIVE
- Macro Nutrition Profile: High in carbohydrates and saturated fats. Each serving contains approximately 380 calories, 18g of fat, and 45g of carbohydrates. This is a high-energy fuel source meant for indulgence.
- Dietary Swaps: For a vegan version, substitute lard with a high-quality vegetable shortening or refined coconut oil, though the flavor profile will shift. For Gluten-Free, a high-quality 1-to-1 flour blend with added Xanthan gum is required, though the "stretch" will be significantly reduced.
- Meal Prep & Reheating Science: These are best fresh, but can be stored in an airtight container for 2 days. To reheat, use a low-heat oven (150C) for 5 minutes. Avoid the microwave; it will turn the lard viscous and soggy, ruining the crystalline structure of the crust.
THE KITCHEN TABLE
Why is my dough snapping when I stretch it?
Your gluten isn't relaxed. Let the dough balls rest for an additional 20 minutes before attempting to stretch. This allows the protein bonds to loosen, facilitating that paper-thin transparency required for a successful audit.
Can I use butter instead of lard?
Technically yes, but it is no longer an Ensaimada. Butter contains water, which creates steam and a different crumb. Lard is 100 percent fat, providing a unique silkiness and a higher smoke point for that specific Mallorcan finish.
How do I know if I over-proofed the coils?
If the spirals look like they are deflating or if large bubbles appear on the surface that pop at a touch, they have gone too far. Bake them immediately to salvage the structure, but expect a slightly fermented, sourdough-like tang.
What is the best way to apply the sugar?
Wait 60 seconds after the oven pull. If you apply it too soon, the heat melts the sugar into a glaze. If you wait too long, it won't adhere. The goal is a pristine, white, powdery landscape.