
Listen to the sound of the crust. It is the definitive crackle of a high-hydration masterpiece, a percussive symphony that signals the success of our Focaccia Porosity Study. We are not merely baking bread; we are engineering a structural marvel of gluten and lipids. Imagine a crumb so light it feels like captured air, yet so rich it leaves a shimmering sheen of gold on your fingertips. This is the architecture of the dimpled lipid pocket. We are looking for cavernous alveoli, those irregular air bubbles that act as reservoirs for premium extra virgin olive oil. When the heat hits the oven floor, the water in the dough flashes into steam, forcing the gluten network to expand violently. Meanwhile, the oil pooled in the dimples creates a localized deep-fry effect, yielding a bottom crust that shatters upon impact. This is the intersection of fluid dynamics and thermal kinetics. If your current bread feels like a dense brick, you are failing the structural audit. It is time to recalibrate your ratios and embrace the glorious instability of a 80 percent hydration dough.
THE DATA MATRIX
| Metric | Value |
|---|---|
| Prep Time | 24 Hours (Cold Fermentation) |
| Execution Time | 45 Minutes |
| Yield | 1 Half-Sheet Pan (12 Servings) |
| Complexity (1-10) | 7 |
| Estimated Cost per Serving | $0.85 |
THE GATHERS
Ingredient Protocol:
- 500g / 3.8 cups High-Protein Bread Flour (12.7% protein minimum)
- 400ml / 1.7 cups Filtered Water (Room Temperature)
- 10g / 2 tsp Fine Sea Salt
- 5g / 1.5 tsp Instant Yeast
- 100ml / 0.4 cup Extra Virgin Olive Oil (Divided)
- 10g / 2 tbsp Fresh Rosemary Sprigs
- 5g / 1 tsp Flaky Finishing Salt
Section A: Ingredient Quality Audit:
Sub-par raw materials are the primary cause of structural failure in this Focaccia Porosity Study. If your flour has a low protein content, the gluten network will lack the tensile strength to aerate properly, resulting in a flat, sad pancake. Fix: Always verify the protein percentage on the bag. If you are stuck with All-Purpose flour, add 15g of Vital Wheat Gluten to reinforce the matrix. If your olive oil tastes metallic or "flat," it has likely oxidized. High-quality oil should taste piquant and peppery at the back of the throat. This indicates high polyphenol content, which protects the dough during the high-heat bake. Finally, if using tap water with high chlorine levels, your yeast activity will be suppressed. Use filtered water to ensure the biological leavening agents can render the sugars into carbon dioxide without chemical interference.
THE MASTERCLASS

1. The Autolyse and Initial Hydration
In a large glass bowl, combine your flour and water until no dry streaks remain. Let this sit for 30 minutes. This process allows the flour to fully hydrate and the gluten proteins to begin aligning without manual labor. Use a digital scale for this; volumetric measurements are for amateurs and lead to inconsistent density.
Pro Tip: This resting phase makes the dough more extensible, meaning it can stretch further without tearing, which is essential for massive air pockets.
2. Yeast Integration and Bulk Fermentation
Sprinkle the yeast and sea salt over the hydrated dough. Use your hand as a "claw" to incorporate the ingredients. Begin a series of "stretch and folds" every 30 minutes for two hours. You will feel the dough transform from a viscous mess into a silky, cohesive membrane. Use a bench scraper to keep your workspace clean and to help lift the high-hydration dough without deflating it.
Pro Tip: The stretch-and-fold technique builds vertical tension in the gluten, allowing the dough to trap gas more efficiently than traditional kneading.
3. The Cold Fermentation Protocol
Transfer the dough to a container coated in 20ml of olive oil. Cover tightly and refrigerate for 12 to 24 hours. This is where the flavor molecules develop. Cold temperatures slow down the yeast, allowing bacteria to produce organic acids that provide that signature sourdough-adjacent tang.
Pro Tip: Cold dough is easier to handle. The lipids solidify slightly, making the final shaping process much more manageable for the home baker.
4. The Dimpling and Lipid Infusion
Pour 40ml of olive oil onto a rimmed baking sheet. Gently transfer the dough to the pan, turning to coat. Let it proof at room temperature until it has doubled in size and looks like a wobbling jelly. Use your fingertips to press deep into the dough, creating the "dimpled pockets." Pour the remaining oil over the top so it pools in the craters.
Pro Tip: Do not be shy with the oil. These pools prevent the surface from drying out, allowing the dough to expand fully before the crust sets.
5. Thermal Execution
Preheat your oven to 450 degrees Fahrenheit (232 Celsius). Sprinkle fresh rosemary and flaky salt over the surface. Bake for 20 to 25 minutes until the top is a deep mahogany. The bottom should be "fried" in the olive oil, creating a golden, crunchy barrier.
Pro Tip: Use an infrared thermometer to check your oven walls. Most home ovens lie about their internal temperature; precision is the difference between "done" and "perfect."
Section B: Prep & Timing Fault-Lines:
Timing is the silent killer of crumb structure. If you rush the room-temperature proof after the cold ferment, the dough will be too cold to expand, leading to "tunneling" where large holes form at the top while the bottom remains gummy. Ensure the dough reaches at least 68 degrees Fahrenheit internally before it hits the oven. Conversely, over-proofing will cause the gluten to collapse under its own weight. If the dough starts to look like it has popped bubbles on the surface, get it in the oven immediately to save the structure.
THE VISUAL SPECTRUM
Section C: Thermal & Visual Troubleshooting:
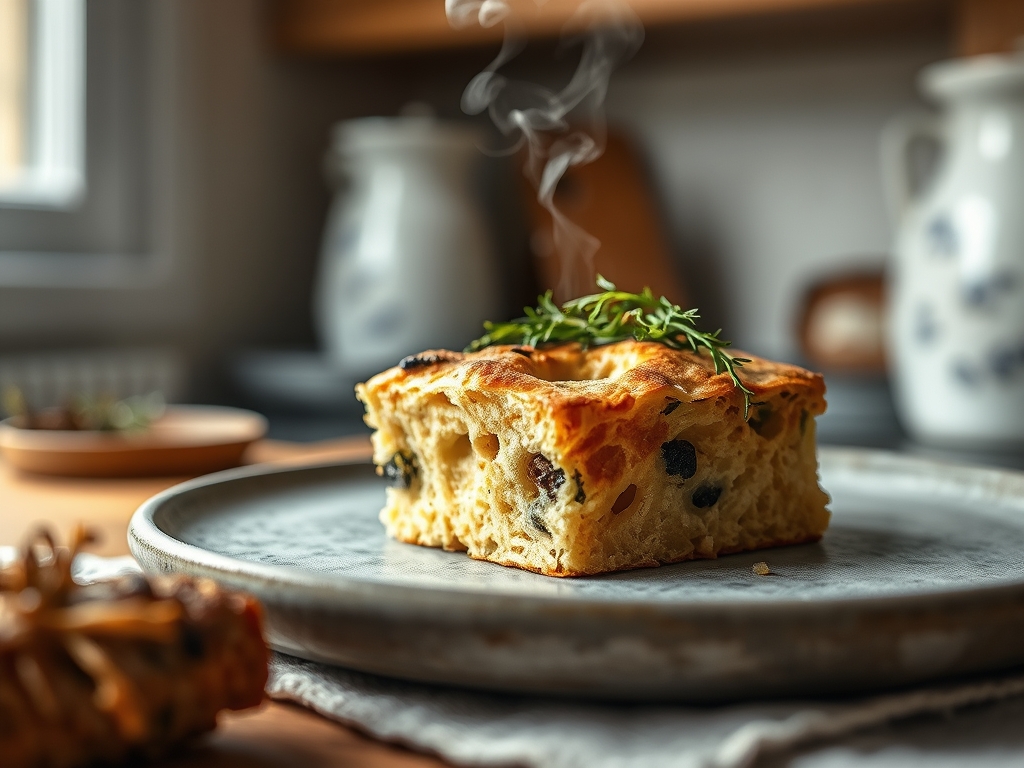
Analyze the Masterclass photo: notice the "leopard spotting" on the raised peaks. If your bread is a uniform, pale tan, your oven temperature was too low or your dough lacked sufficient sugars from a long ferment. If the dimples have closed up, you did not press deep enough or your hydration was too low. The oil should be visibly shimmering in the pockets even after baking. If the rosemary is burnt to a crisp, you likely added it too early or didn't coat the needles in oil. For a dull, matte finish, increase the humidity in your oven by tossing a few ice cubes onto a separate tray at the start of the bake to infuse the crust with steam.
THE DEEP DIVE
Macro Nutrition Profile
Focaccia is a carbohydrate-dense energy source. A standard serving (roughly 80g) contains approximately 220 calories, 5g of protein, 28g of carbohydrates, and 10g of healthy monounsaturated fats from the olive oil. While high in sodium, the use of high-quality fats provides a more satiating profile than standard white bread.
Dietary Swaps
- Vegan: This recipe is naturally vegan. Ensure your yeast is certified.
- Keto: Replace bread flour with a mix of almond flour, vital wheat gluten, and oat fiber. Note: The porosity will be significantly reduced.
- GF: Use a high-quality 1-to-1 gluten-free baking flour with added xanthan gum. Expect a more cake-like texture rather than a chewy crumb.
Meal Prep & Reheating Science
To maintain the molecular integrity of the crust, never microwave focaccia. The microwave agitates water molecules, turning the bread into a rubbery mess. Instead, reheat in a 350-degree oven for 5 minutes. This re-crisps the lipid-soaked bottom and softens the internal starches without dehydrating the crumb.
THE KITCHEN TABLE
Why is my focaccia gummy in the middle?
This usually indicates under-baking or cutting the bread while it is still hot. The internal structure needs time to set as it cools; cutting too early allows steam to collapse the delicate cell walls, creating a dense, wet texture.
Can I use a different oil?
Technically, yes, but you sacrifice the flavor profile. Neutral oils like grapeseed work for texture but lack the piquant punch of olive oil. Avoid butter, as the water content in butter will steam the bread rather than "frying" the crust.
My dough won't stretch to the corners of the pan!
The gluten is too tight. Do not force it. Cover the dough and let it rest for 15 minutes. This allows the protein bonds to relax, making the dough more extensible so it can reach the edges without snapping back.
How do I get bigger bubbles?
Increase the hydration and the fermentation time. Higher water content creates more steam, while a longer ferment allows the yeast more time to produce gas. Handle the dough as gently as possible during the final stages to avoid degassing.

