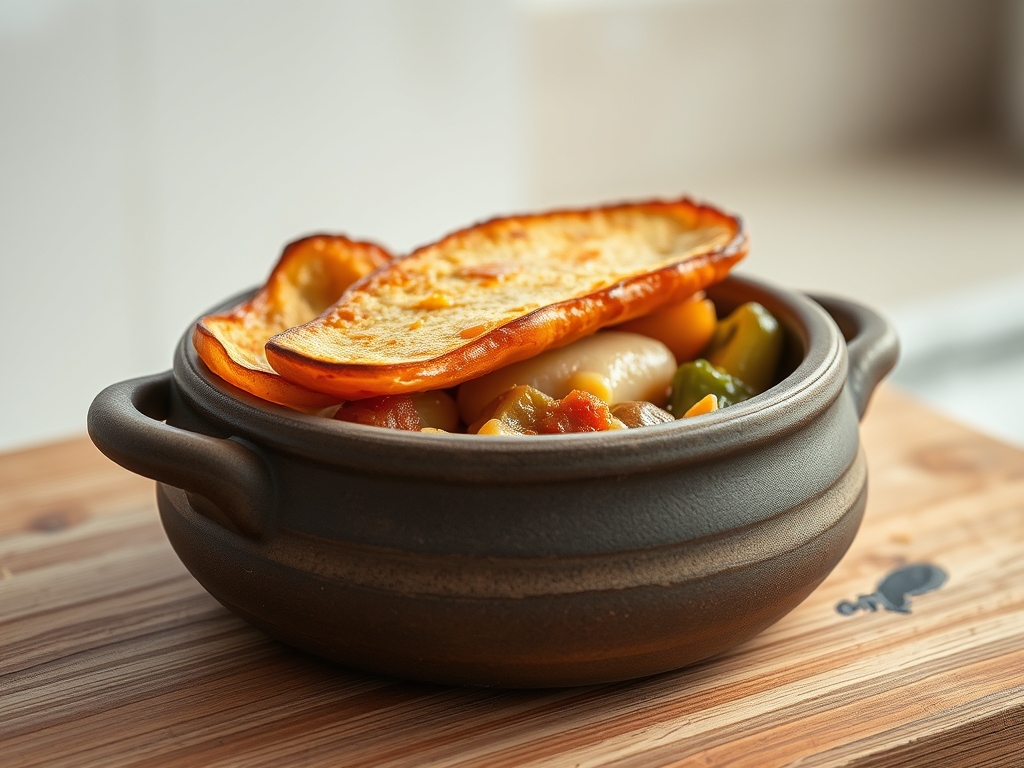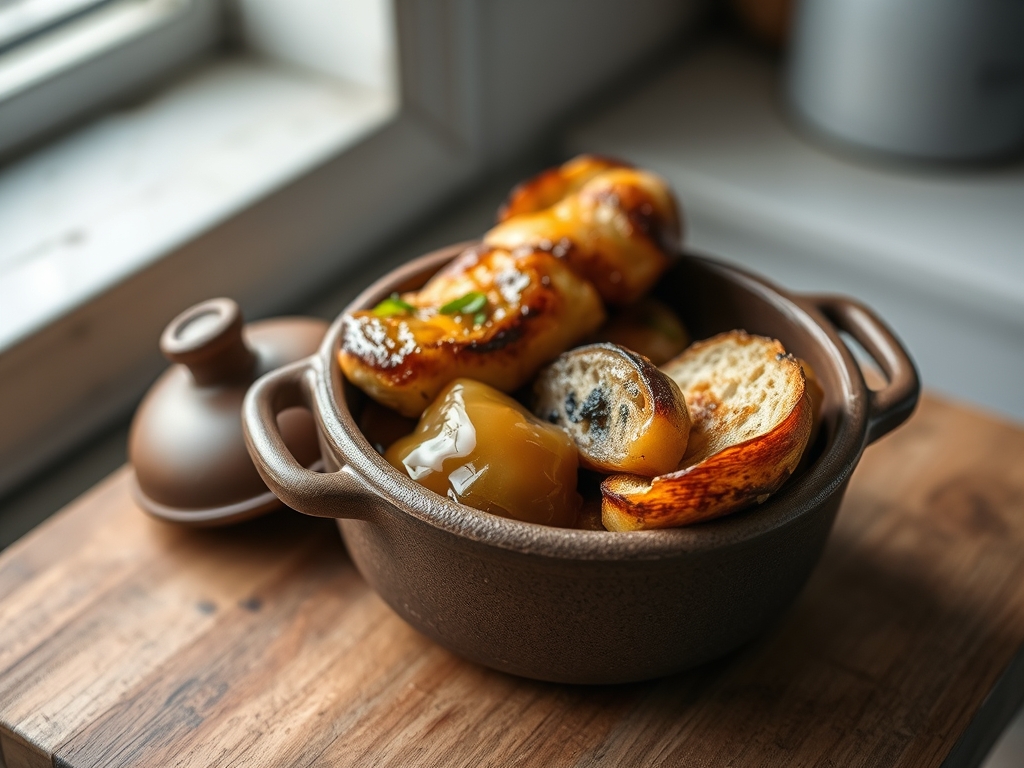
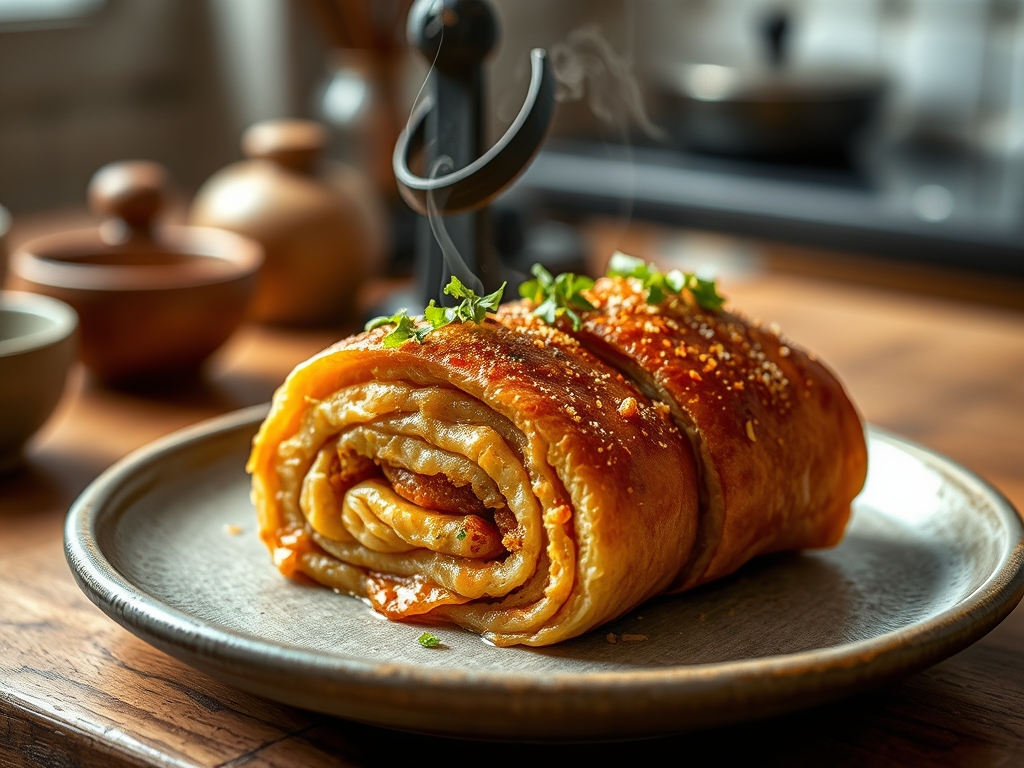
Listen to the sound of a structural failure. It is the hollow, dry snap of a pastry that lacked the necessary hydration to support its own weight. Now, contrast that with the heavy, rhythmic thud of a tray laden with high-caliber glazed doughs. We are not here to discuss mere snacks; we are here to master Sweet Roll Density. This metric defines the difference between a forgettable, airy puff and a decadent, moisture-rich spiral that clings to the palate with intent. To achieve the perfect Sweet Roll Density, one must engineer a delicate truce between gluten development and lipid interference. We are looking for a crumb that is tight enough to hold a viscous glaze but supple enough to tear like silk. If your rolls feel like packing foam, your fermentation was reckless. If they are leaden bricks, your hydration-to-fat ratio is skewed. This is a technical audit of the highest order, where sugar acts as a structural stabilizer and butter serves as the ultimate lubricant for cellular expansion.
THE DATA MATRIX
| Metric | Specification |
|---|---|
| Prep Time | 45 Minutes |
| Execution Time | 3.5 Hours |
| Yield | 12 Units |
| Complexity | 7/10 |
| Cost per Serving | $0.85 |
THE GATHERS
Ingredient Protocol:
- 500g / 4 cups Unbleached Bread Flour (High Protein)
- 250ml / 1 cup Whole Milk (3.5% Milkfat)
- 100g / 0.5 cup Granulated Sugar
- 115g / 0.5 cup Unsalted European Butter (Room Temperature)
- 10g / 2 tsp Fine Sea Salt
- 7g / 2.25 tsp Instant Yeast
- 2 Large Egg Yolks (Room Temperature)
- 150g / 0.75 cup Dark Brown Sugar (For Filling)
- 15g / 2 tbsp Ground Cassia Cinnamon
- 200g / 1.5 cups Confectioners Sugar (For Glaze)
- 45ml / 3 tbsp Heavy Cream
Section A: Ingredient Quality Audit:
The primary failure point in most breakfast doughs is the use of "All-Purpose" flour with a protein content below 11%. This results in poor Sweet Roll Density because the gluten network cannot support the weight of the added lipids and sugars. If your flour is weak, supplement with 10g of vital wheat gluten to ensure structural integrity. Furthermore, ensure your yeast is not dormant; if the milk temperature exceeds 43C (110F), you will scald the yeast and terminate the fermentation process before it begins. Use a digital thermometer to verify liquid temperatures to the degree. If your butter is too cold, it will not emulsify into the dough; instead, it will create "grease pockets" that cause the dough to collapse during the bake.
THE MASTERCLASS
Step 1: The Scalding and Hydration Phase
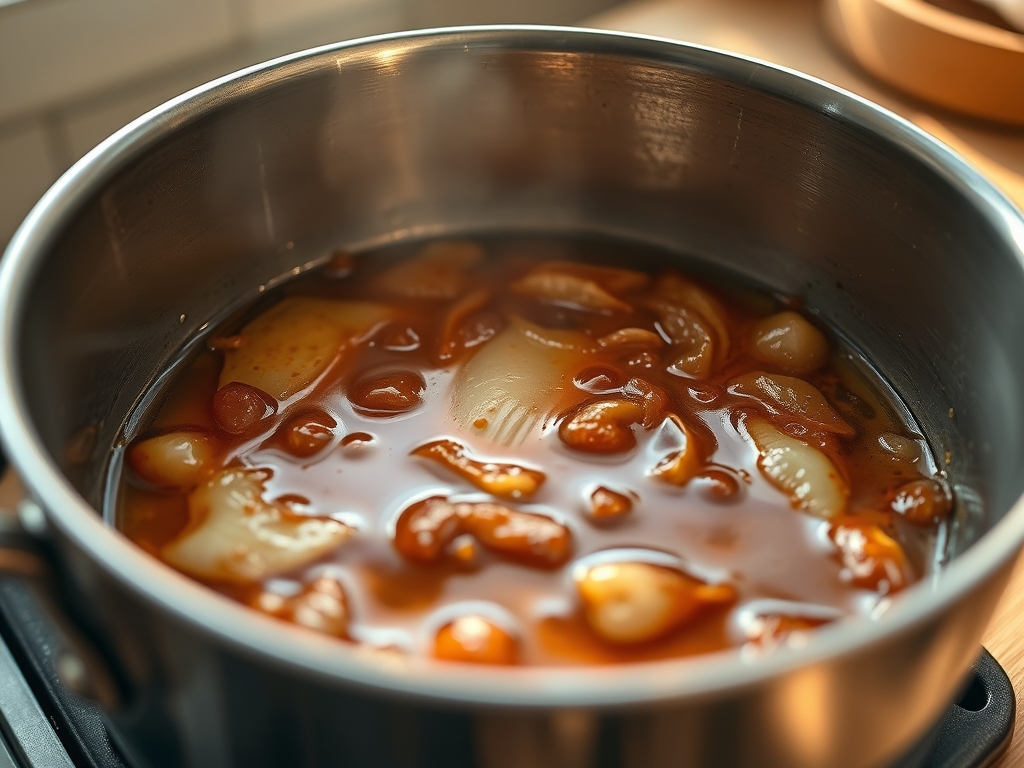
Begin by heating your milk in a heavy-bottomed saucier until it reaches a light simmer. This denatures the whey proteins which can otherwise weaken gluten strands. Allow the milk to cool to 38C before whisking in the yeast and a tablespoon of sugar.
Pro Tip: This process, known as scalding, ensures that the proteins do not interfere with the yeast's ability to aerate the dough. Use a digital scale for the sugar to ensure the osmotic pressure does not inhibit yeast activity.
Step 2: Mechanical Integration and Autolyse
Combine the flour, salt, remaining sugar, and milk mixture in a stand mixer. Use the dough hook on the lowest setting for two minutes until a shaggy mass forms. Let this sit for ten minutes to allow the flour to fully hydrate.
Pro Tip: This short rest period allows the starch granules to swell, making the subsequent kneading process more efficient and preventing a "tough" final texture.
Step 3: Lipid Emulsification
With the mixer on medium-low, add the butter one tablespoon at a time. Do not add the next piece until the previous one has been fully incorporated into the dough. Finally, add the egg yolks to infuse the dough with lecithin.
Pro Tip: Adding fats at the end of the mixing process—a technique used in brioche—prevents the lipids from coating the flour particles too early, which would otherwise hinder gluten development and ruin your Sweet Roll Density.
Step 4: Bulk Fermentation and Structural Check
Transfer the dough to a lightly oiled bowl. Cover and allow to rise in a draft-free environment at 24C until doubled in volume. Use a bench scraper to gently turn the dough out onto a floured surface.
Pro Tip: A slow, cool rise produces more complex flavor compounds. If the dough feels too slack, perform a series of "folds" every thirty minutes to reinforce the gluten matrix.
Step 5: The Spiral Architecture
Roll the dough into a 12×18 inch rectangle. Spread the softened butter and cinnamon-sugar mixture evenly, leaving a one-inch border at the top. Roll tightly into a cylinder and cut into twelve even rounds using unflavored dental floss or a sharp serrated knife.
Pro Tip: Using a bench scraper to square off the edges of your rectangle ensures that every roll has a uniform height, which is critical for even thermal distribution in the oven.
Step 6: The Final Proof and Maillard Optimization
Place the rolls in a buttered baking pan and cover for the second rise. Bake at 175C (350F) for 25 to 30 minutes until the internal temperature reaches 88C (190F).
Pro Tip: The Maillard reaction—the chemical dance between amino acids and reducing sugars—is what creates that golden-brown crust. If the rolls are browning too fast, tent them with foil to protect the delicate lipids.
Section B: Prep & Timing Fault-Lines:
The most common human error is the "rushed proof." If the dough does not double in size during the second rise, the Sweet Roll Density will be too high, resulting in a gummy, underbaked center. Conversely, over-proofing causes the gas bubbles to expand beyond the capacity of the gluten walls, leading to a catastrophic collapse when the rolls hit the heat of the oven. Use your finger to gently poke the dough; if the indentation remains and slowly fills back halfway, the rolls are ready for the heat.
THE VISUAL SPECTRUM
Section C: Thermal & Visual Troubleshooting:
In the Masterclass photo above, observe the "Golden Ratio" of browning. The edges should be a deep mahogany, while the center remains a pale, soft cream color. If your rolls are monochromatic and pale, your oven temperature is likely too low, preventing the sugars from caramelizing. If the tops are burnt but the bottoms are doughy, move your rack to the lower third of the oven. A dull, matte finish on the dough indicates a lack of moisture during the bake; a light misting of water in the oven can create the steam necessary for a vibrant, professional sheen. If the glaze is "disappearing," you are applying it while the rolls are too hot; wait until they reach 50C to ensure the glaze stays viscous and opaque.
THE DEEP DIVE
Macro Nutrition Profile:
Each roll contains approximately 380 calories, with 18g of fat, 48g of carbohydrates, and 6g of protein. The high fat content comes from the European butter, providing a rich mouthfeel that artificial fats cannot replicate.
Dietary Swaps:
- Vegan: Substitute whole milk with oat milk and use a high-quality vegan butter block. Replace egg yolks with 30g of aquafaba.
- Keto: This is technically impossible while maintaining the Sweet Roll Density required for this audit; however, almond flour and erythritol can produce a "muffin-style" alternative.
- GF: Use a 1-to-1 gluten-free flour blend containing xanthan gum, but expect a significantly denser crumb.
Meal Prep & Reheating Science:
To maintain the molecular structure, do not microwave these rolls. The microwave excites water molecules too rapidly, causing the starch to recrystallize into a hard, rubbery mess upon cooling. Instead, reheat in a 150C oven for 8 minutes. This gently warms the lipids, allowing them to render back into the crumb for that "just-baked" sensation.
THE KITCHEN TABLE
Why is my dough so sticky and hard to handle?
High hydration is necessary for a soft crumb. If it is unmanageable, chill the dough for thirty minutes. Cold temperatures firm up the butter, making the dough easier to shape without adding excess flour that ruins the Sweet Roll Density.
Can I use active dry yeast instead of instant?
Yes, but you must bloom it in warm milk first. Active dry yeast has a protective coating of dead yeast cells that must be dissolved. Use 25% more active dry yeast by weight to achieve the same fermentation power.
How do I get perfectly round rolls?
Stop using a knife. A knife compresses the delicate air pockets you worked so hard to create. Use a piece of unflavored dental floss or thin twine. Slide it under the log, cross it over the top, and pull quickly.
My glaze is always too thin or too thick. Help!
Precision is key. Add your liquid one teaspoon at a time. The transition from a thick paste to a pourable glaze happens rapidly. If it is too thin, add more sifted confectioners sugar to regain the desired viscosity.